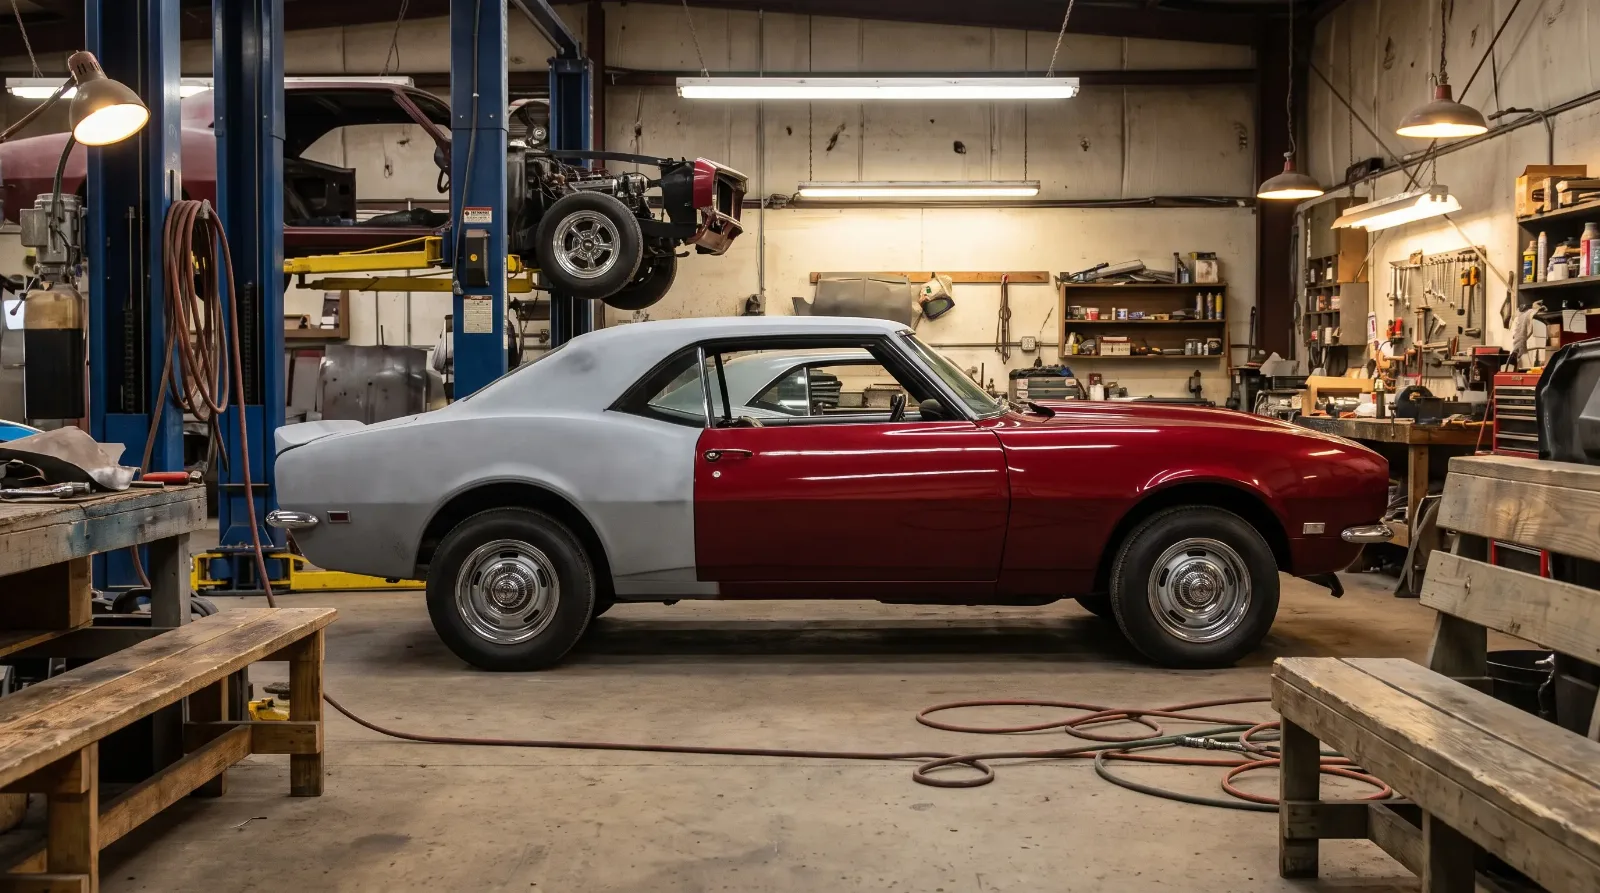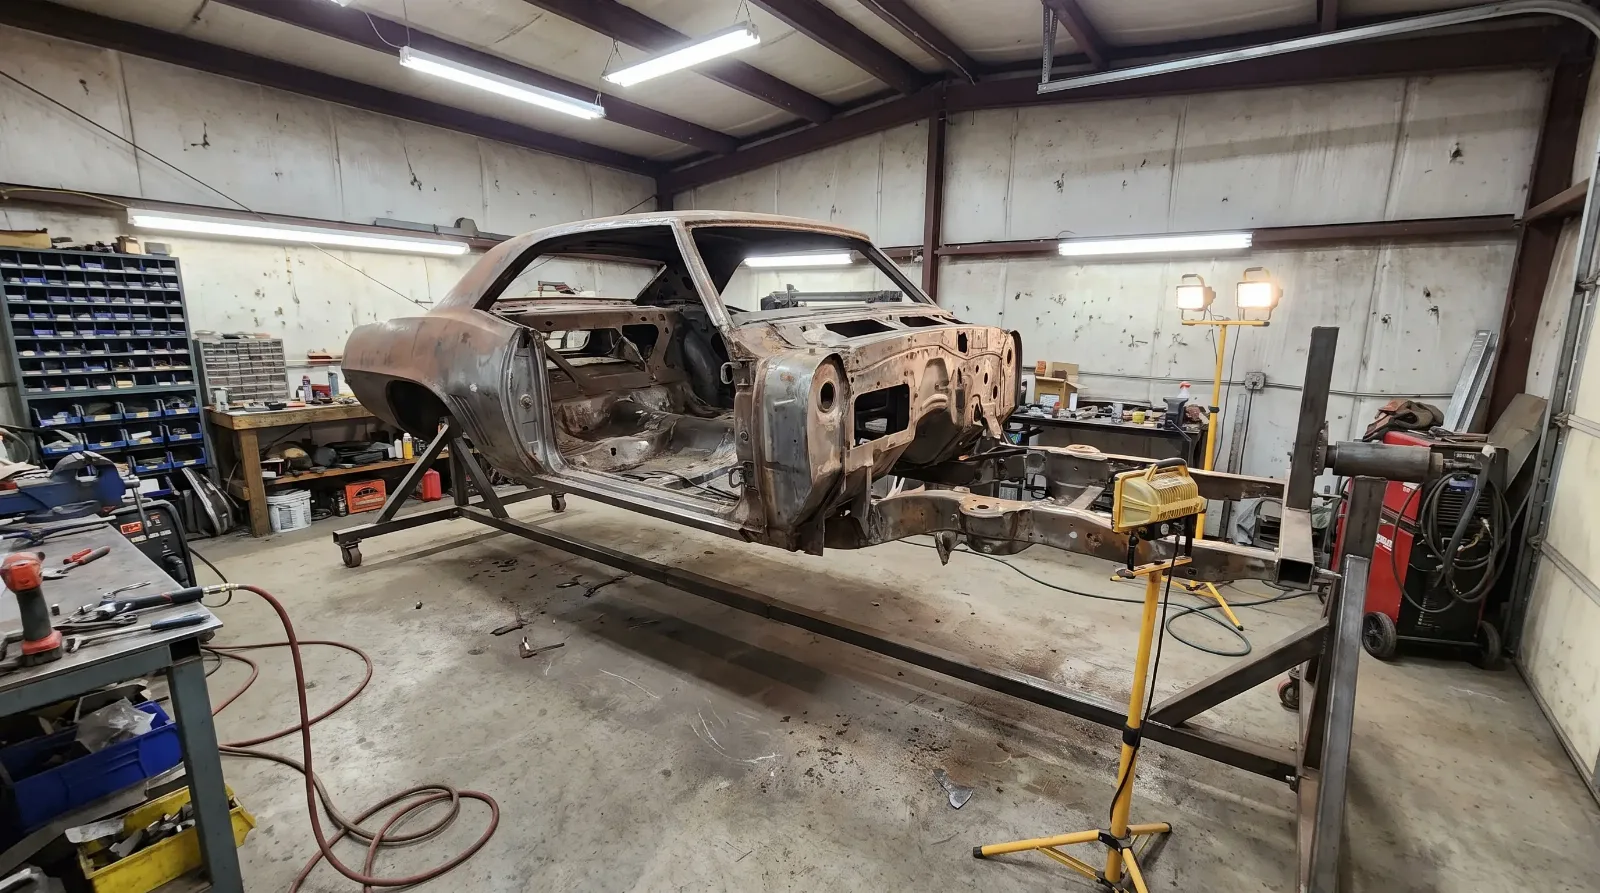

Sheet metal is where most first-gen Camaro restoration budgets get rewritten. A car that looks solid from ten feet away can reveal layered bondo, hidden rust, and previous amateur repairs the moment you start poking at it with a pick. Understanding where these cars rust, which panels are reproduced in quality steel, and when patch repair makes sense versus full panel replacement is the foundation of any realistic restoration plan.
The rust hot spots every inspector must check
First-gen Camaros share a unibody structure with the first-gen Firebird, and they rust in consistent patterns regardless of where the car spent its life, though obviously southern cars with no road-salt exposure are structurally cleaner on average. The areas that fail first are:
- Rear lower quarters: The lower trailing edge of each rear quarter panel, particularly where it meets the trunk drop-off and the wheel arch, collects water and holds it. Both sides rust symmetrically on cars that have not been addressed.
- Trunk floor: Water intrusion through the trunk seam and taillamp openings pools on the trunk floor. Check the spare tire well specifically; it is a bathtub when the drain plug fails.
- Rear frame rails: The subframe connectors and the rear torque box areas trap debris and moisture behind the rear wheel. Poke along the top of the rail above the axle with a screwdriver; soft metal here is a structural problem, not just a cosmetic one.
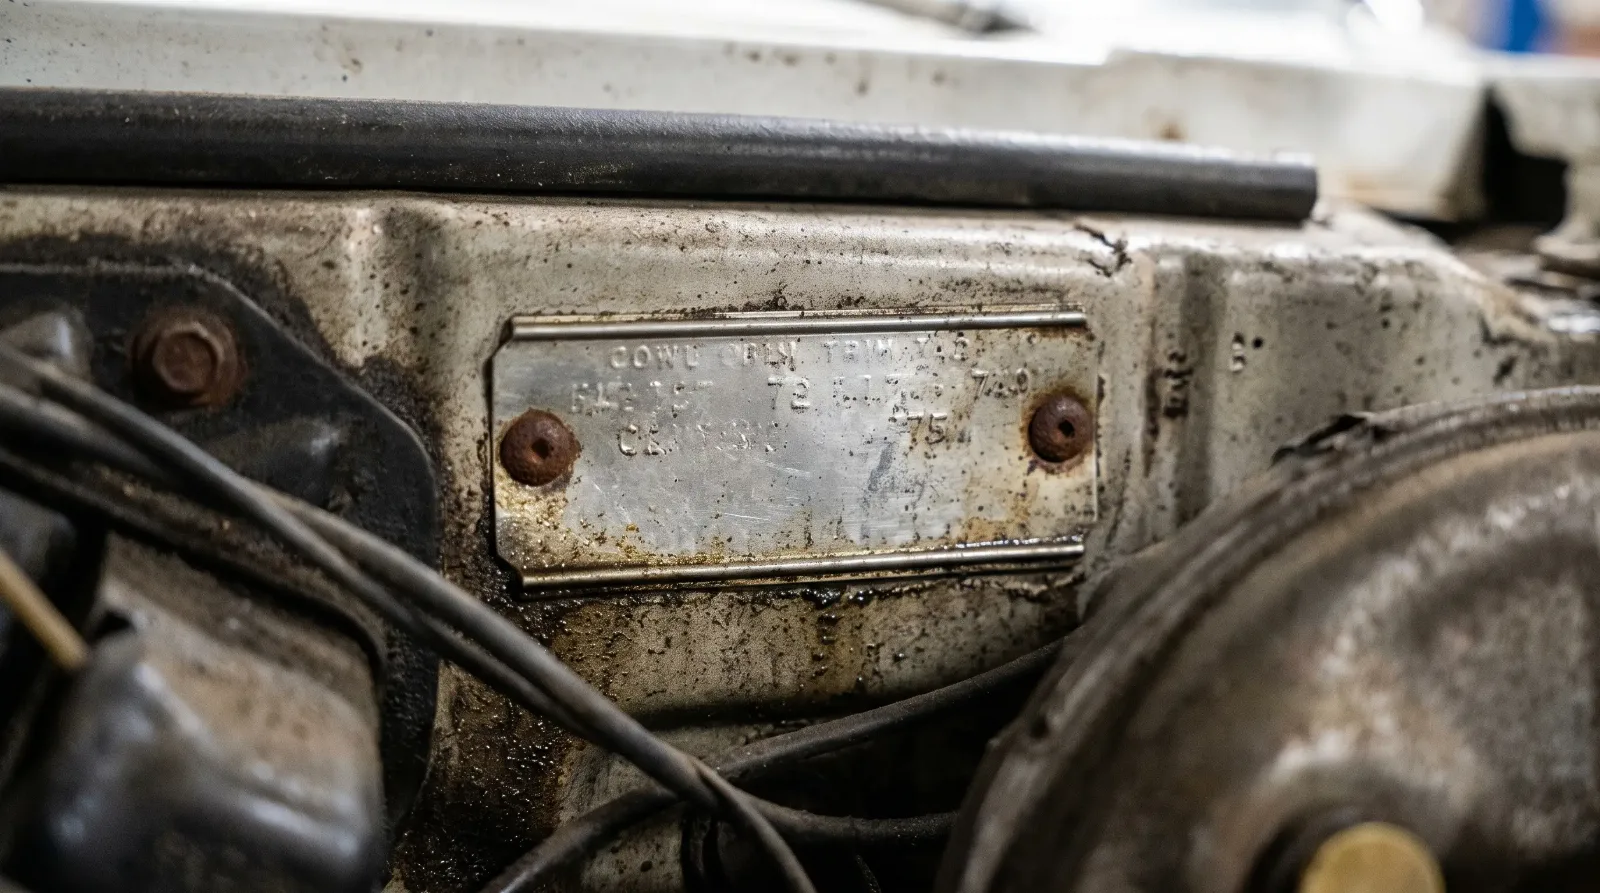
- Cowl area: The cowl vent drains frequently clog with leaves and debris, allowing water to back up into the cowl cavity and rust the firewall from the inside out. Probe the lower firewall from the engine side.
- Floor pans: Both front floor pans rust at the rocker interface and at the transmission tunnel seam. Pulling back the carpet is non-negotiable on any serious inspection.
- Lower door skins: The fold at the bottom of each door skin holds water. Press firmly at the lower door corners; soft spots indicate rust perforation behind the hem.
Learn how rust problems fit into the bigger picture of restoring a first-gen Camaro before you start cutting metal.
Reproduction panel availability and quality
The aftermarket for first-gen Camaro body panels is mature. Major suppliers including Classic Industries, AMD (Auto Metal Direct), and Dynacorn manufacture reproduction panels covering virtually every rust-prone area. Quality varies considerably between suppliers and between product lines within the same supplier. Here is a realistic breakdown:
| Panel | Availability | Quality note | Typical cost tier |
|---|---|---|---|
| Full quarter panels | Wide availability | AMD panels are generally well-regarded for fitment; verify contour against original before welding | One of the pricier individual panels |
| Quarter patch panels (lower) | Wide availability | Easier to fit than full quarters; prefer for cars with solid upper quarters | Budget-friendly |
| Floor pan halves | Wide availability | Check gauge thickness; some budget pans are thinner than OEM | Moderate |
| Complete floor pan | Available | Single-piece pans reduce seam count but require more fitment work | Higher than half-pans |
| Trunk floor | Available | Match the spare tire well cutout to your year; early and late pieces differ | Moderate |
| Cowl panel | Limited | Some suppliers offer cowl sections; quality varies significantly | Moderate to high, varies by supplier |
| Door skins | Available | Outer skin only; plan for careful hem folding to avoid edge cracking | Budget-friendly to moderate |
Patch repair versus full panel replacement
The decision between patching a rust area and replacing the entire panel depends on three factors: how much of the original panel is structurally sound, whether the panel carries a character line or contoured area that is difficult to match with a butt weld, and the time budget for fitting. As a general rule, if rust covers more than 30-40 percent of a panel, full replacement is faster and produces a cleaner result than multiple patches.
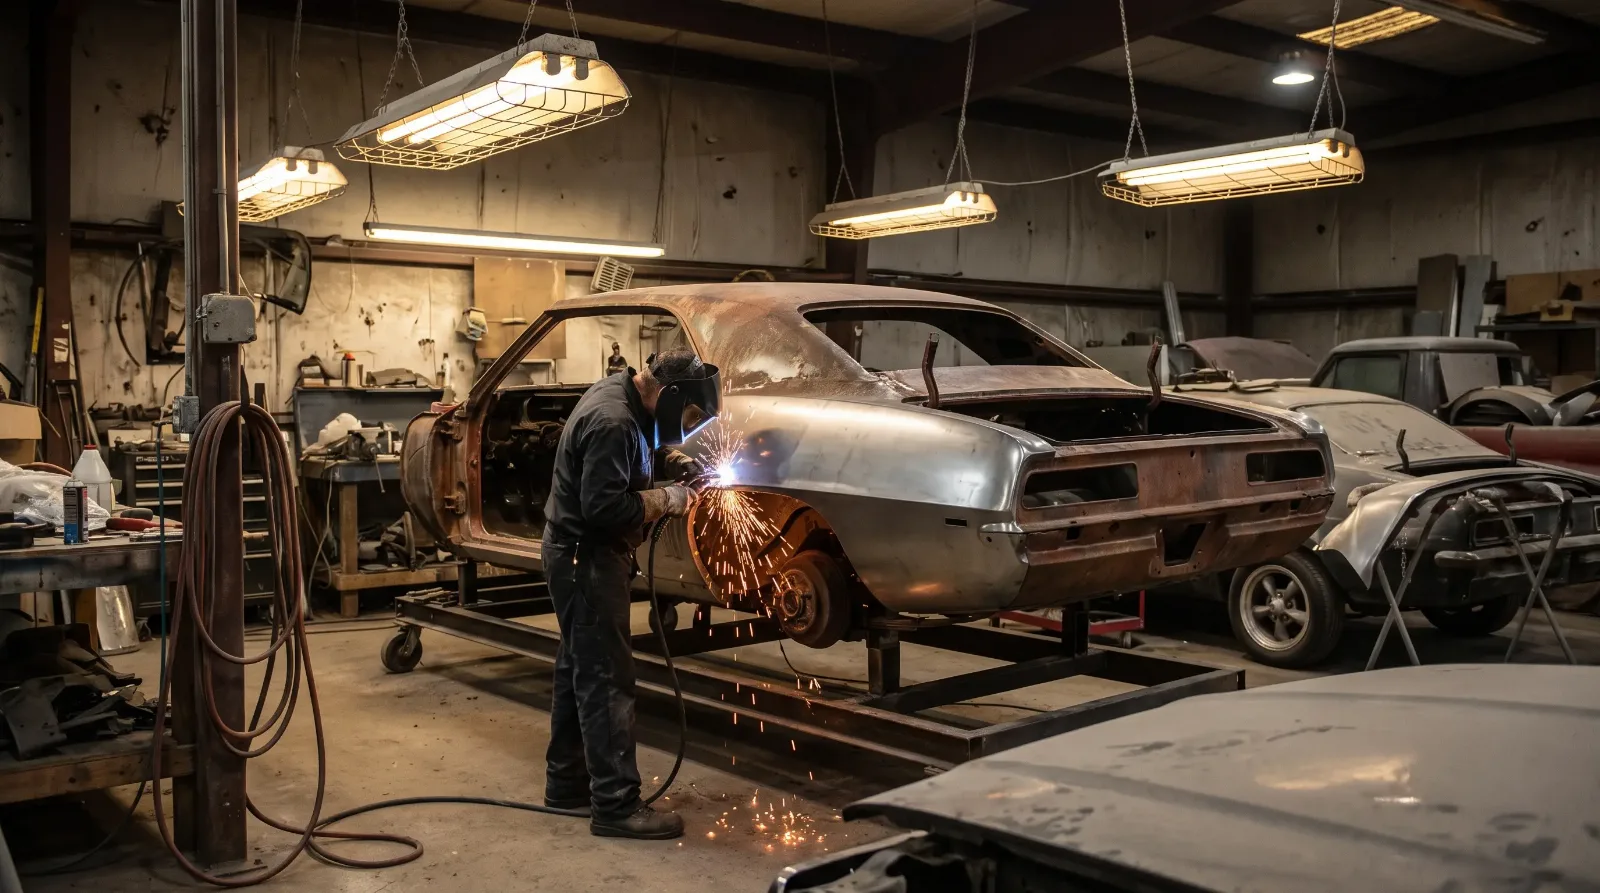
For lower quarter rust that is confined to the bottom six inches and the wheel arch lip, a quality lower patch panel welded in with a carefully planned butt joint typically produces excellent results. Lap welds in cosmetic areas create a ridge that shows through paint no matter how carefully it is ground, so avoid them on any surface that will be seen. MIG welding with 0.023-inch wire and appropriate settings for panel gauge is the standard approach; TIG is an option for skilled welders who want to minimize heat distortion on thin metal.
"The mistake I see constantly is guys lap-welding a patch over existing rust and calling it fixed. All you have done is trap moisture between two steel layers. The rust continues from the inside. Cut back to clean metal every time, even if the clean line is eight inches higher than you expected. Fit a bigger patch."
— Mike Sullivan
Structural panels: what you cannot skip
Cosmetic panels can be deferred or repaired sequentially. Structural panels cannot. The torque boxes at all four corners where the subframe rails terminate are load-bearing: they transfer engine torque and braking forces into the body structure. Rust perforation here affects handling and safety. Reproduction torque box sections are available and are a mandatory repair, not an optional one, before the car goes back on the road.
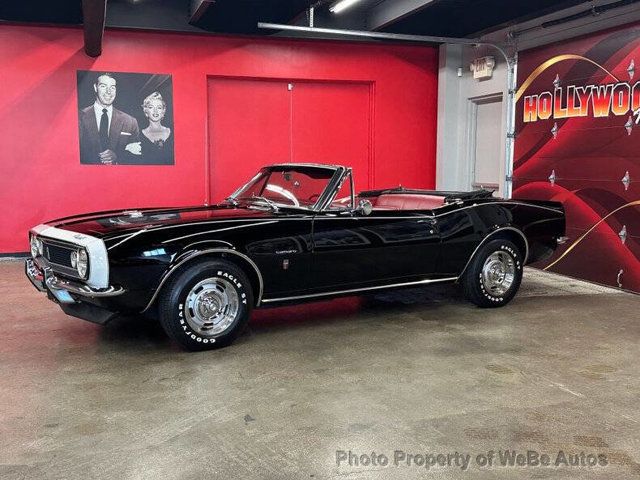
Similarly, the floor pan provides torsional stiffness for the entire unibody. A badly rusted floor pan on a convertible is especially problematic because convertibles have no roof structure contributing to body rigidity. Plan floor pan replacement early in the restoration sequence, before you install any interior components.
Preparation for panel fit and weld
Fit every panel dry before any welding. Clamp it in position, check the gap at every edge, verify that adjacent body lines align, and mark the trim line before you cut. Rushing to weld without dry-fitting costs hours in grinding and hammer-and-dolly correction after the fact. Strip the weld area to bare metal on both surfaces, apply a weld-through primer to the mating flanges, and plan your weld sequence to minimize heat distortion by alternating around the panel rather than running continuous beads.
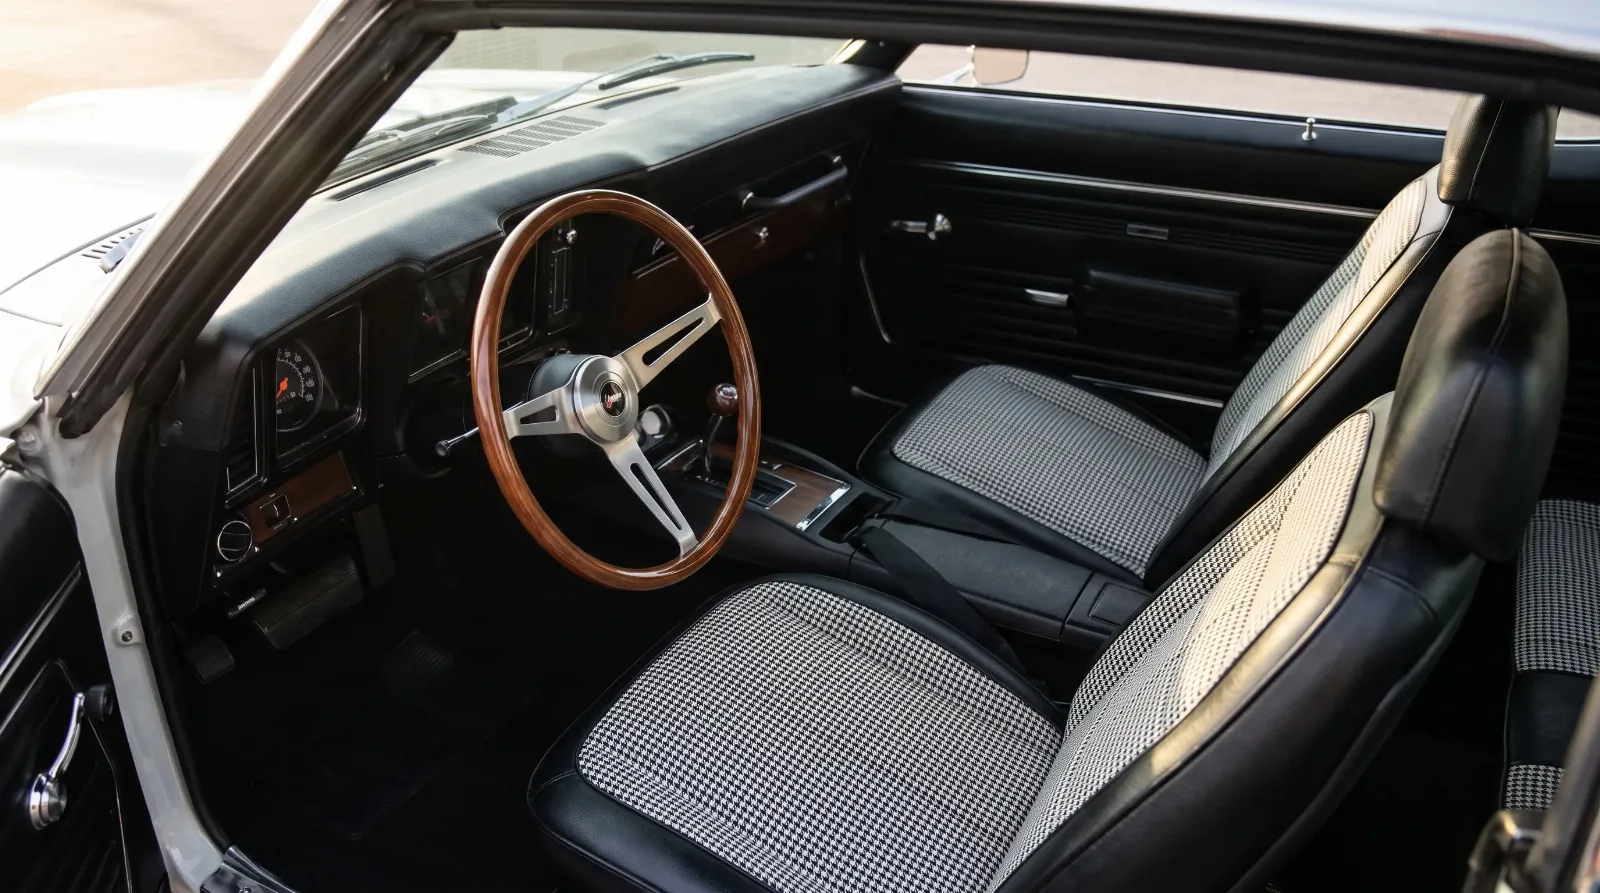
With sheet metal sorted, the next layer of the restoration is the interior. Read our guide on restoring a first-gen Camaro interior to understand what is reproduced, what must be sourced used, and how to sequence the work.
Sources and notes
Production figures, engine specifications, codes, and dates in this article are cross-referenced from established Camaro references, period documentation, and owner registries. Where sources differ, the most commonly cited value is used. Cost figures are indicative and vary by supplier, region, and condition.
- First Gen Camaro Sheet Metal & Body Panels - Auto Metal Direct
- 1967-1969 Camaro Sheet Metal & Body Panels - Classic Industries
- Camaro Restoration Tech: Sheet Metal Replacement - Super Chevy / MotorTrend
- First-Generation Camaro Rust Repair Areas - Camaro Research Group
- Dynacorn Classic Body Components - Camaro