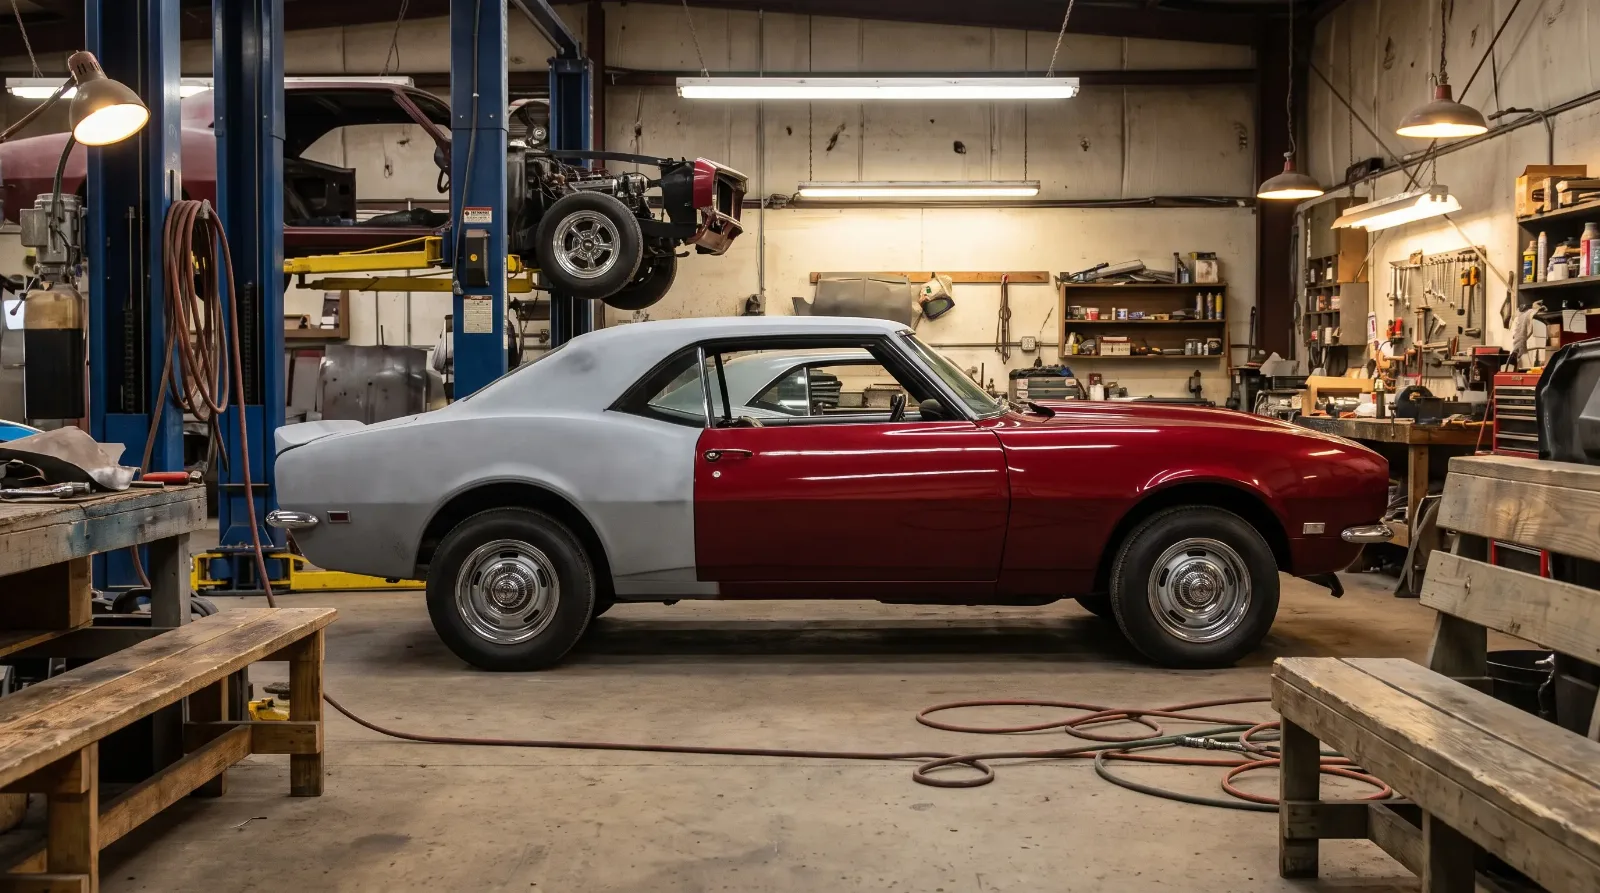

Interior restoration on a first-gen Camaro is one of the more satisfying phases of the project because the results are immediately visible and the learning curve is accessible compared to bodywork or engine building. It is also an area where sequence matters enormously: install carpet before the seats are in, install the dash pad before the gauge cluster, and plan your wiring pass before any trim goes over it. This guide covers the major interior systems in the order that makes sense for restoration work.
Assessing what you have before ordering parts
Before purchasing any interior components, do a full inventory of the existing pieces. Many parts that look destroyed are rebuildable: seat frames that are straight but have collapsed foam and torn vinyl, door panels with correct structure but surface damage, and dash components with faded bezels but intact substrates. Rebuild what is salvageable and replace only what cannot be saved. This approach preserves original stampings and date codes that matter to judges and knowledgeable buyers.
Photograph every piece as it comes out, in context. The exploded view in your assembly manual tells you where things go, but a photograph of your specific car shows you which screws, clips, and standoffs are present and which are missing. This information is invaluable when sourcing hardware, since generic hardware store fasteners are obvious substitutes to anyone who knows what OEM trim screws look like.
For the full restoration context, review our Camaro restoration guide covering all phases of the project.
Seat restoration: foam, springs, and vinyl
First-gen Camaro bucket seats use a stamped steel frame, a coil spring platform, and polyurethane foam topped with vinyl or optional cloth. The foam deteriorates on every car regardless of storage conditions; replacement seat foam is widely reproduced and is one of the more affordable interior consumables, though exact pricing varies by supplier and year. The coil spring platforms can be rebuilt if the springs are intact but may need re-tying if individual coils have broken free.
Vinyl seat covers are available from several suppliers. The quality range is wide. Before ordering, verify that the supplier specifies the correct grain texture for your year: 1967, 1968, and 1969 interiors used different vinyl grain patterns, and a 1969-pattern cover on a 1967 seat is immediately obvious to anyone familiar with these cars. For a show-level restoration, look for covers made from original-spec vinyl stock rather than a modern equivalent.
The seat track mechanisms on these cars are simple and robust. Clean them, lubricate the slides with white lithium grease, and verify that the release levers engage and disengage smoothly before reinstalling. A seat that does not lock into position is a safety problem.
Door panels, trim, and hardware
Original first-gen Camaro door panels are a composite construction: a hardboard substrate with a vinyl skin and a foam padding layer between them. They warp when exposed to moisture and the substrate delaminate from the vinyl when the adhesive fails. Reproduction panels are widely available and generally acceptable for driver-quality restorations. For show-quality work, some restorers have original panels recovered using period-correct materials.
Door panel hardware includes the armrest, the window crank, the door pull strap, and the trim clips that hold the panel to the door shell. The trim clips are inexpensive and should be replaced rather than reused; old clips deform during removal and do not retain the panel correctly when reinstalled. Count the clips on each door before ordering. Window cranks and armrests are reproduced; the door pull strap is available but verify the correct bracket style for your year before ordering.
"I always do a test fit of the door panel before I commit to any drilling or clipping. Hold it up in position with the window crank hole aligned, check the gap at the top edge against the window sill trim, and verify the armrest height looks right. If it's off, find out why before you push the clips home and have to pull them all back out."
— Jim Vasquez
Carpet, sound deadening, and floor preparation
Carpet installation follows floor pan repair and primer application but precedes seat installation. The correct carpet for first-gen Camaros is a molded loop-pile design with jute backing. Avoid mass-market replacement carpets that use a foam backing: they do not conform to the floor pan contours correctly, they retain moisture, and they look wrong. Suppliers such as Auto Custom Carpets produce year-specific molded sets that drop into place with minimal trimming.
Sound deadening material applied beneath the carpet significantly improves the driving experience and is correct for cars that originally had the A85 custom interior option. Asphalt-backed original-style deadener is the correct material for a show restoration. For a driver-quality car, modern butyl-based products such as Dynamat or equivalent perform better acoustically, though they are not period-correct.
The transmission tunnel opening requires a rubber boot and a retaining ring; these are reproduced and are available from most Camaro specialty suppliers. The boot seals the opening against exhaust heat and noise and should not be omitted even on driver-quality restorations.
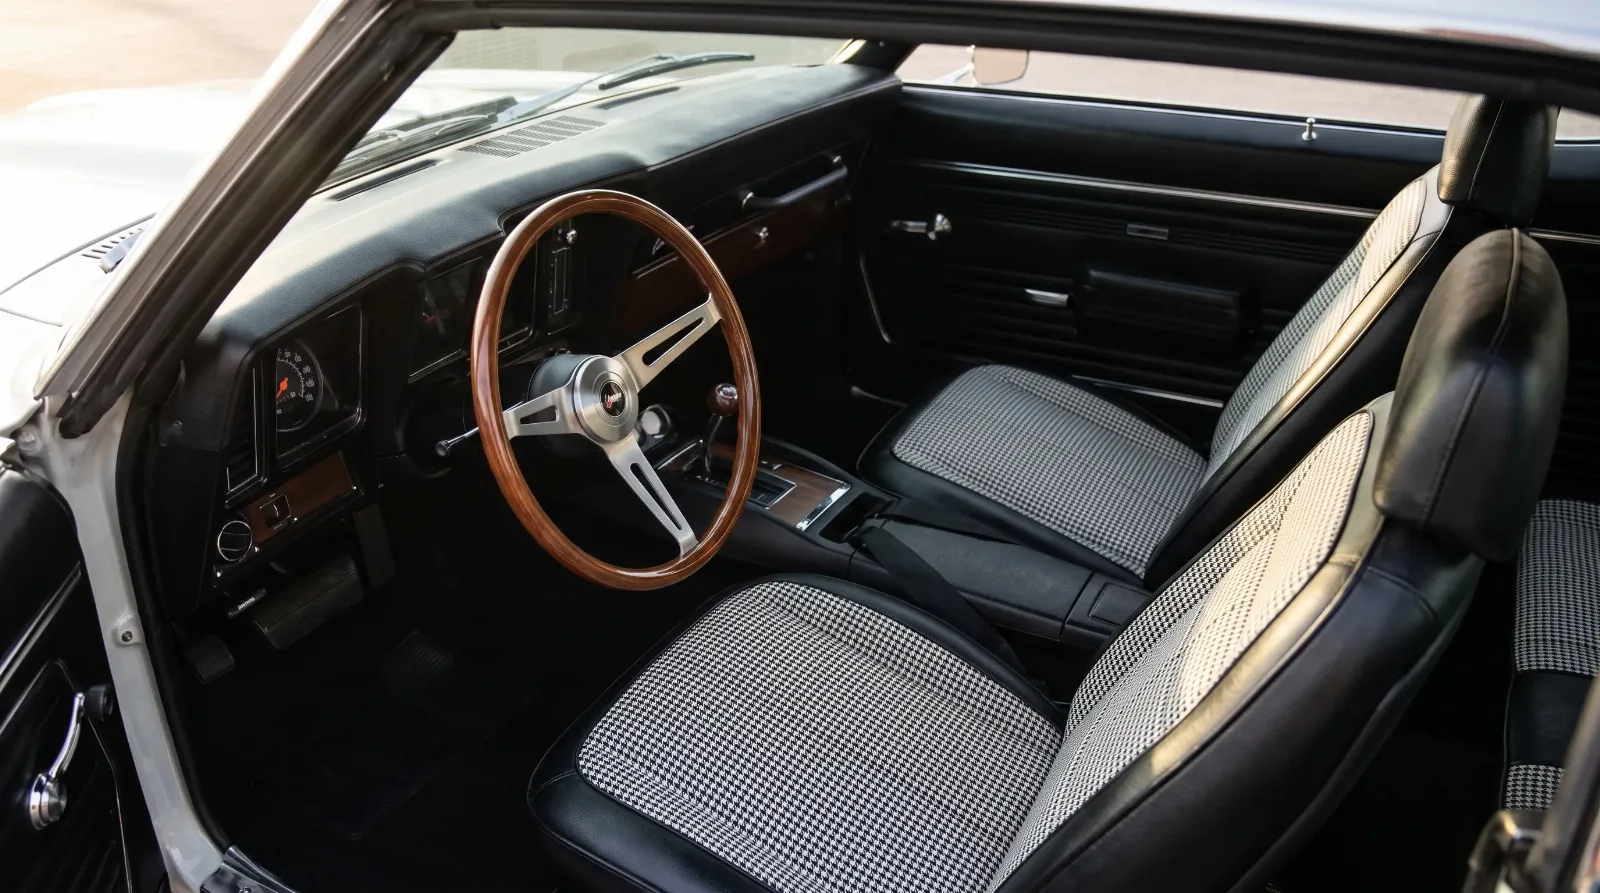
Dash pad, gauge cluster, and instrument panel
The dashboard pad on first-gen Camaros is a major restoration challenge. Original pads crack from UV exposure and heat cycling, and no reproduction has yet fully replicated the correct texture and dimensional accuracy of the original GM-spec pad on all three years. Several suppliers offer reproductions that are acceptable for driver restorations; a small number of companies offer recovered original pads for show applications. A quality reproduction dash pad is a meaningful line item in any interior budget; recovered originals command considerably more.
The gauge cluster should be removed, cleaned, and inspected before reinstallation. The cluster lens scratches easily and fogs with age; replacement lenses are available. The gauge faces themselves can be cleaned carefully with a soft brush; do not use solvents on gauge faces. If gauges read inaccurately, the sending units and wiring should be inspected before assuming the gauges themselves are faulty.
Wiring in the dash area is often brittle on fifty-year-old cars. Inspect every connector for corrosion and every wire for cracked insulation before covering any of it with trim pieces. Rewiring the entire dash harness with a reproduction harness is the most reliable approach; reproduction harnesses are available for all three years and restore the factory connector types and colors.
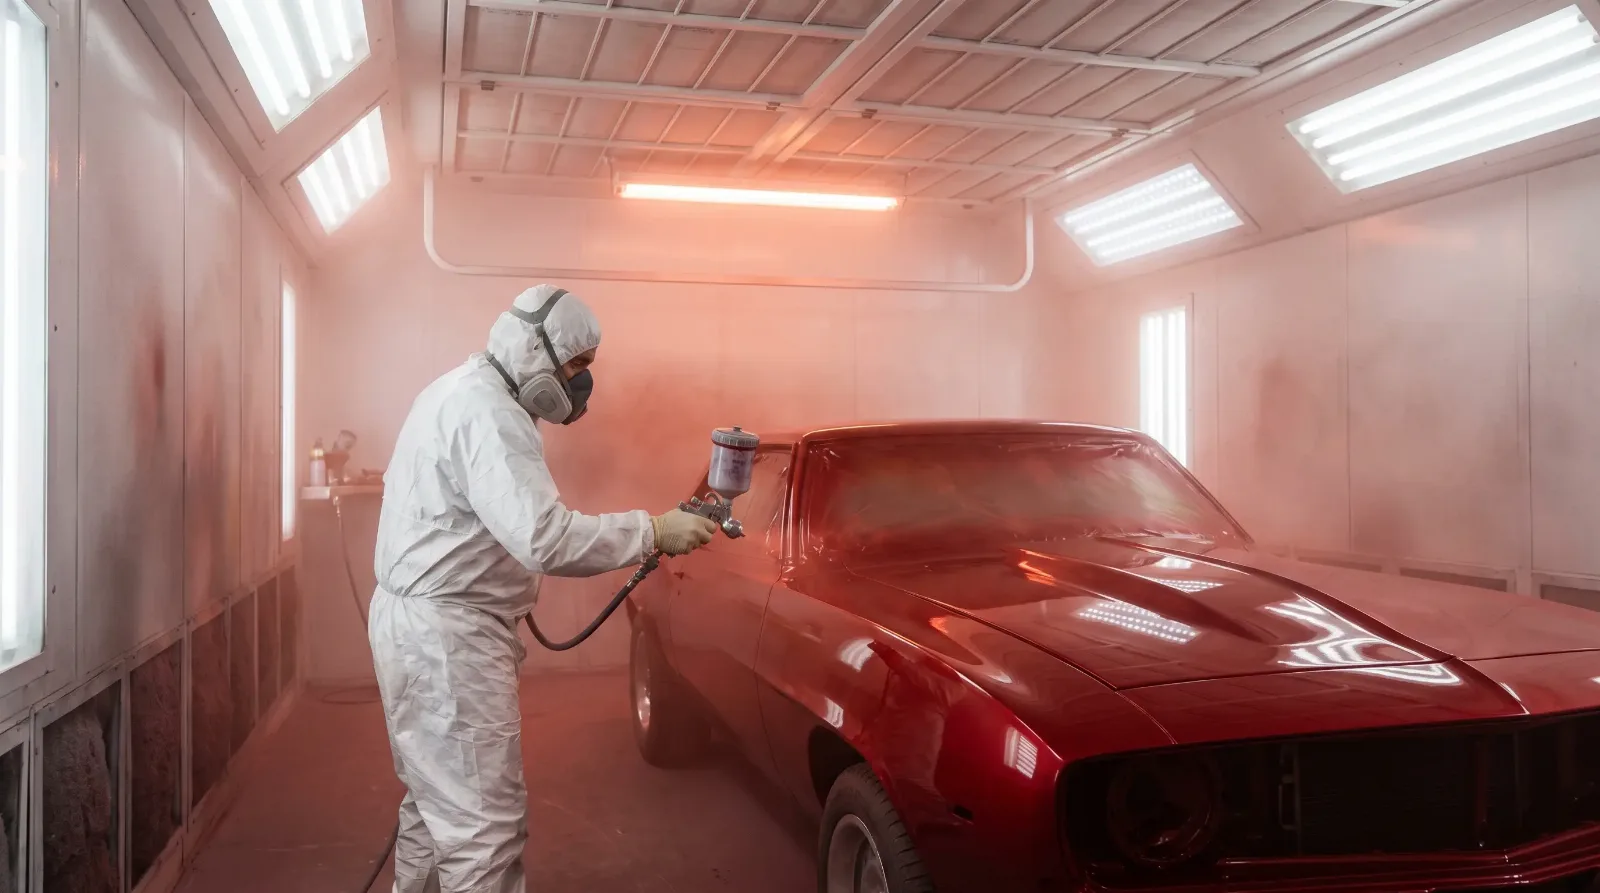
Once the interior is complete, the next step in the restoration sequence is the exterior. Our guide on Camaro paint codes and bodywork covers color matching, primer selection, and the painting process in detail.
Sources and notes
Production figures, engine specifications, codes, and dates in this article are cross-referenced from established Camaro references, period documentation, and owner registries. Where sources differ, the most commonly cited value is used. Cost figures are indicative and vary by supplier, region, and condition.
- 1967-1969 Camaro Interior Restoration Parts - Classic Industries
- Camaro Interior Soft Trim & Upholstery - OPGI (Original Parts Group)
- Molded Carpet Sets for Classic Camaros - Auto Custom Carpets
- 1967 Camaro Custom Interior (RPO Z87/A85) Details - Camaro Research Group
- Camaro Interior Restoration Guide - National Parts Depot