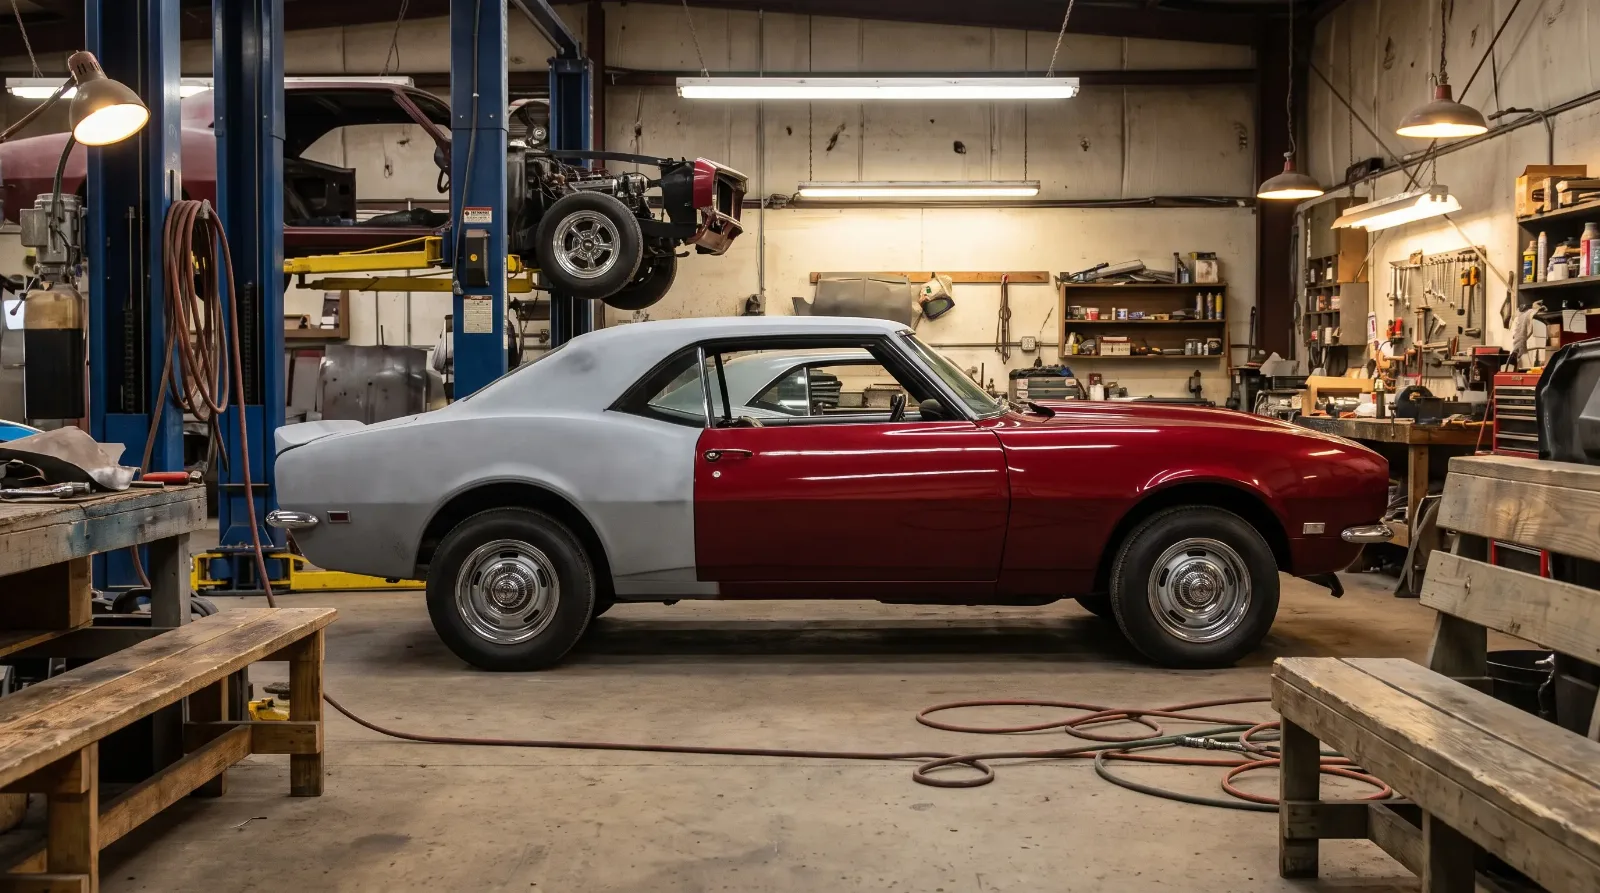

Exterior paint is the first thing anyone sees on a restored Camaro, and it is the area where the gap between a good restoration and a great one is most apparent. Getting paint right means three things done well: identifying the correct original color from the paint code, preparing the bodywork to a standard the paint can reveal rather than hide, and applying color and clear in conditions that produce a durable result. This guide covers all three, with emphasis on the preparation work that determines whether the final product looks factory or aftermarket.
Finding and reading the paint code
The exterior paint code on a first-gen Camaro lives on the trim tag, which we covered in depth in our trim tag guide. On the tag, the two-character paint code appears in the first row. For most years it is a two-digit number, though some special-order colors used letter-number combinations. The code identifies the original single-stage lacquer or enamel color that left the factory.
Chevrolet used DuPont and Rinshed-Mason as primary paint suppliers for the 1967-1969 model years. The codes on the trim tag correspond to GM color codes, which can be cross-referenced to DuPont, PPG, and modern mixing formulas. Most quality paint suppliers maintain these cross-references, though some shades have multiple formula variants based on year of manufacture and regional climate differences. For the most historically accurate match, use a spectrophotometer reading from an original unrestored panel rather than relying solely on a formula code.
Review our Camaro restoration guide for the broader documentation context surrounding paint code verification.
The Camaro's history as a muscle car and ponycar icon is explored in depth in our complete Chevrolet Camaro history, which covers how color choices evolved alongside the car's performance identity.
Original paint types and modern equivalents
Factory first-gen Camaros were painted in single-stage acrylic lacquer (most 1967-1968 models) or acrylic enamel, depending on the assembly plant and the model year. Both systems are single-stage, meaning color and gloss come from one layer with no separate clear coat. Modern restorers face a choice between three approaches:
| Approach | Pros | Cons | Best for |
|---|---|---|---|
| Single-stage acrylic enamel | Period-correct appearance, correct sheen level | Softer than modern systems, scratches more easily | Show cars, trailer queens |
| Basecoat/clearcoat (urethane) | Durable, glossy, UV resistant | Different sheen than original; some judges penalize at high-level shows | Driver-quality and daily-driven restorations |
| Single-stage urethane | Durable, period-correct sheen level | Less glossy than basecoat/clearcoat; harder to buff out defects | Good compromise for driver-show cars |
For a points-judged show restoration targeting Camaro-specific class judging, research the specific rules of the shows you plan to enter before selecting a paint system. Some classes require original-type materials; others accept any system provided the color is correct.
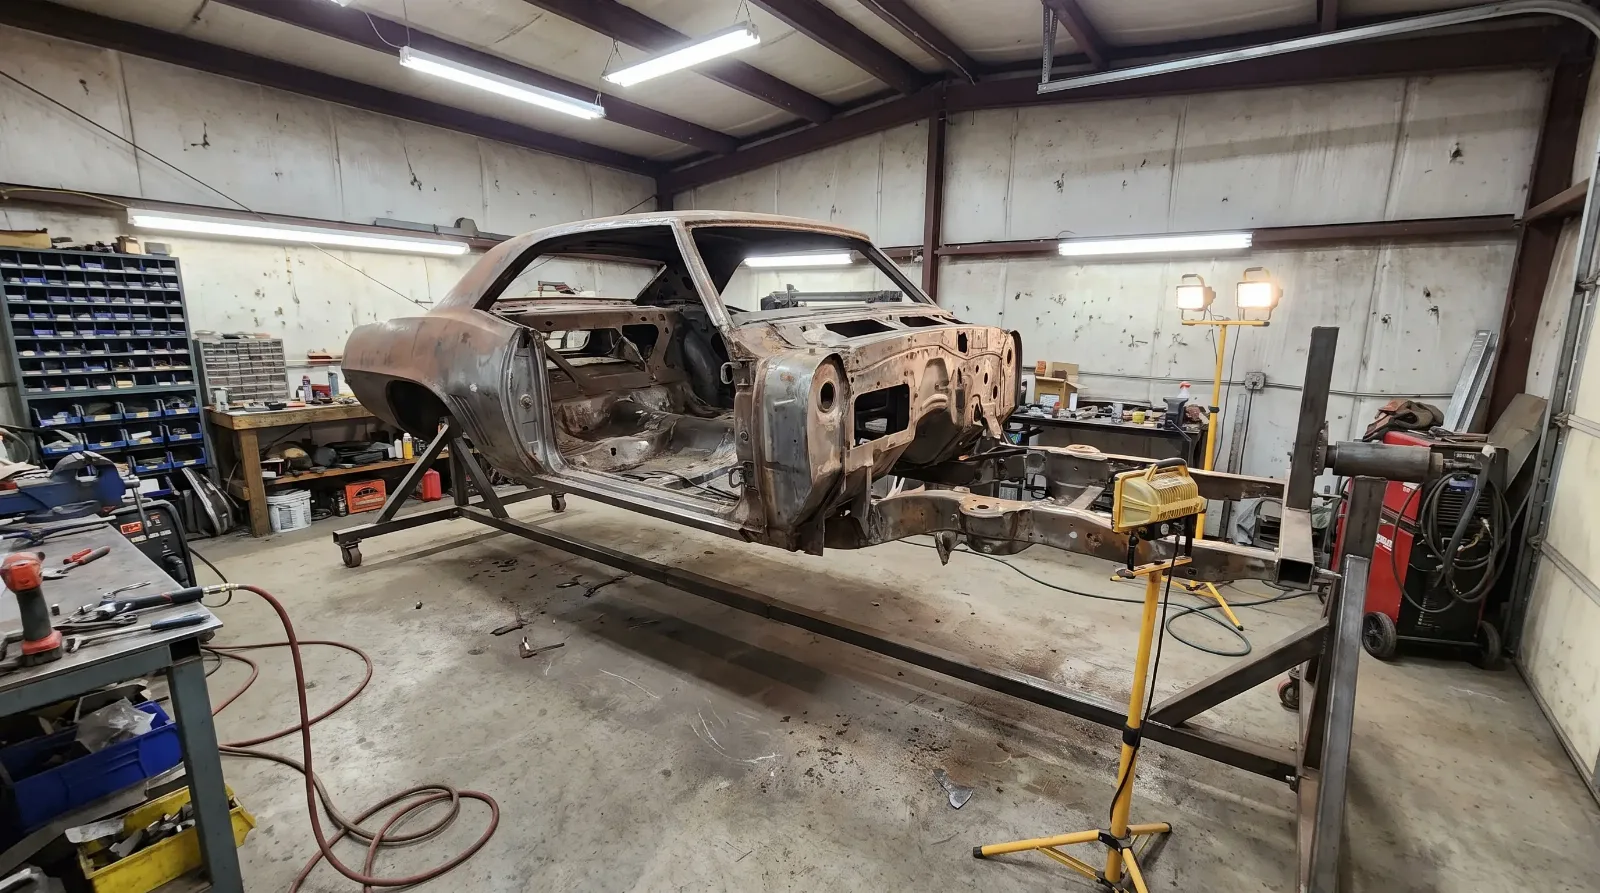
Bodywork preparation: the work that determines the result
Paint reveals bodywork quality; it does not hide it. A panel that has waves, low spots, or guide-coat pinholes will show those defects through any number of clear coats. The preparation sequence for a paint-ready first-gen Camaro panel goes like this:
- Strip to bare metal (media blast, chemical strip, or DA with 36-grit followed by 80-grit for small areas)
- Apply epoxy primer within the working window after metal prep to seal the bare metal
- Block sand with 80-grit on a hard block to find low spots and waves
- Apply body filler sparingly to low spots; never apply filler over primer or over painted surfaces
- Block with 80-grit over filler until flat; feather edges smoothly into surrounding metal
- Apply polyester glazing compound for pinholes and very minor surface defects
- Block with 180-grit, then 320-grit, using guide coat after each pass
- Apply high-build urethane primer-surfacer; block with 320-grit wet, then 400-grit wet
- Final inspect under raking light for remaining imperfections; address any found
- Scuff with 600-grit and tack before color application
Body filler should be used to address low spots that cannot be raised with hammer and dolly work, not as a substitute for metal straightening. Body filler should be kept as thin as practical; most bodywork guidance treats filler much thicker than roughly a quarter to three-eighths of an inch as a durability concern and a sign that the underlying metal should have been straightened further rather than buried.
"Guide coat is not optional. I spray a thin mist of a contrasting rattle-can color over every panel before I block it. The guide coat sits in any low spot or scratch. If your block removes the guide coat evenly and completely across the panel, it is flat. If low spots hold color, you have more work. You cannot feel what you cannot see, and guide coat makes the invisible visible."
— Jim Vasquez
Color matching for partial respray and touch-up
If the original paint on a Camaro is sound and you are addressing only accident damage or a repainted panel, color matching requires more than finding the correct formula code. Paint fades and shifts over decades of UV exposure, and a fresh mix of the original formula applied next to weathered original paint will look wrong even if the code is correct. Options for partial respray matching include spectrophotometer scanning of an adjacent original panel, blend spraying into adjacent panels to feather the transition, and in some cases color-sanding and polishing the original paint to shift it slightly closer to fresh-formula color.
For full respray projects where all exterior panels are painted in the same session, formula matching to the trim tag code is reliable provided you work with a supplier who has access to the correct historical cross-references and mixing data for your specific color and year.
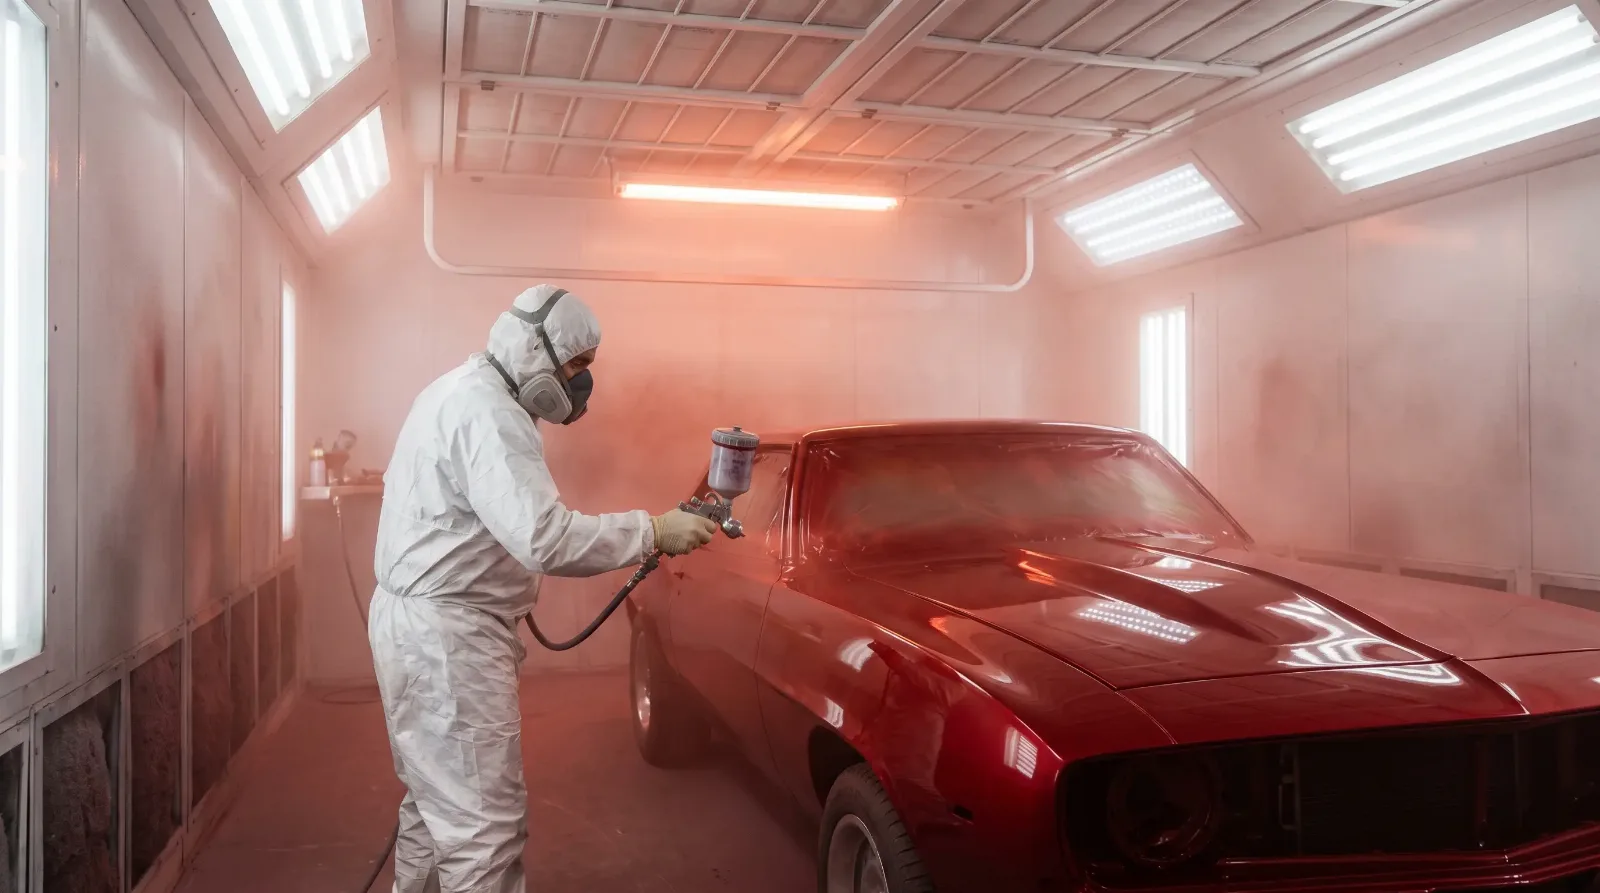
Clear coat, buffing, and final finish
If you are using a basecoat/clearcoat system, allow the clear coat to cure fully before compounding and polishing. Cutting too early removes clear rather than leveling it. Most urethane clear coats need to cure for a day or more at room temperature before wet sanding, with full hardness for aggressive buffing taking several days longer; always follow the cure times on your specific product's technical data sheet, since they vary by brand and hardener. Use a two-stage compound and polish system with a machine polisher; single-stage cutting compounds applied by machine to fresh clear can burn through thin areas at panel edges. Finish with a paint sealant or carnauba wax appropriate for your paint type.
With the paint complete, the next major decision for any serious Camaro restoration is whether to go frame-off or work frame-on. Read our guide on choosing a Camaro restoration path to understand the trade-offs and what each approach actually costs in time and money.
Sources and notes
Production figures, engine specifications, codes, and dates in this article are cross-referenced from established Camaro references, period documentation, and owner registries. Where sources differ, the most commonly cited value is used. Cost figures are indicative and vary by supplier, region, and condition.
- Hugger Orange and 1969 Camaro Color History - Camaro Research Group
- 1969 Camaro Paint Codes & Color Cross-Reference - PaintRef
- Auto Body Filler Application Best Practices - Eastwood
- Single-Stage vs Basecoat/Clearcoat for Classic Restorations - Summit Racing
- Classic GM Lacquer & Enamel Paint Systems - PPG Refinish