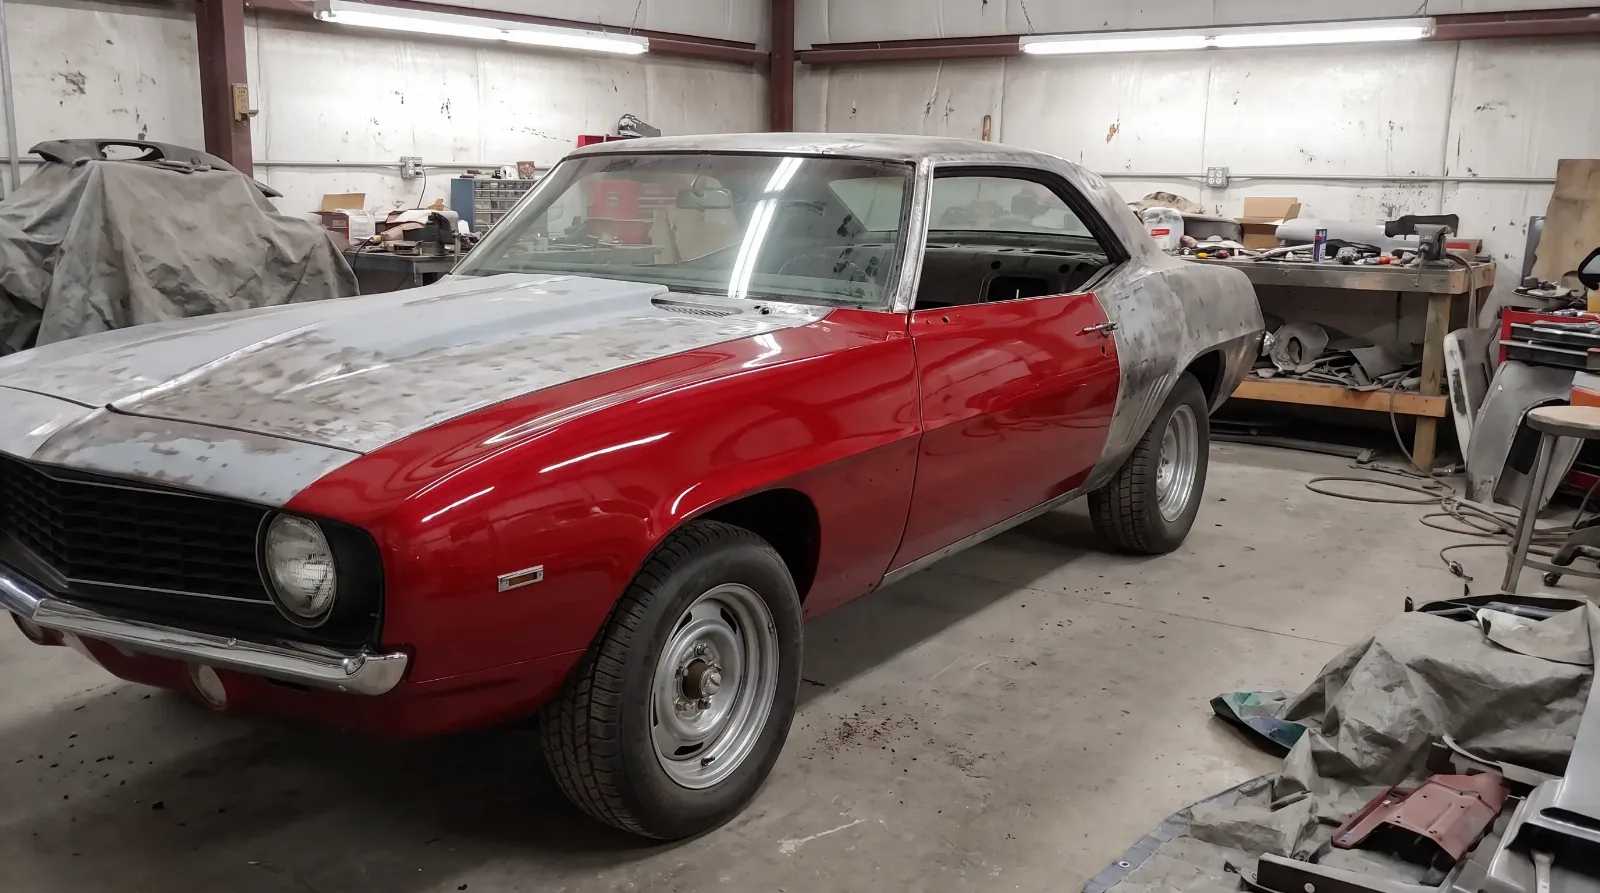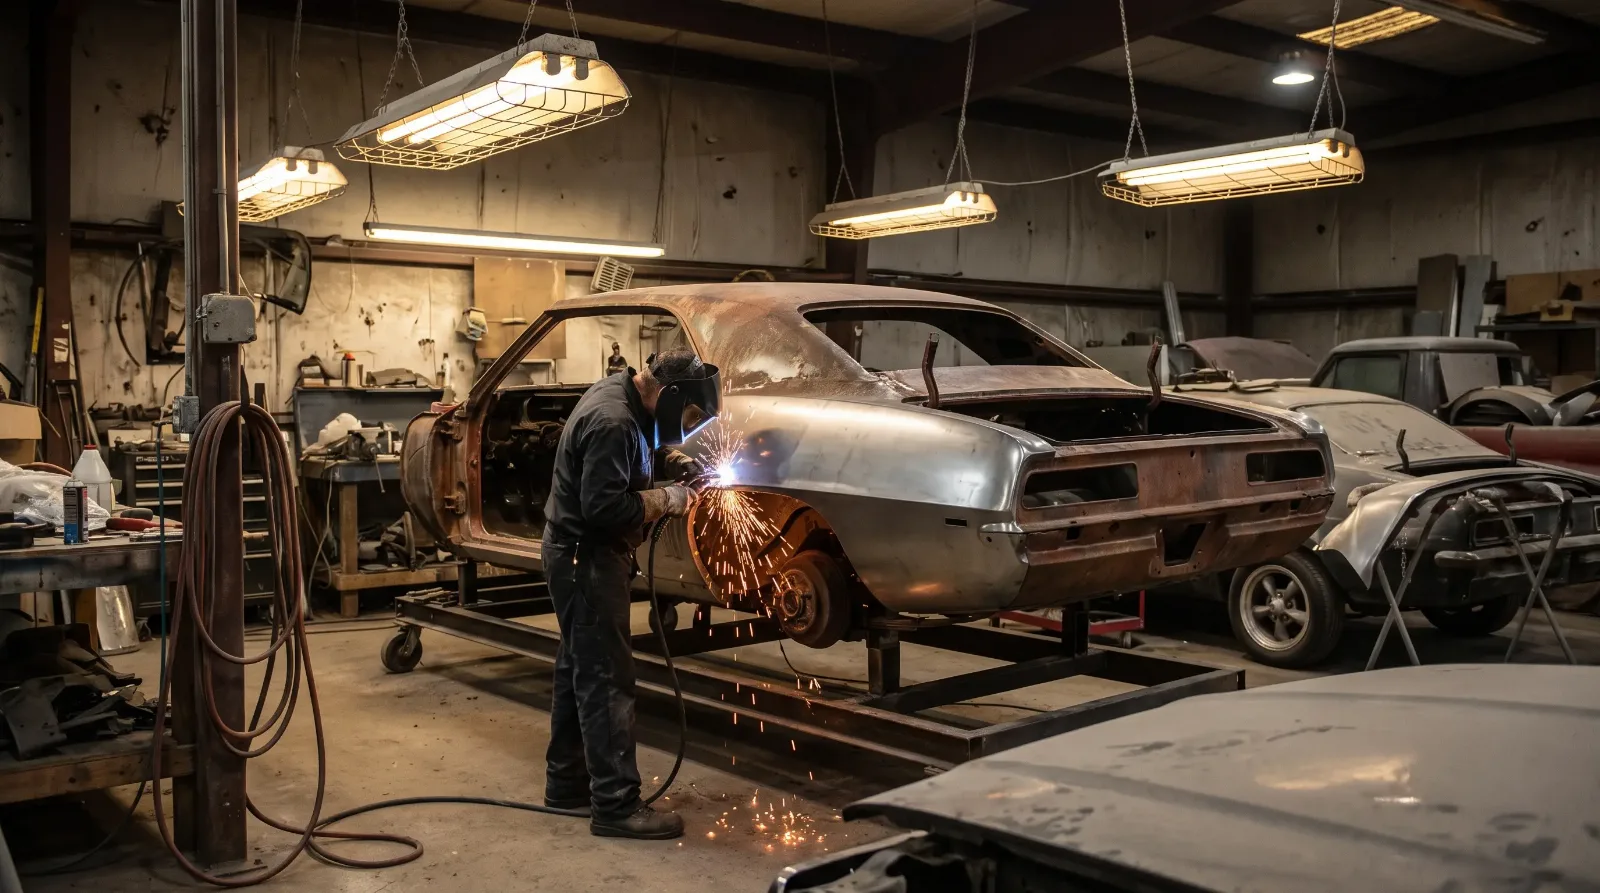

I've pulled apart enough of these to tell you that most Camaro restorations come with a story that doesn't match the asking price. The guy selling it says it's "90 percent done." What that usually means is the easy, visible stuff got addressed and the expensive structural work didn't. That's not always the case. But it's common enough that you need to know what to look for before you hand over any money.
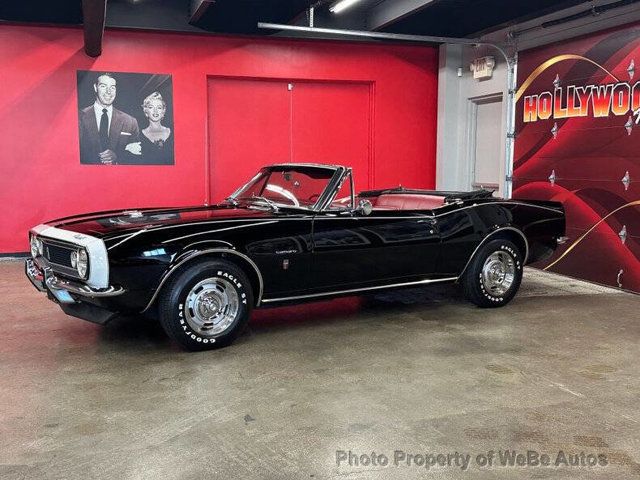
To understand why certain years present different challenges, it helps to know the full backstory from its 1967 introduction through the second-generation cars that ran to 1981. The platform changed significantly between generations, and so did the rust patterns, the parts availability, and what a complete restoration actually requires.
Where Camaros rust
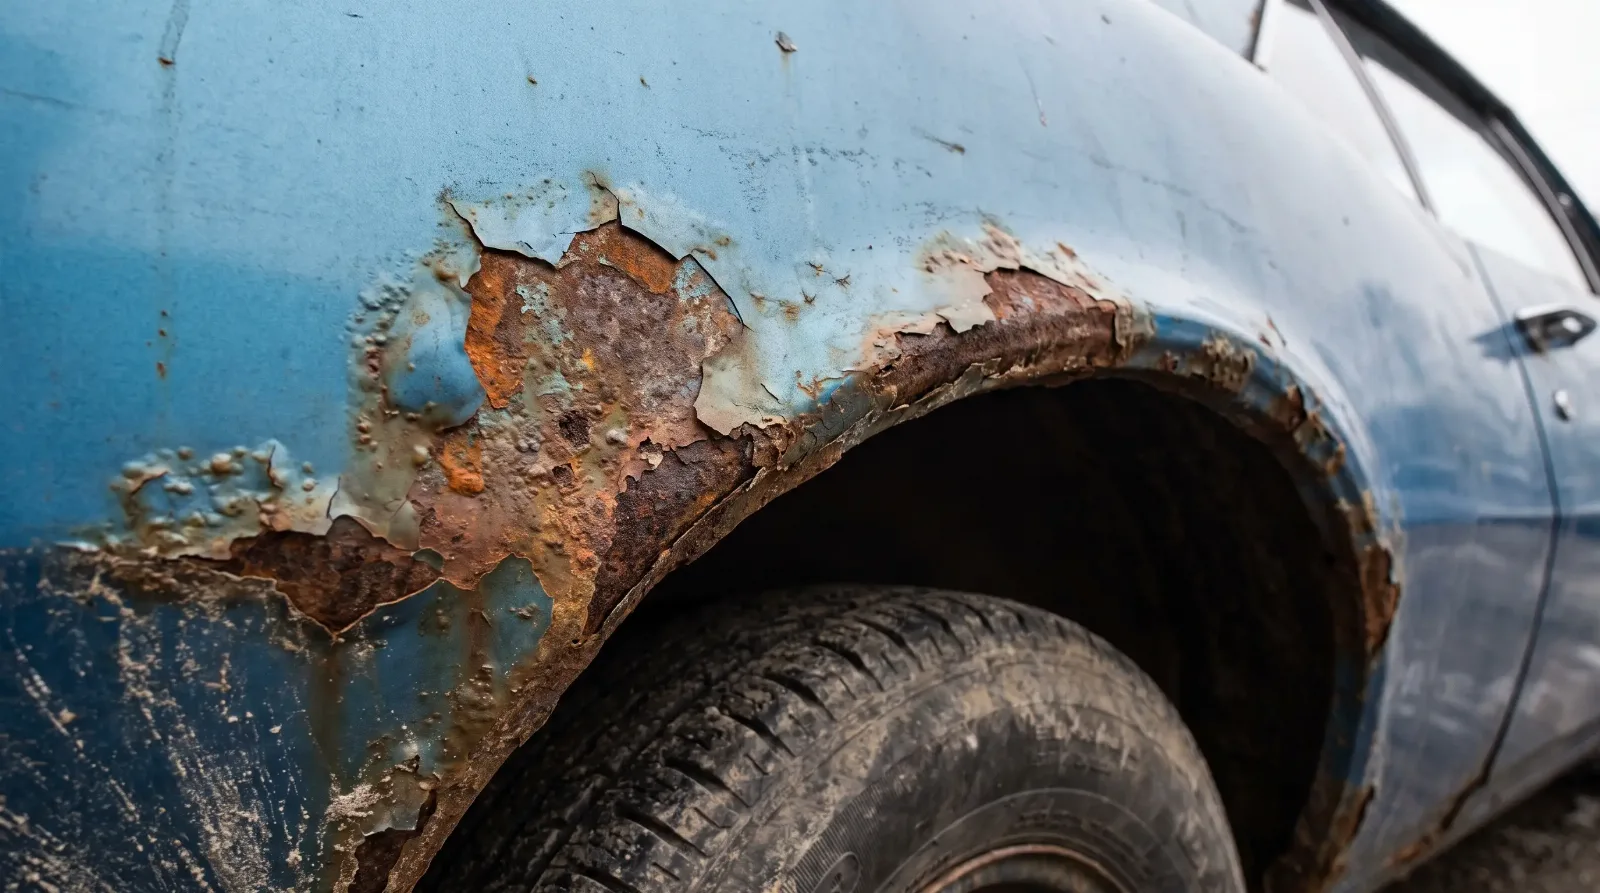
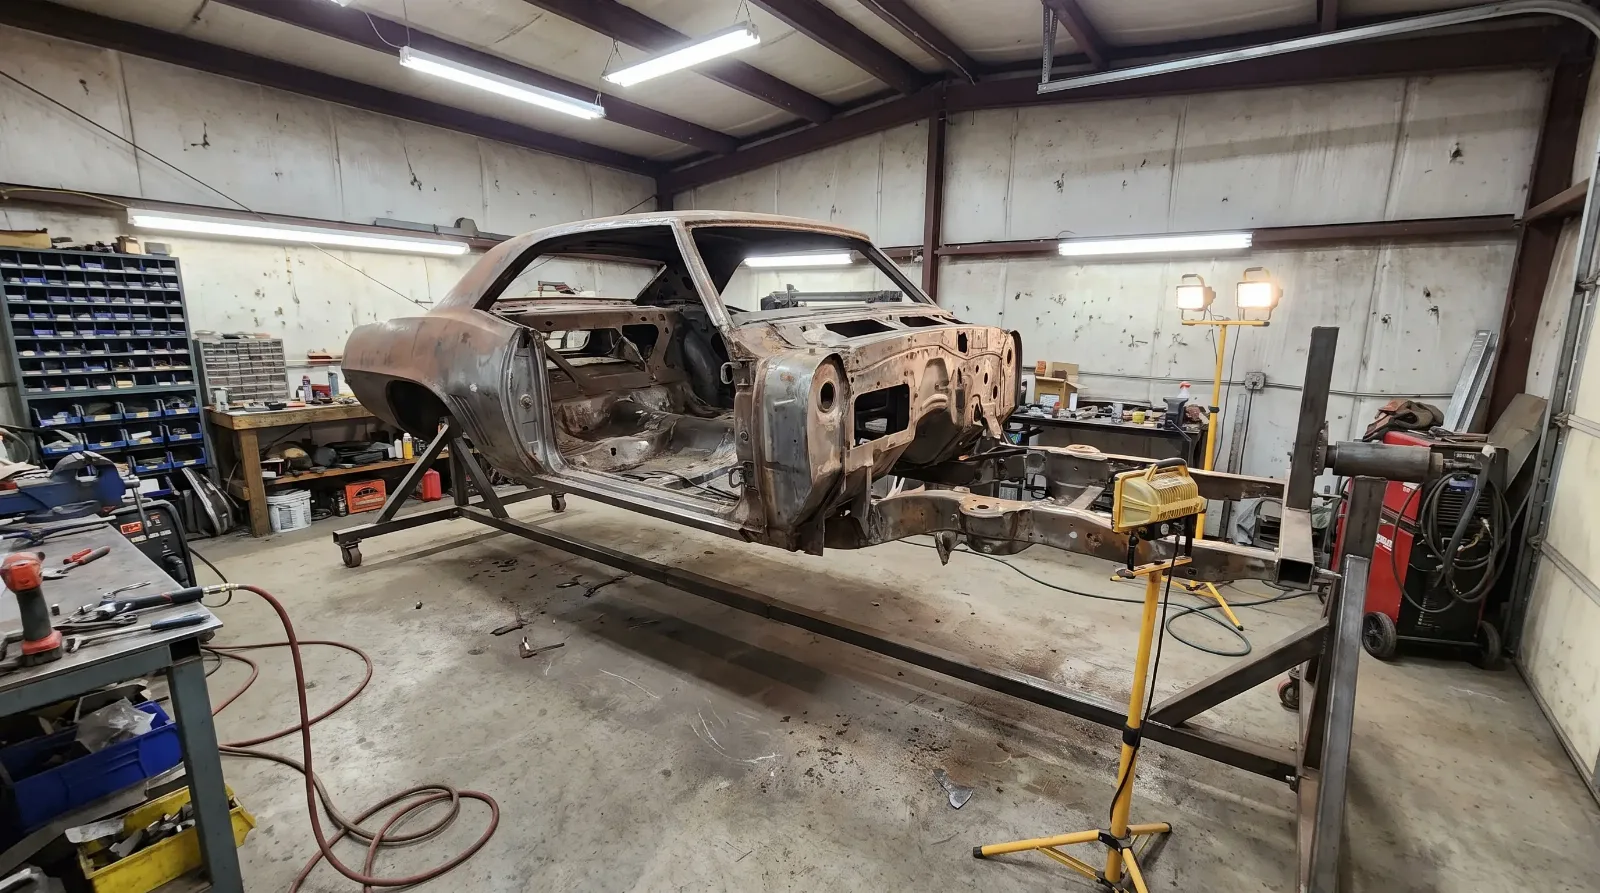
Floor pans are the first thing to check and the most commonly patched over rather than fixed. On first-gen cars (1967 to 1969), water gets into the cab from three places: the cowl, the windshield seam, and the rear window. Once it's in there, it pools in the lower corners of the firewall and rots the floor from the front seam back toward the seat mounts. Second-gen cars (1970 to 1981) have a similar problem but add rocker rot from road spray. Check the rockers by pressing on them firmly. If they flex, you already know what you're dealing with.
Frame rails on both generations are a serious concern on anything that wasn't garaged its whole life. The front subframe on a first-gen car attaches to the body at four mounting points, and those pockets trap moisture and dirt. Probe them. Use something with a point, not your finger. A rail that's thin enough to flex under pressure is not a rail you can trust a big-block to sit on without reinforcement. Budget accordingly.
The cowl is the one that catches people who only look at floors. On the 1967 to 1969 cars especially, the cowl panel runs under the base of the windshield and drains through small holes that clog with leaves and debris. Once they're blocked, the cowl holds standing water. That water works its way into the firewall seam and can rot a firewall completely from behind, leaving painted metal on the outside and nothing behind it. Tap the firewall from inside the car at the lower corners. A solid thud is good. A hollow sound or a soft spot means you're looking at metalwork, not just a floor patch.
Understanding numbers-matching and trim tags
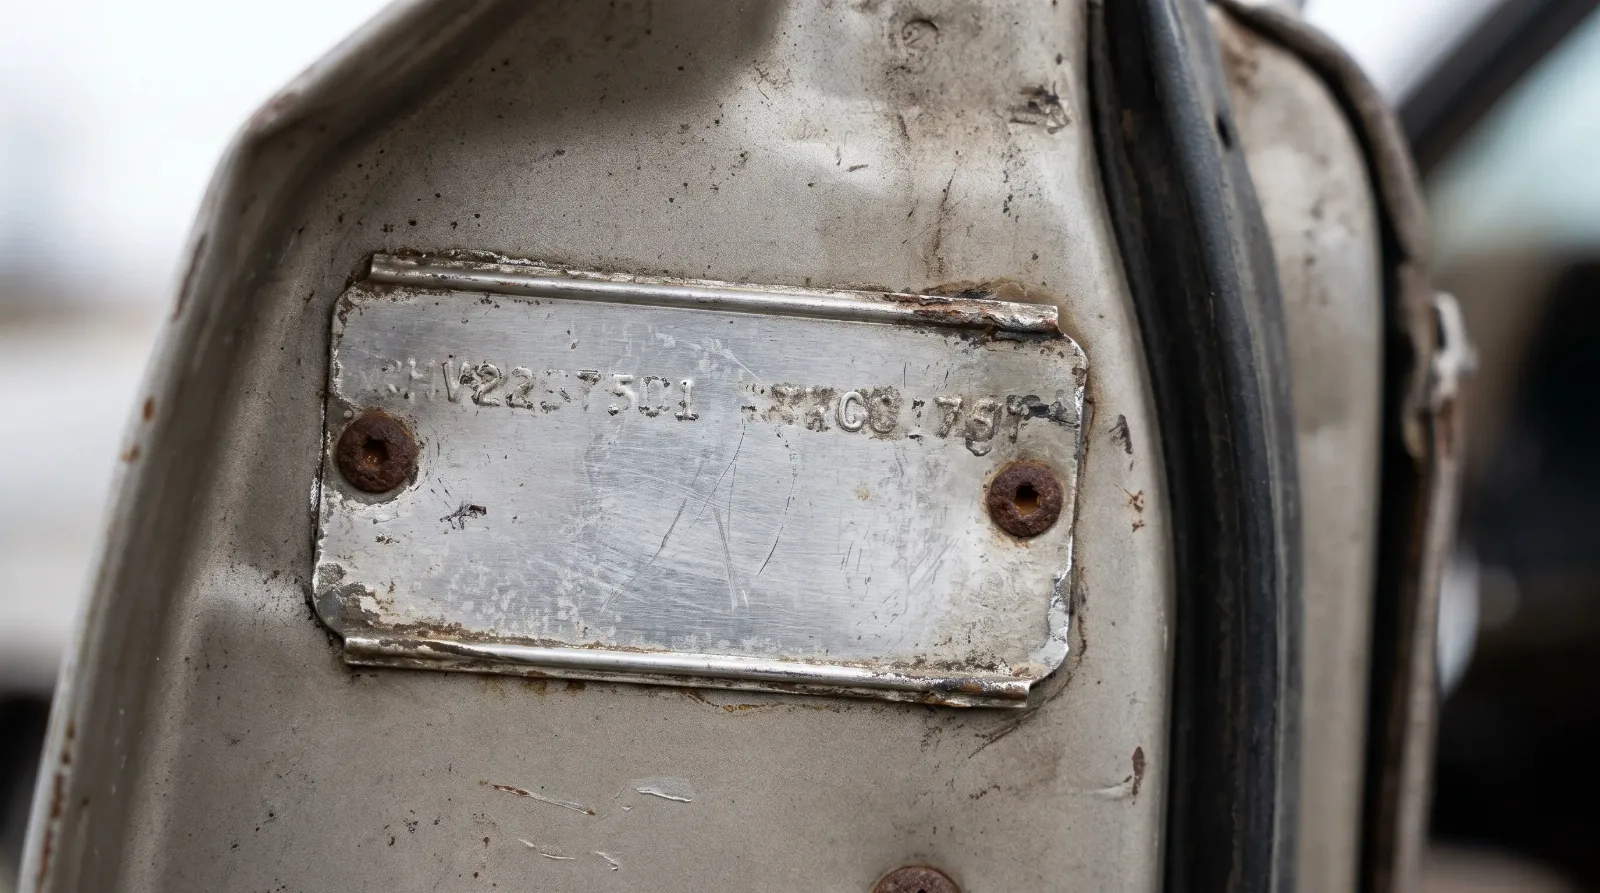
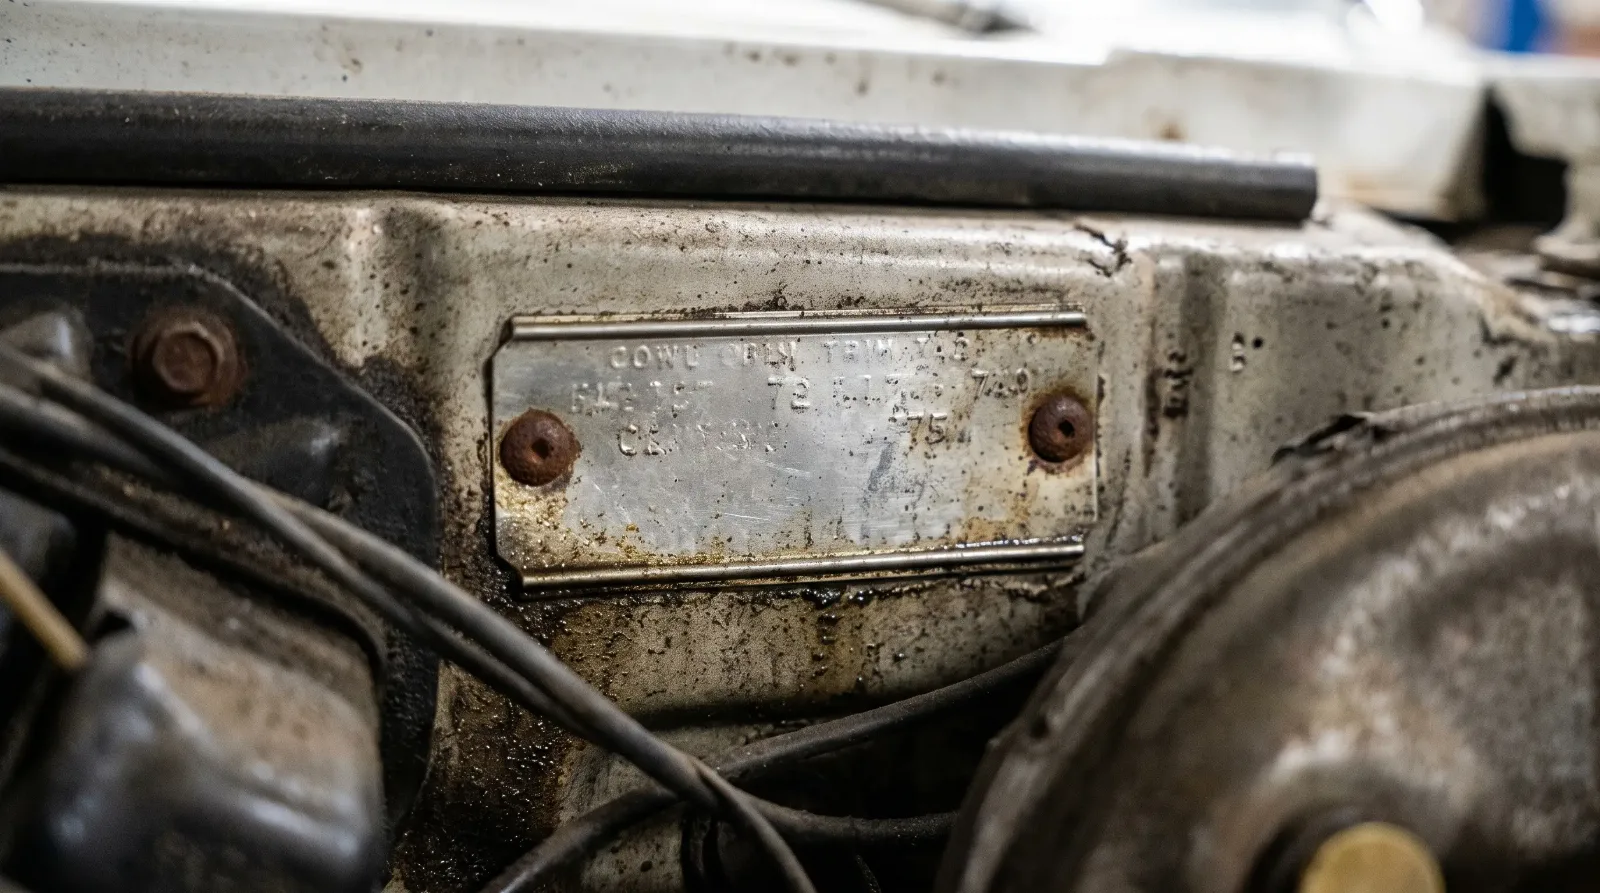
Numbers-matching gets thrown around constantly in Camaro listings and most buyers don't know what to actually verify. For a first-gen car, you're looking at the engine VIN stamp, the transmission code, the partial VIN on the block, the carburetor date code, and the trim tag on the cowl. The trim tag tells you the body color, interior color, date of assembly, and in some cases the build plant. It's a small aluminum plate and it's often missing, altered, or unreadable after decades of engine bay steam cleaning.
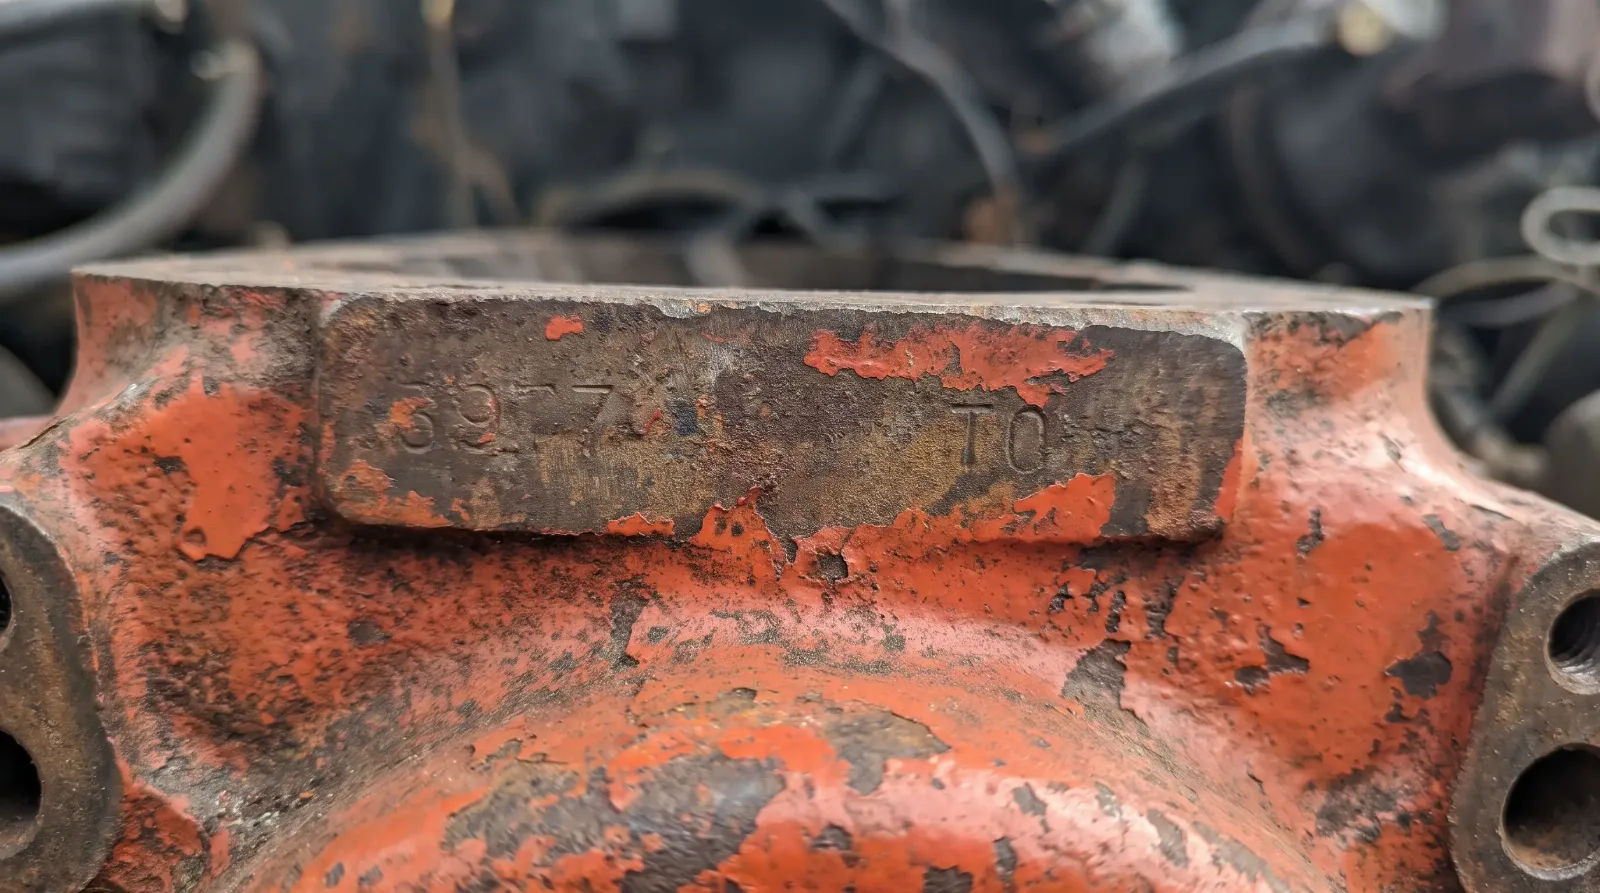
The VIN stamping on the engine is a partial number pad-stamped onto the block at the factory. On a 1969 small-block, it's typically on the front passenger-side pad just below the head. It should match the last eight digits of the dash VIN. Verify the casting date as well: the block casting date should be several weeks or months before the car's build date, never after. A block with a casting date that postdates the car's build isn't a factory engine regardless of what the stamp says.
For buyers who want to understand numbers-matching on a budget, there are solid resources within the Camaro community including the Camaro Research Group database, which cross-references partial VINs and trim tag data against factory records. That kind of due diligence is the difference between paying correct money for a documented car and paying documented-car money for a parts car rebuild.
"If someone tells you a car is numbers-matching but can't produce the trim tag, the block stamp, and a build date that makes chronological sense, they're guessing. Maybe an honest guess, maybe not. Either way, price it as a non-matching car until you verify."
— Mike Sullivan
The real cost of a Camaro restoration by tier
People ask me what a Camaro restoration costs and I give them the honest answer: it depends on what you're starting with, how correct you want to be, and whether you're doing the labor yourself. Here's a realistic breakdown by tier.
| Tier | Description | Realistic cost range | Notes |
|---|---|---|---|
| Driver quality | Solid body, runs and drives, presentable but not show-ready | $15,000 to $30,000 in work on a project car | Assumes you're doing some labor. Rust-free donor cars cut this significantly. |
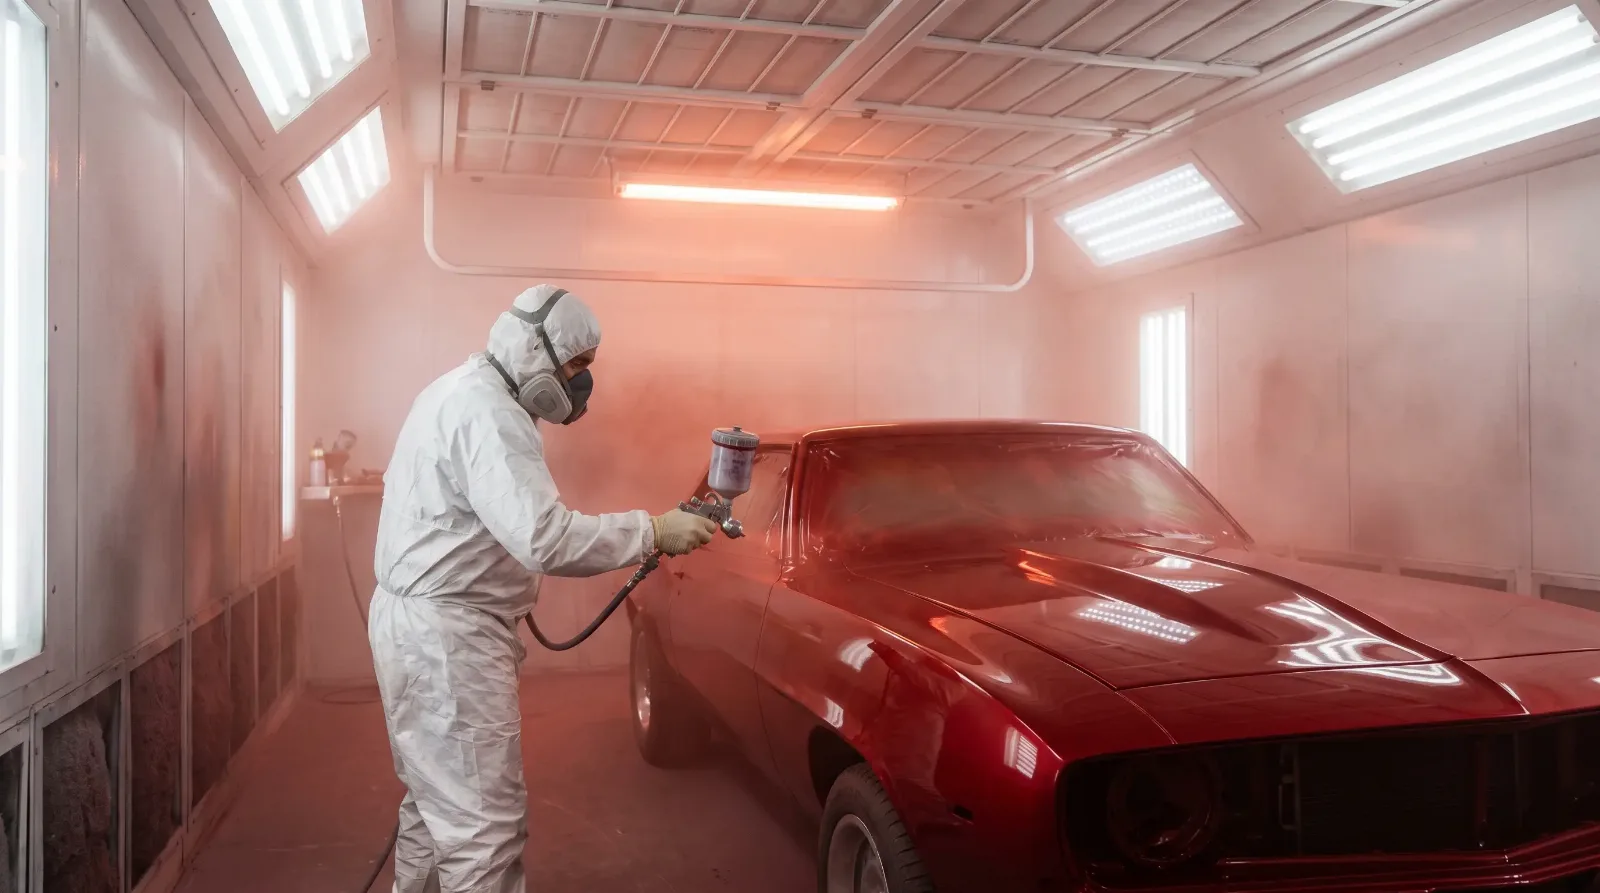
| Solid driver | Correct paint, correct interior, mechanically sound and documented | $30,000 to $60,000 in work | Numbers-matching drivetrain adds cost for parts sourcing. Body and paint alone can run $12,000 to $20,000 for quality work. |
| Show quality / concours | Correct to factory specification, judged-event ready | $80,000 to $150,000+ in work | Detailing alone at this level can exceed $10,000. Correct original parts (date-coded hoses, correct-date glass) drive costs well above parts-counter prices. |
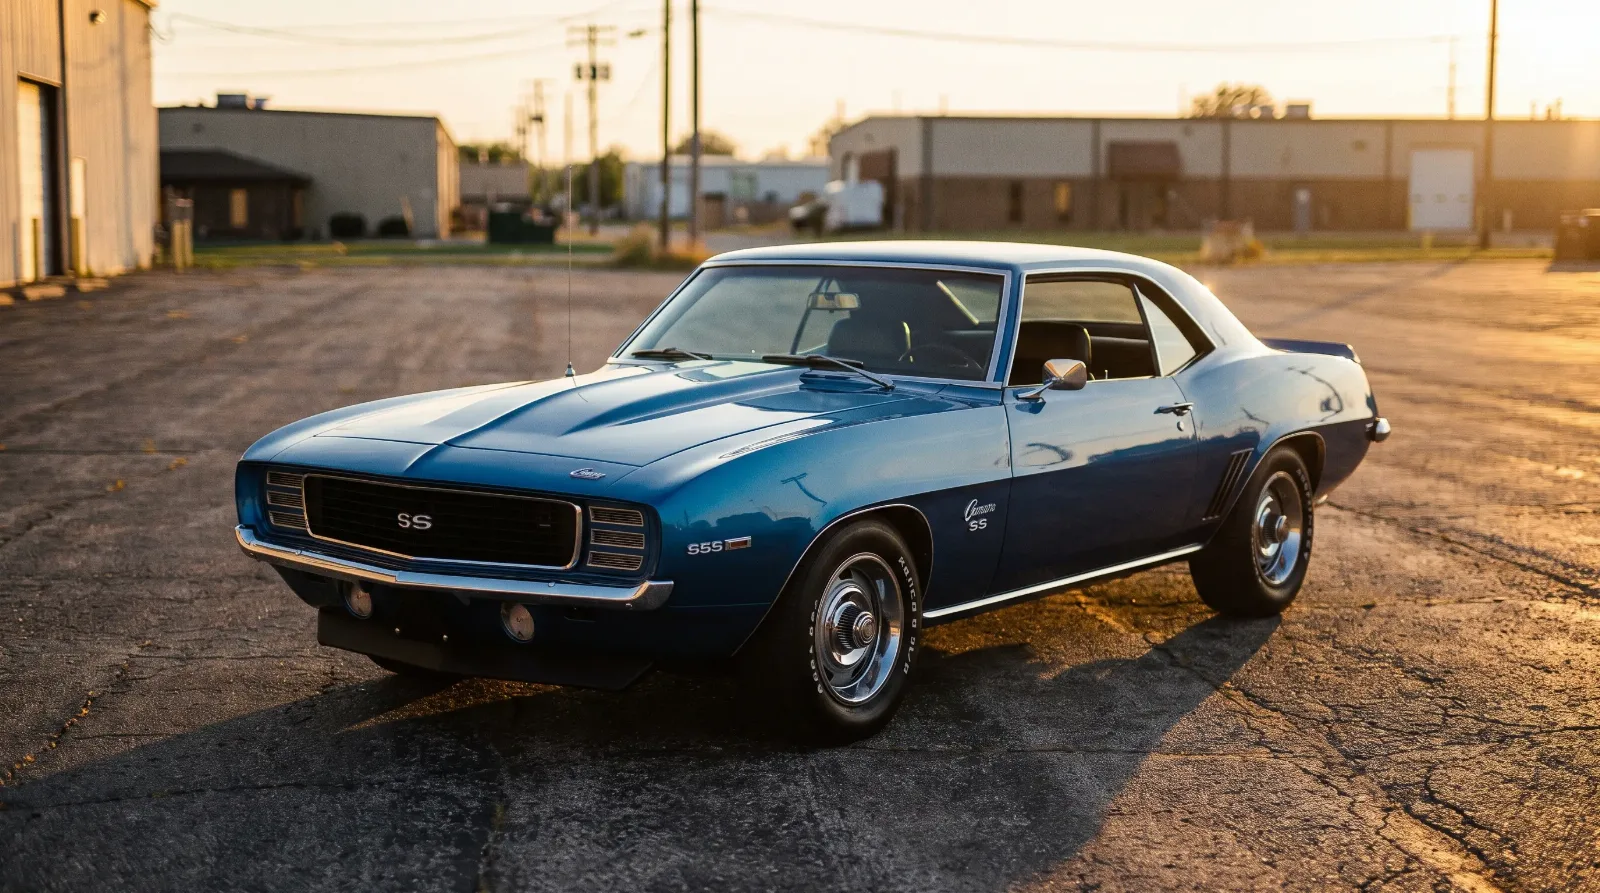
The honest math on a first-gen Camaro restoration is that you will almost never recoup your investment at current market values unless you already own a rare, documented, high-optioned car. A correct SS/RS 396 with documentation has value. A standard V8 car with a non-original engine that you restore to show quality will not bring back what you put into it at auction. Do it because you love the car. Don't do it as an investment strategy.
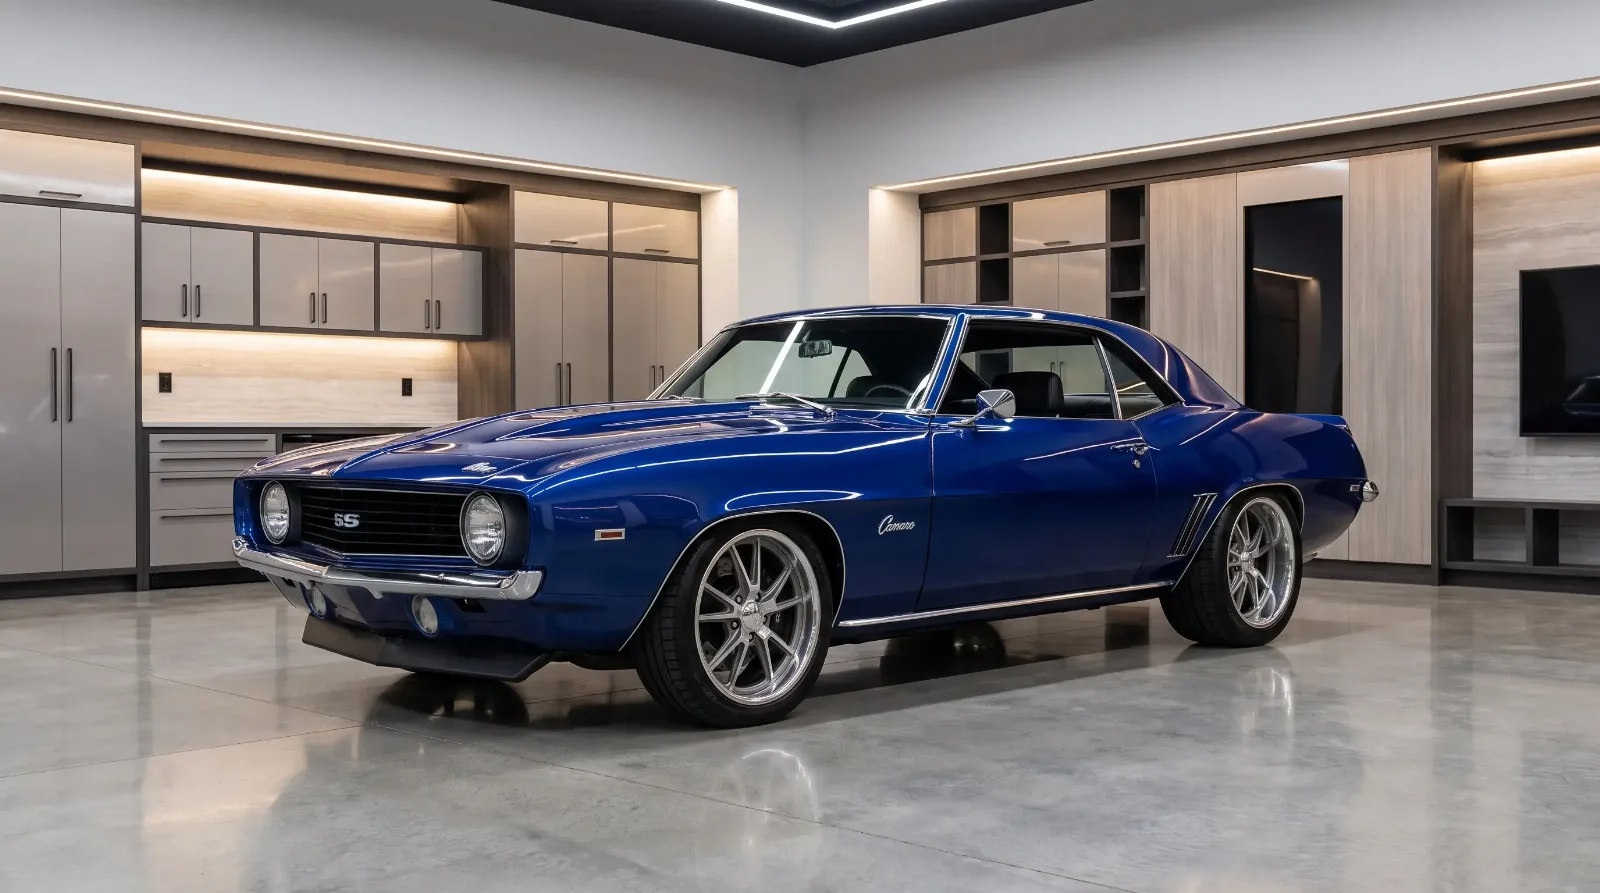
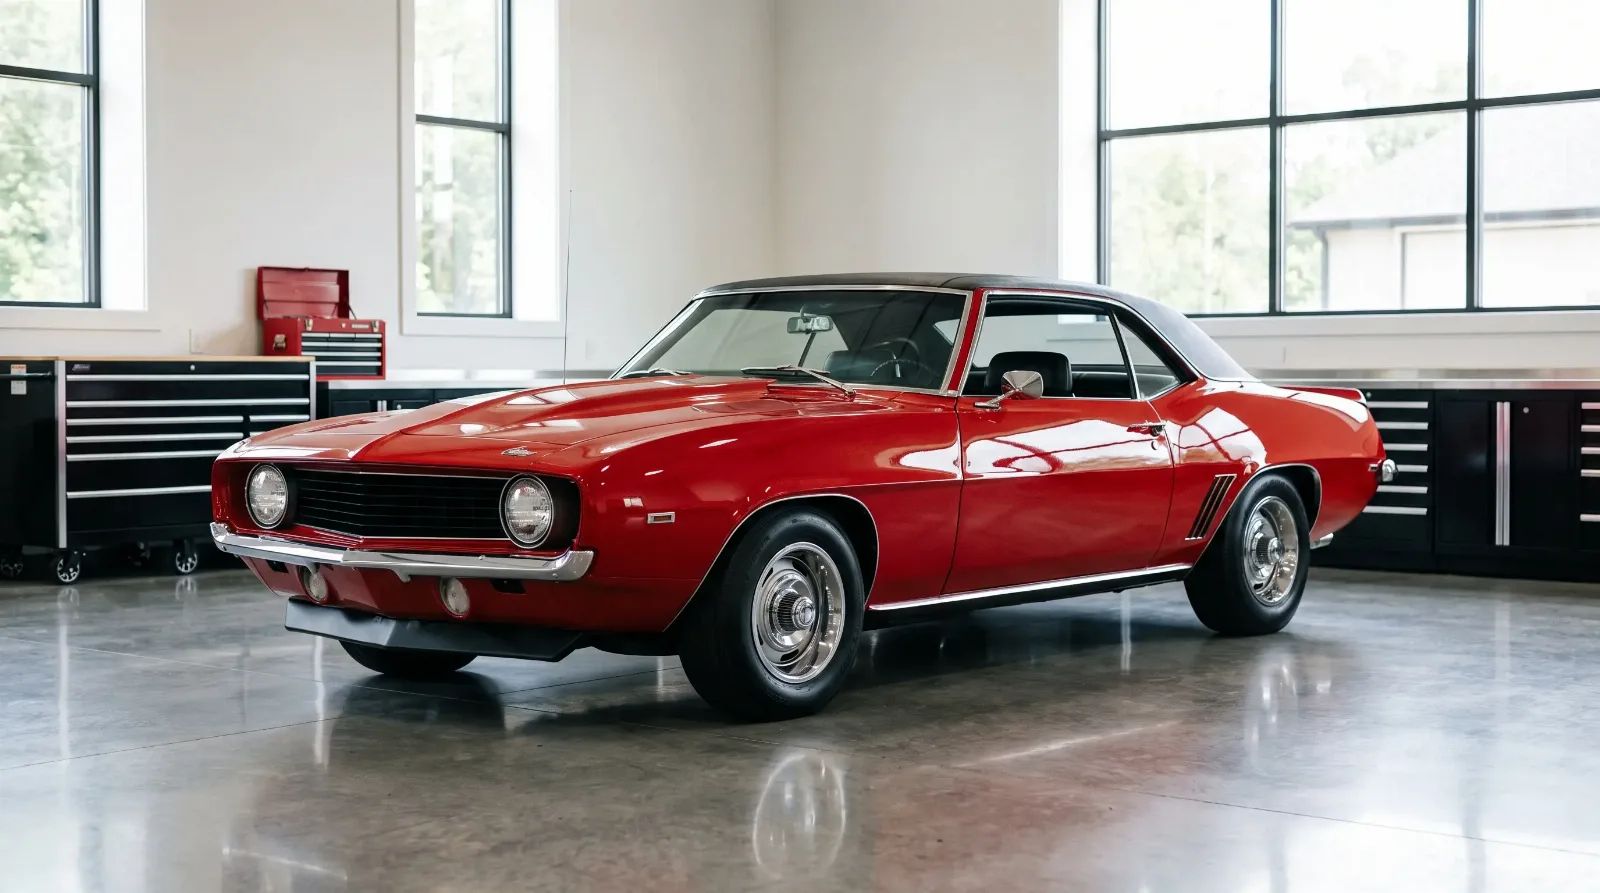
Restoration vs. restomod: making the call
This question comes up constantly in the Camaro world and I'll give you a straight answer: it depends on what you want to do with the car. A factory-correct restoration of a 1969 SS makes sense if the car is rare, if the documentation is there, and if you want to show it or eventually sell it to a collector who values correctness. If you have a standard small-block car with no special options and you want something that's enjoyable to drive on modern roads, a restomod makes more sense by almost every practical measure.
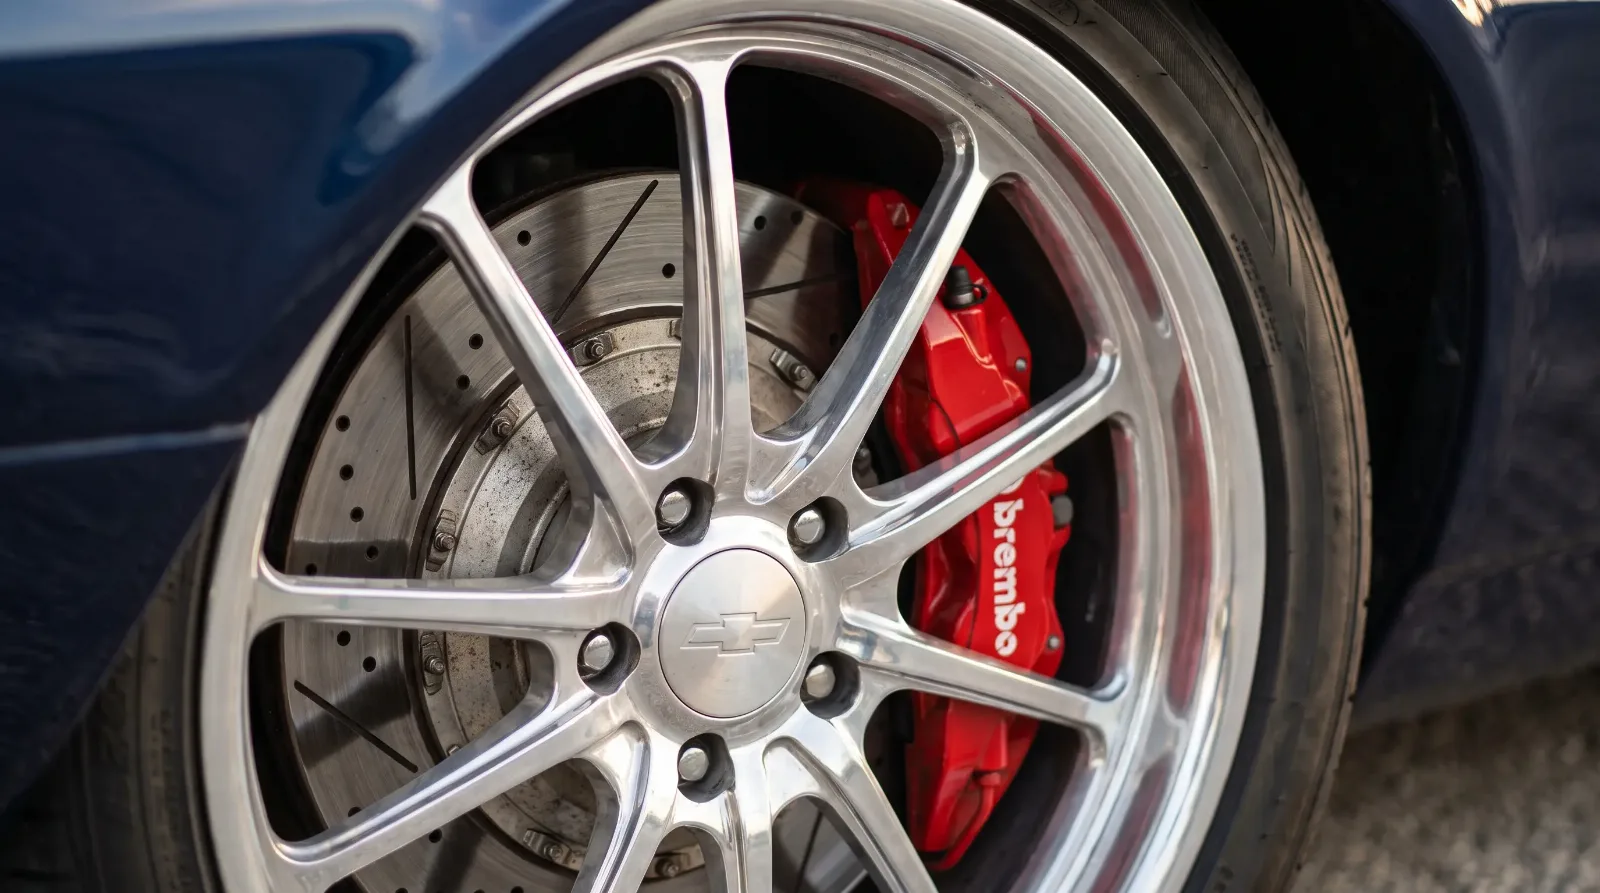
A restomod build on a Camaro platform can give you four-wheel disc brakes, a modern fuel-injected LS engine, a proper suspension tune, and a car that stops, steers, and goes in a way the factory version genuinely couldn't. You're not destroying history when you do this to a non-numbers-matching driver-quality car. You're building something that you'll actually use. If you want to explore what that kind of build looks like in practice, take a look at a restomod build that covers the decisions, costs, and tradeoffs involved.
Where I draw the line is on rare cars. A numbers-matching Z/28 or an SS396 with documentation should stay correct. The market rewards correctness on those cars. On a base V8 coupe with a replaced engine, you're not destroying anything by building the car you actually want.
Parts availability for first- and second-gen Camaros
The Camaro has one of the strongest reproduction parts markets of any American muscle car, period. Companies like Classic Industries, OER, and Dynacorn have been reproducing first-gen body panels, interiors, and trim for decades. Full floor pan replacements are available. Quarter panels, trunk floors, frame rail sections, and cowl repair panels all exist in the reproduction market. This is a significant advantage over many contemporaries where structural rust means fabrication from scratch.
Second-gen cars (1970.5 to 1981) have a somewhat thinner reproduction market, particularly for the late second-gen cars from 1977 to 1981. Interior pieces for those cars can be harder to source correctly, and some body trim is difficult to find in good condition. The flip side is that second-gen Camaros are generally less expensive to acquire, which gives you more budget to work with on the restoration.
For anyone considering a project, especially among first-gen Camaro project cars, confirm parts availability for the specific year and option content before you buy. A 1967 base coupe and a 1969 Z/28 have very different parts ecosystems, and the Z/28-specific pieces like the correct DZ 302 block, the solid-lifter heads, and the correct Muncie four-speed are not cheap even when reproduction versions exist.
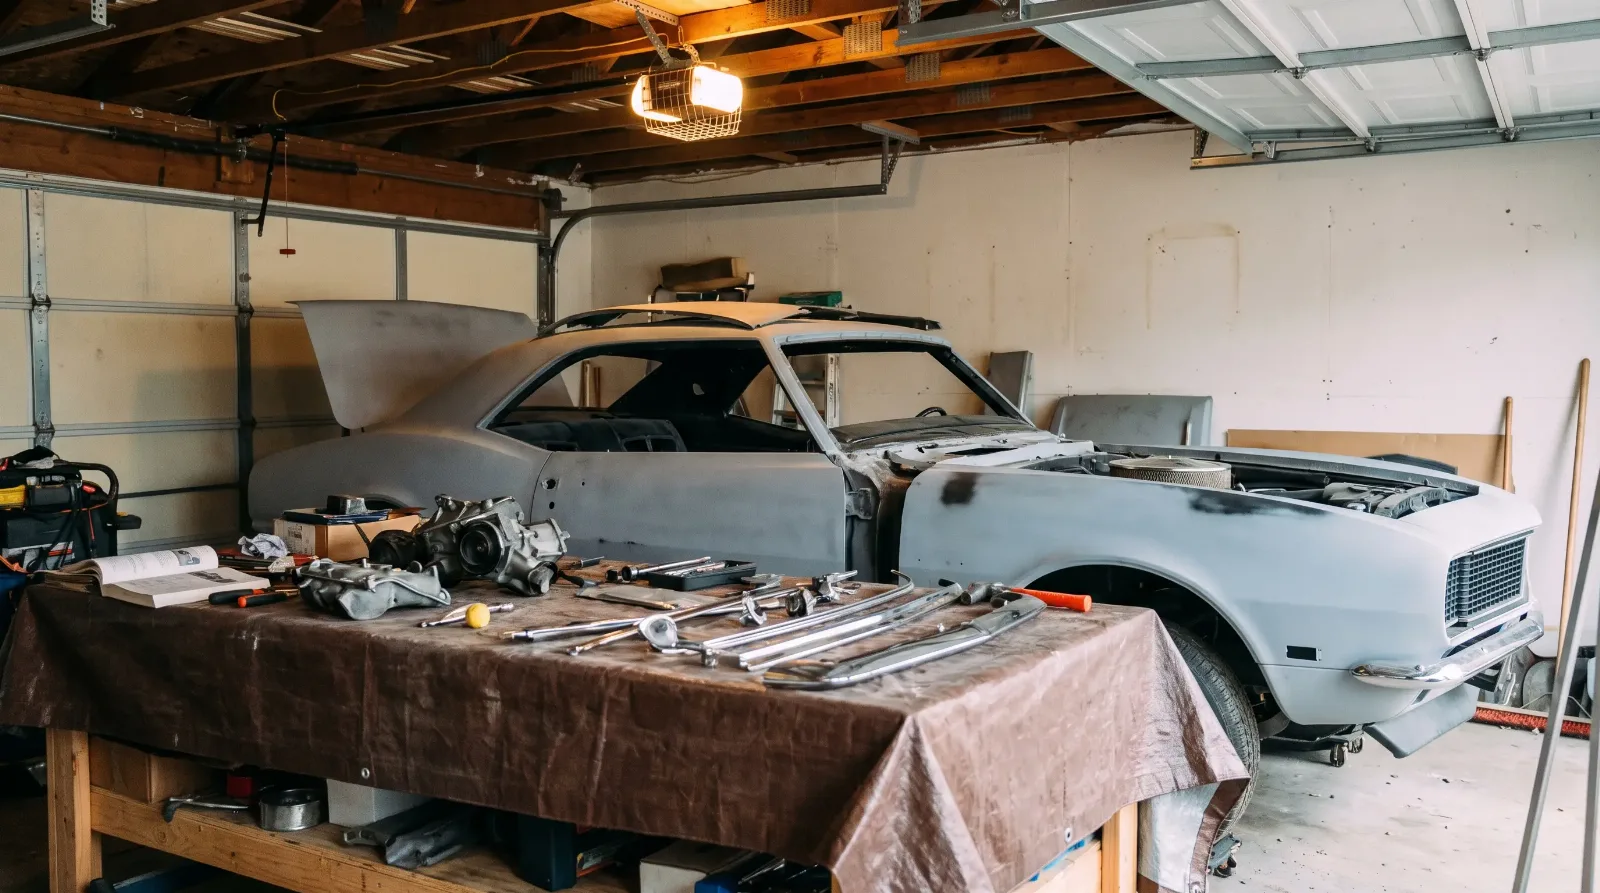
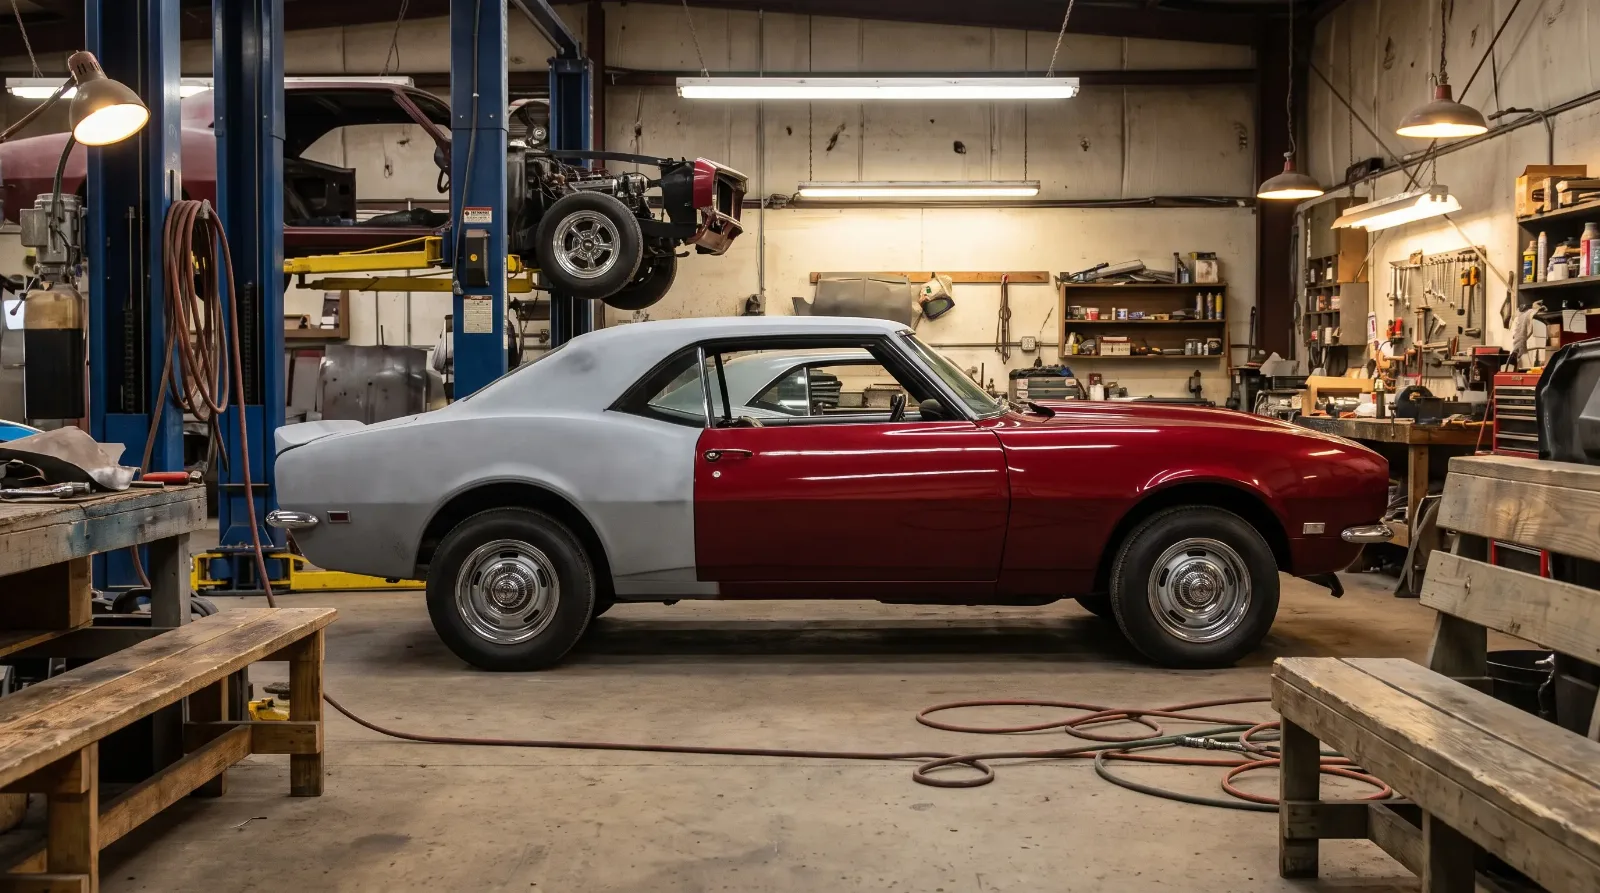
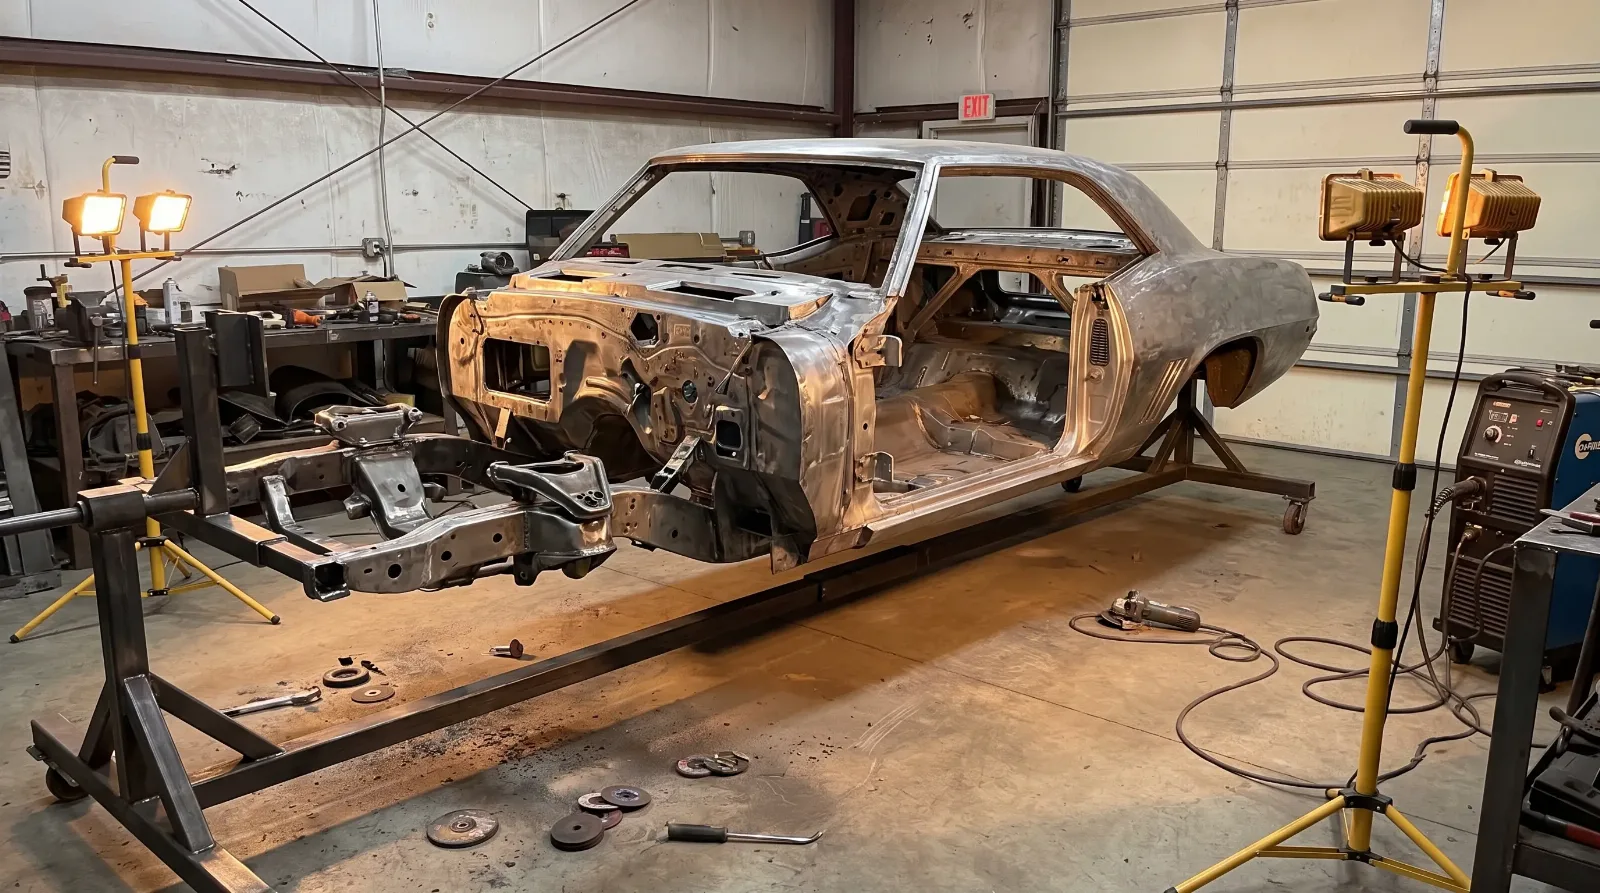
What to inspect before buying a project Camaro
Here is the order I work through when I'm looking at a project Camaro. Not every car gets every check, but nothing gets skipped until I've seen enough to know the car is what the seller says it is.
🔧 Inspection Priorities
- Frame rails and subframe mounting points. Structural rot here means fabrication, not just panel replacement. A full front subframe replacement on a first-gen car is several thousand dollars in labor alone, not counting materials. Get under the car before you look at anything else.
- Cowl condition. Pull the windshield wiper arms and look into the cowl drain area with a light. Standing debris, rust scale, and soft metal mean the firewall may already be compromised. A cowl repair on a first-gen car that's already rotted through the firewall can easily run $3,000 to $6,000 in a body shop.
- Floor pan condition. Pull the carpet or have the seller pull it before you arrive. Undercoating sprayed over rust is common. Tap the floor with a screwdriver handle every six inches and listen. Soft spots and hollow sounds mean patch panels at minimum, full floor replacement if the damage runs to the torque boxes.
- VIN and trim tag verification. Compare the dash VIN to the door jamb VIN, the engine pad stamp, and the partial VIN on the transmission if accessible. Discrepancies aren't always disqualifying but they need explanation. A missing trim tag on a first-gen car is a red flag if the seller is claiming original paint or interior.
- Engine and transmission condition. Run the engine if it's claimed to run. Oil pressure, coolant temperature, valve train noise, and transmission shift quality tell you where the drivetrain actually stands. A numbers-matching engine that won't run or that smokes badly needs a rebuild estimate before you factor its value into the purchase price.
- Body panel fit and gaps. Original factory panel fit on a first-gen Camaro is imperfect by modern standards, but consistent. Gaps that change width along their length, doors that sag, hoods that don't close flush, these suggest either collision repair or poorly installed replacement panels. Neither is automatically a deal-breaker, but both affect what the car is worth.
A Camaro restoration done right is a real commitment of time, money, and patience. Done poorly it produces a car that looks good at fifteen feet and falls apart at five. The difference is almost always in the work that nobody sees: the structural repairs, the correct documentation, the attention to date codes and casting numbers that only matter to someone who knows what they're looking for. Know what you're looking for before you start writing checks. The cars that reward that kind of attention are out there, and the camaro restoration money is well spent when the foundation is solid.
Sources and notes
Production figures, engine specifications, codes, and dates in this article are cross-referenced from established Camaro references, period documentation, and owner registries. Where sources differ, the most commonly cited value is used. Cost figures are indicative and vary by supplier, region, and condition.