
Why the factory chassis is the starting point, not the finish line
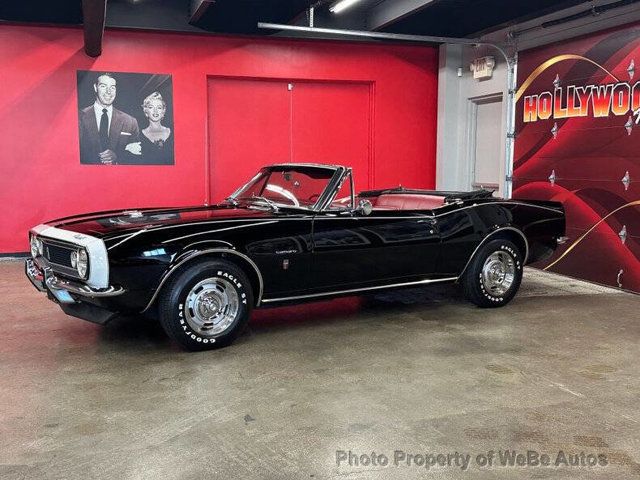
The first-generation Camaro, built from 1967 to 1969, came off the Norwood line as a good car for its era. The unibody structure was competitive, the front suspension geometry was conventional double-wishbone, and the rear was a basic multi-leaf setup with a solid axle. That was fine in 1968. It is not fine if you want the car to pull 1.0 g through a sweeper without drama.
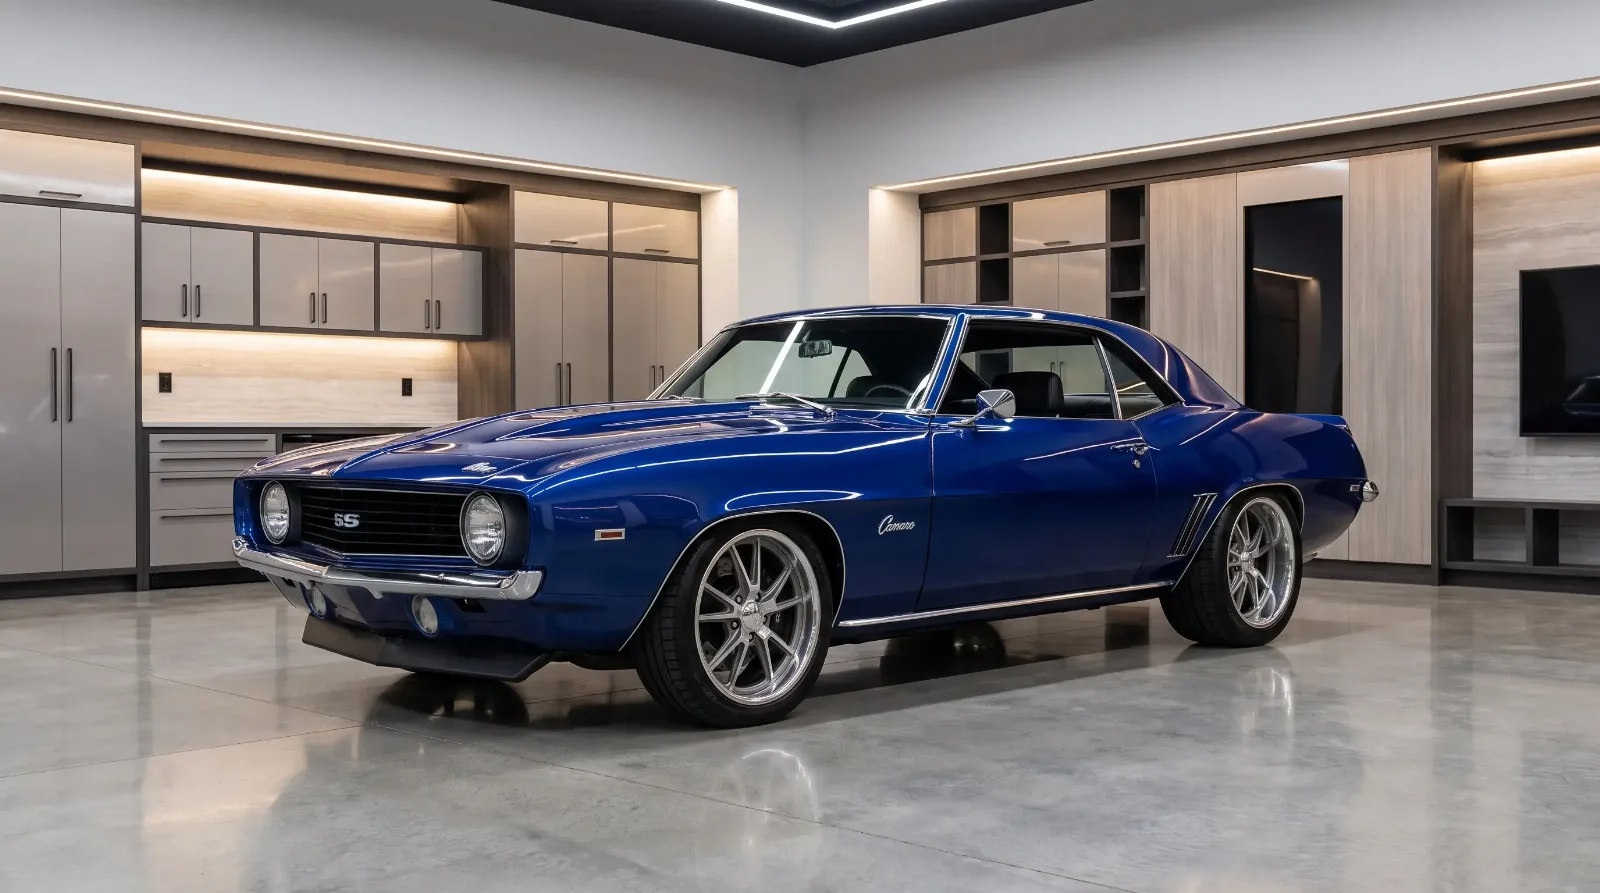
Pro-touring is not restomod lite. The goal is a car that drives with the composure of a modern sport sedan or a light track car, but looks like something that rolled out of a late-1960s Chevrolet showroom. Getting there requires addressing the chassis systematically, from the floor up. If you want to see finished examples before you start cutting checks, browse the pro-touring Camaros for sale on Classic Cars Arena to calibrate what a complete build actually looks like.
Subframe connectors and chassis stiffening
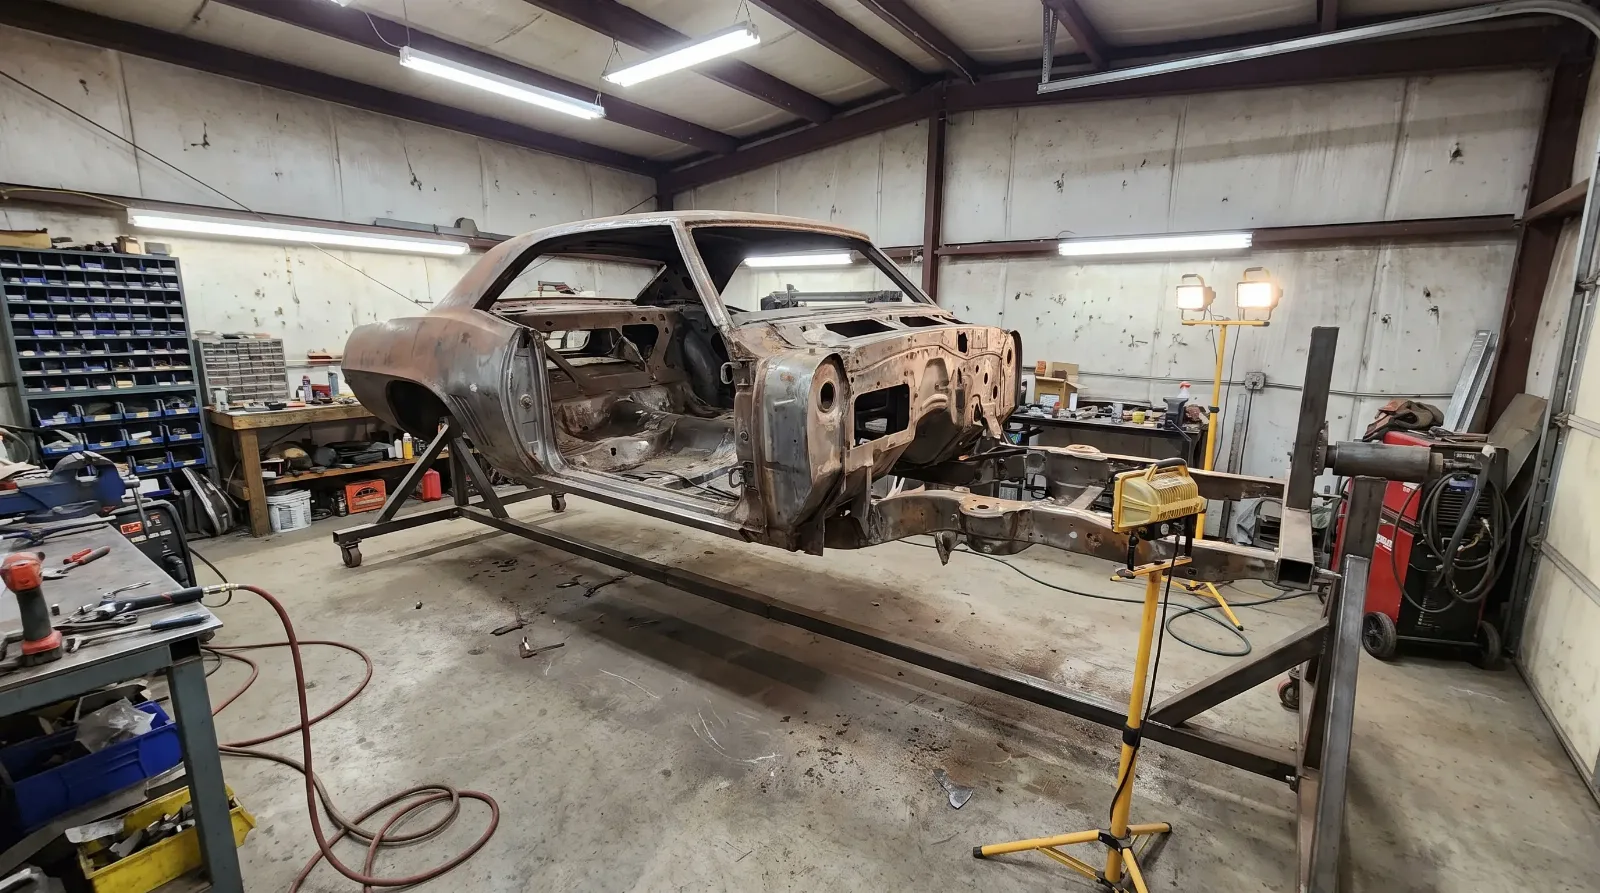
Before any suspension upgrade makes sense, the unibody has to stop twisting. The Camaro's front subframe and rear torque boxes are separate structures connected by floor sections that were never designed for cornering loads. Under hard use, the body flexes. That flex masks what the suspension is doing and makes the car unpredictable at the limit.

Subframe connectors are the first purchase on any serious build. They run from the front subframe pickup points to the rear torque boxes, and the better ones are full-length units that also tie in the floor pan mid-section. Weld-in connectors are stiffer than bolt-in versions because they become part of the structure. Bolt-in units work and preserve originality for cars that will be trailered, but if the car sees road courses or aggressive canyon driving, welded is the correct answer.
Beyond connectors, most pro-touring builders add a front torque box reinforcement, a strut tower brace, and door opening bracing if the car has a convertible body style. On a coupe, the roof contributes meaningfully to torsional stiffness. Convertibles need more work to reach the same baseline.
"I tell everyone the same thing: do the subframe connectors before you spend a dollar on suspension. You are tuning geometry on a platform that flexes until you stiffen it. All your alignment work is wasted motion."
— Jim Vasquez
Modern coilovers and control arms
The factory front suspension geometry on the first-gen Camaro has two problems for performance use: the stock spring perch location limits travel, and the stock upper and lower control arm geometry produces camber gain curves that were optimized for a 1960s tire, not a modern 275-section radial. Both problems are solvable.
The aftermarket for first-gen Camaro front suspension is mature. Companies including RideTech, Detroit Speed, QA1, and Chris Alston's Chassisworks all offer tubular upper and lower control arm sets with revised geometry. The revised geometry typically corrects the camber gain curve, raises the roll center to reduce body roll, and in some cases changes the caster angle to improve steering returnability at speed. These arms also accept coilover conversion kits that replace the factory spring-over-shock arrangement with a single coilover unit at each corner, which allows easy ride-height and spring rate adjustment without pulling the arm.
Rear suspension is where builders diverge. The simplest upgrade is a correctly located four-link or three-link with a Panhard bar or Watts link, keeping the solid rear axle but locating it properly under cornering. More involved builds convert to independent rear suspension using subframes from the Corvette C5 or C6, or dedicated IRS kits from companies like DSE. IRS adds fabrication complexity and cost, but it allows the rear tires to maintain contact patch under independent bump and droop rather than sharing that load across a solid beam. For track-focused cars, IRS is worth the effort. For street-plus-occasional-autocross builds, a well-sorted solid axle four-link handles the brief.
Spring rates depend on the tire contact patch and intended use. A street car running 275/40R18 rubber generally works well in the range of 400 to 500 lb/in front and 200 to 275 lb/in rear on a solid axle car. Stiffer rates require correspondingly stiffer shocks and are only useful if the road surface justifies them. Most pro-touring Camaros spend more time on imperfect streets than on smooth race circuits, which is an argument for keeping rates in the moderate range and tuning damping carefully.
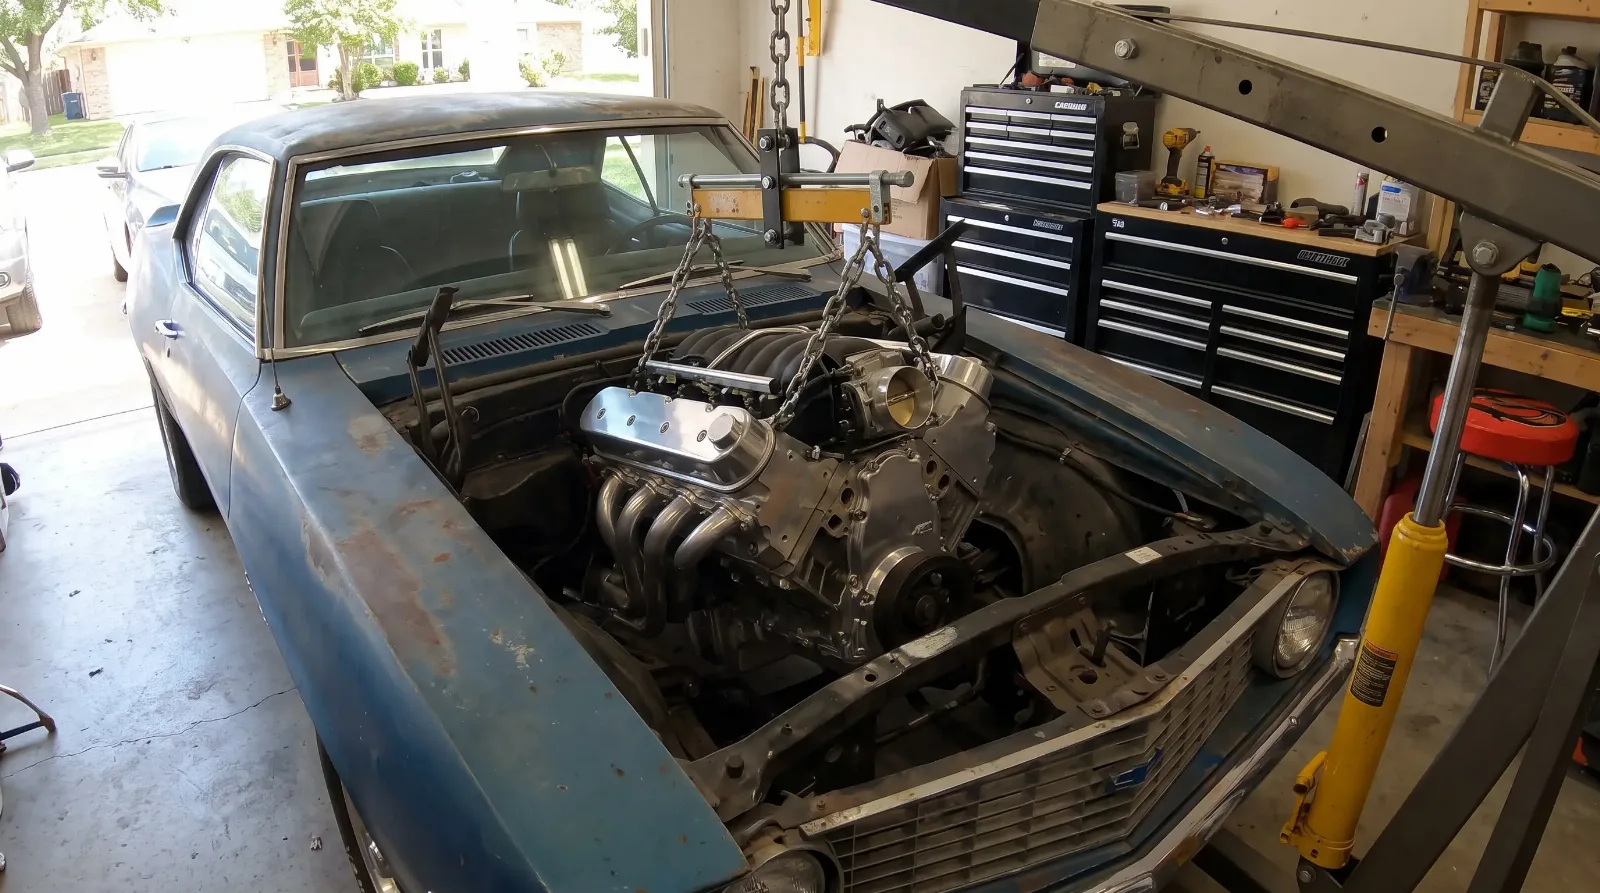
More in this Camaro series: read about an LS swap.
| Suspension component | Factory setup | Pro-touring upgrade | Primary benefit |
|---|---|---|---|
| Front springs and shocks | Coil springs over separate shock | Coilover conversion (threaded body) | Adjustable ride height and spring rate |
| Front upper control arms | Stamped steel, stock geometry | Tubular arms with revised geometry | Corrected camber gain, improved clearance |
| Front lower control arms | Stamped steel | Tubular arms with relocation brackets | Better roll center, wider track capability |
| Rear suspension | Multi-leaf solid axle | Four-link or IRS conversion | Consistent axle location, reduced wheel hop |
| Subframe connectors | None | Full-length weld-in connectors | Torsional chassis stiffness |
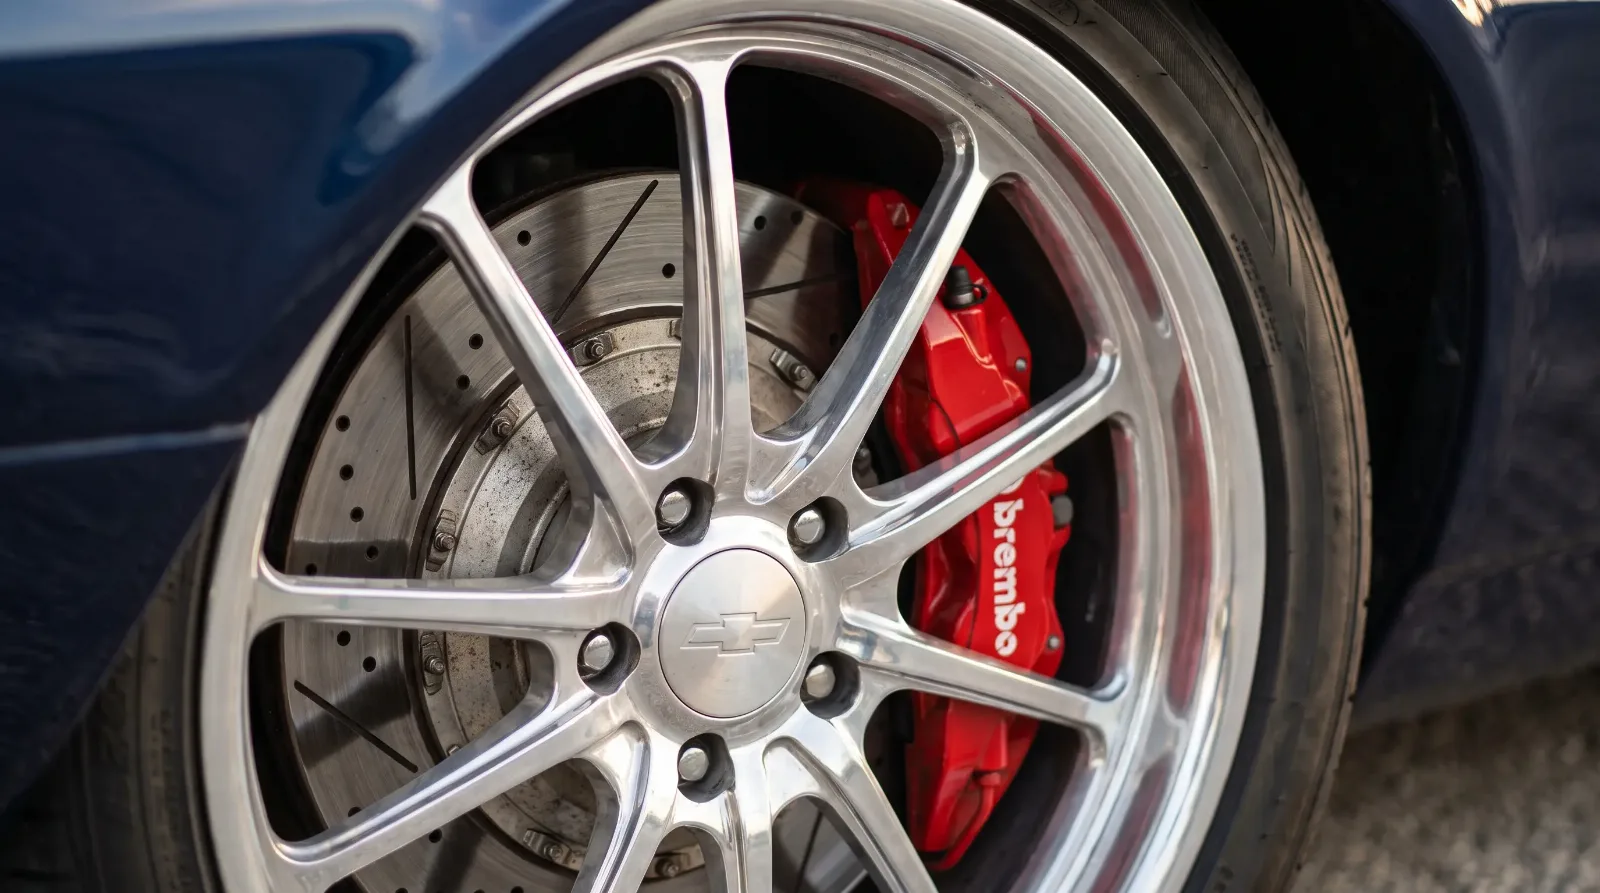
Big brake upgrades
Factory drum brakes on a first-gen Camaro that now weighs around 3,200 to 3,400 lb with a built engine, modern fuel system, and air conditioning are not adequate for repeated hard stops. Even the factory front disc option, which Chevrolet offered starting in 1967, used single-piston sliding calipers and 11-inch rotors that are marginal on a car with 400 or more horsepower.
A proper big brake kit starts with at least a 12.19-inch or larger two-piece rotor with a aluminum hat, paired with a four-piston fixed caliper. Wilwood, Baer, and Brembo all offer kits designed around the first-gen spindle or upgraded drop spindle. The drop spindle is common on pro-touring builds because it lowers the front of the car 2 inches without compressing the suspension travel, and the larger spindle designs in the aftermarket accept bigger rotor diameters without interference from the wheel.
Rear brakes on solid axle cars typically use a smaller rotor in the 11 to 12-inch range, since the front axle carries more braking load under deceleration. Rear bias adjustment is handled through a proportioning valve. Most complete big brake kits include the valve and bracket hardware. Rear disc conversions on a live axle are straightforward bolt-on jobs when the axle housing is already being rebuilt; doing them on an untouched axle requires welding new brake plates, which adds labor.
Brake booster sizing matters. The Hydroboost system, which pulls assist from power steering pressure rather than engine vacuum, works well on supercharged or low-vacuum engines that cannot produce enough vacuum for a conventional booster. On naturally aspirated builds with good manifold vacuum, a larger-diameter single or dual diaphragm vacuum booster is simpler and performs consistently.
Wheel and tire fitment
Tire contact patch is where all the suspension geometry work shows up or disappears. A first-gen Camaro with standard front fenders and no wheel tub work in the rear can typically run a 275-width front tire and a 295 to 305-width rear tire with careful wheel offset selection and minor inner fender trimming. Mini-tub work in the rear quarters allows 315 to 335-width tires, which is where the numbers really move.
Wheel diameter on pro-touring builds runs mostly 18 to 20 inches. Larger diameters keep sidewall height low enough to limit flex under lateral loads, but they require rotors large enough to fill the wheel opening visually. A 12.19-inch rotor looks lost inside a 20-inch wheel. Most builders running 18-inch wheels pair them with 13-inch or larger rotors for proportion as much as for thermal capacity.
Backspacing and offset determine where the tire sits relative to the fender. Getting this number right requires measuring the actual clearance at the upper control arm, the inner fender, and the lower control arm at full lock. Measure with the car at ride height with someone sitting in it. An empty car sits higher than a loaded one, and tire clearance that looks fine at full droop can disappear when the suspension compresses under cornering load.
Steering and the final feel
The factory recirculating-ball steering box on a first-gen Camaro has a quick-ratio upgrade path through Borgeson, which offers a rebuilt box with tighter ratio and improved on-center feel. For builds that have already converted the front suspension to aftermarket control arms, a rack-and-pinion conversion is also available from several suppliers and gives the more direct feel that drivers used to modern cars expect.
Power steering pump selection follows the same logic as brake boosters. A correctly sized pump produces enough flow and pressure to assist the gear without building excessive pressure that makes the steering artificial. Many builders use a remote-reservoir power steering pump to clean up the engine bay and improve serviceability.
Alignment settings for a pro-touring Camaro are not factory spec. Typical starting points for a street car are around negative 1.5 to negative 2 degrees of front camber, 5 to 7 degrees of caster, and zero to slight negative 0.5 degrees of rear camber. These numbers work with modern sticky tires. A car running all-season or vintage-compound rubber needs less camber because those tires generate less lateral force and do not benefit from aggressive camber angles the way a 200-treadwear performance tire does.
When everything is assembled and aligned, the result is a car that feels nothing like a stock first-gen on the road and everything like one in the parking lot. That is the point. If you want to see how builders have resolved these decisions in real-world finished cars, the Camaro restomod guide covers the broader spectrum of first-gen builds from mild driver to full pro-touring. The gap between those categories is mostly defined by how far the suspension work goes.
Sources and notes
Production figures, engine specifications, codes, and dates in this article are cross-referenced from established Camaro references, period documentation, and owner registries. Where sources differ, the most commonly cited value is used. Cost figures are indicative and vary by supplier, region, and condition.
- RideTech - First-Gen Camaro Coilover & Suspension Systems
- Detroit Speed - 1967-69 Camaro Suspension (control arms, subframe connectors)
- Wilwood Disc Brakes - Big Brake Kits and Drop Spindles
- Baer Brakes - Pro-Touring Brake Systems
- Borgeson - Power Steering & Steering Box/Rack Conversions
- Pro-Touring.com - Suspension and Alignment Reference