
Setting the scope of the interior build
Interior work on a first-gen Camaro restomod falls into three distinct approaches. The first is a cosmetic refresh: new upholstery on factory seats, a carpet kit, and a billet steering wheel. This approach preserves the original look almost completely and costs a couple thousand dollars, give or take depending on upholstery quality. The second approach swaps the seats for modern buckets, adds sound deadening, and upgrades gauges while keeping the factory dash structure. This costs several thousand dollars and produces a car that looks classic but drives with significantly more comfort. The third approach replaces the full dash, center console, and door panels with custom fabricated units that hide modern technology completely inside a period-correct shell.
The right approach depends on what the car will be used for and how important originality is to the eventual buyer. See our article on whether restomod hurts a classic Camaro's value before committing to significant interior modifications if resale matters to you.
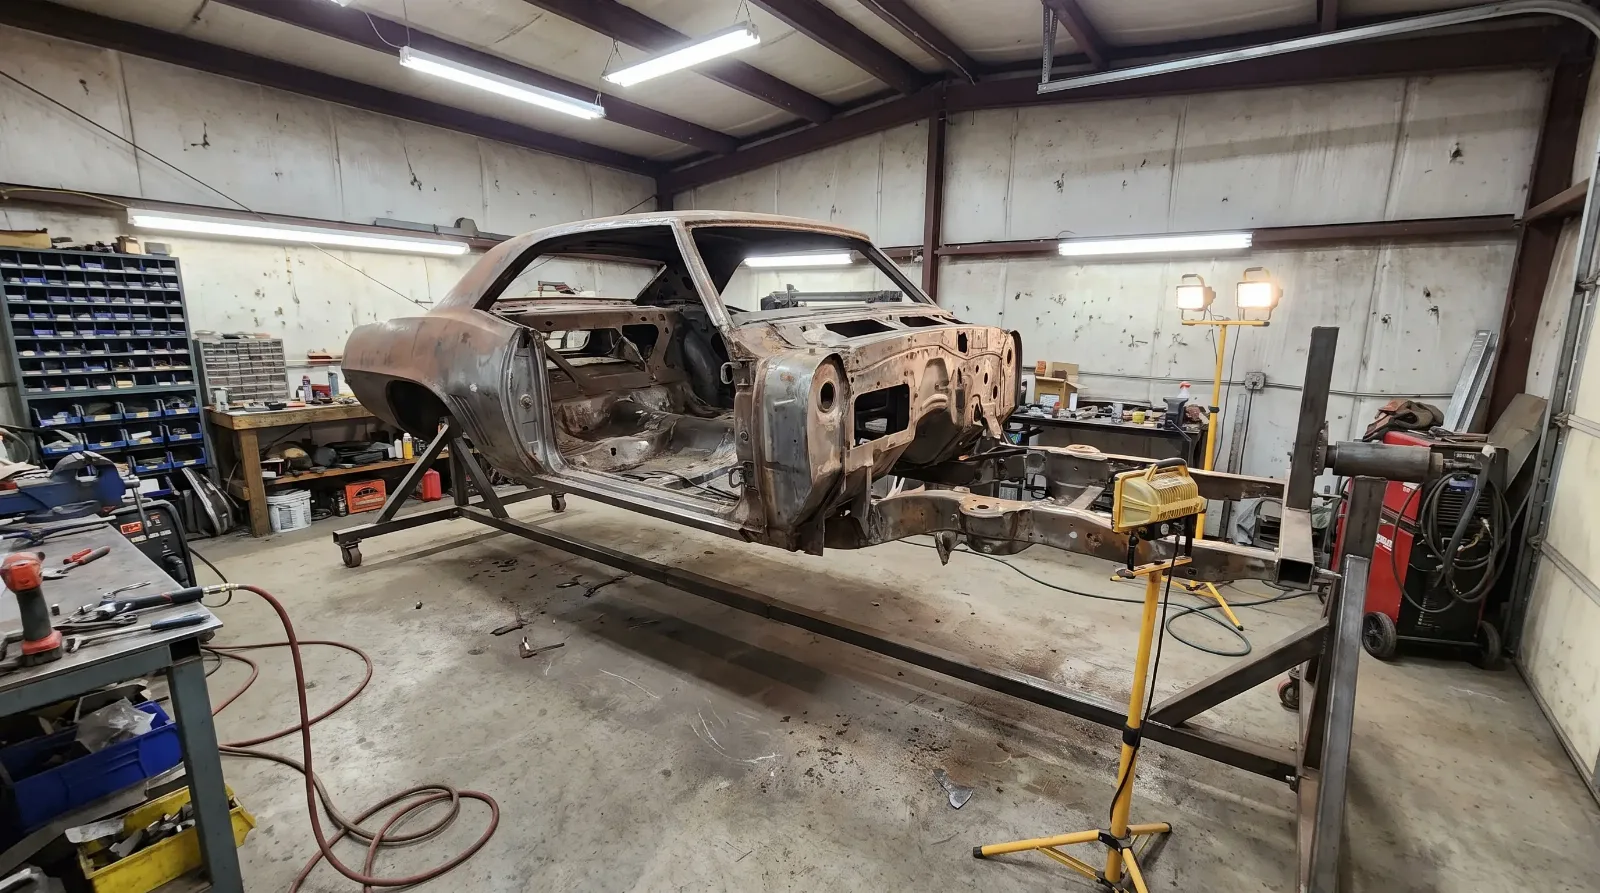
Interior work should happen after mechanical systems are complete. Wiring for gauges, speaker wires, AC lines, and power outlets all need to be routed through the firewall and floor before carpet and panels go in. If the AC upgrade is still pending, read our guide on Vintage Air and climate control installation first since line routing is far easier with the interior out.
Seat selection: modern buckets versus custom recovered originals
Factory first-gen Camaro buckets were narrow by modern standards, offered minimal bolstering, and provided no lumbar support. For a car driven on spirited roads, they also provide no lateral support under cornering load. Modern aftermarket seats solve all three problems but introduce a fitment challenge because the factory floor mounting points do not align with most modern seat frames.
Corbeau, Recaro, and Sparco all produce seats popular in pro-touring builds. Corbeau's Forza seat runs a few hundred dollars per seat and fits a side-by-side mount adapter available from Corbeau directly. Recaro's Profi SPG is a higher-bolster option at roughly a thousand dollars per seat and requires a custom subframe bracket. Both companies offer seat sliders that add front-rear adjustment while keeping the seat low.
For a more traditional look, custom-recovered factory seats from a shop like TMI Products use foam upgrades and leather or vinyl that matches whatever interior palette you choose. TMI's Sport XR seat uses the factory shell with a new foam pad and modern upholstery for several hundred dollars per seat. This maintains the stock appearance while dramatically improving support and surface quality.
- Corbeau Forza buckets: a few hundred dollars each
- Recaro Profi SPG: roughly a thousand dollars each each
- TMI Sport XR recovered factory seats: several hundred dollars each
- Seat subframe adapters: a couple hundred dollars per pair
Sound deadening and thermal insulation
The factory first-gen Camaro interior used a single layer of bitumen-based insulation under the carpet that was primarily there to reduce transmission noise, not road noise or heat. For a restomod, proper sound deadening transforms the interior from a tin can to a genuine touring environment. Dynamat, Second Skin, and Hushmat are the three most common products.
Second Skin's Damplifier Pro is a butyl-based 80-mil material that bonds to metal panels and kills panel resonance. Cover the floor, inner door panels, firewall, and trunk floor. Budget several hundred dollars for enough material to do a first-gen Camaro thoroughly. Layer a closed-cell foam thermal barrier over the floor deadener before carpet to block radiant heat from the exhaust tunnel. Lizard Skin ceramic insulation is a spray-on option for the firewall at a couple hundred dollars per kit that is particularly effective at blocking heat from header-equipped LS builds.
"People underestimate what the exhaust tunnel does to the interior. On a built LS with long tube headers, you can feel the heat through the carpet within 20 minutes of driving. Spray Lizard Skin on the tunnel floor, then add the Dynamat over the top. That combination is the only thing that actually works long term."
-- Jim Vasquez
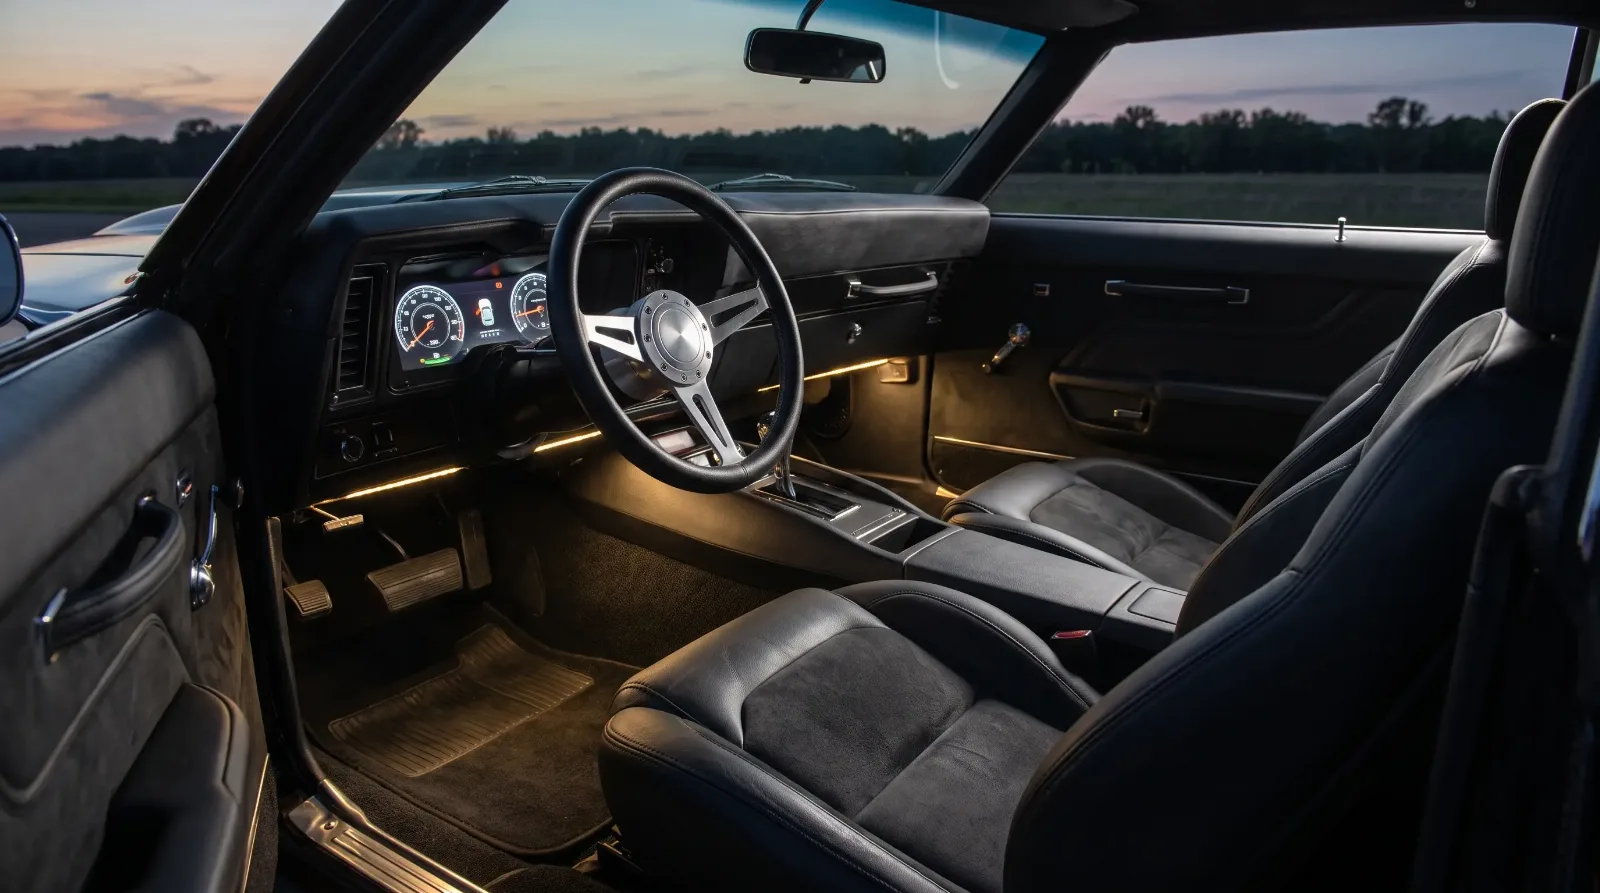
Gauges, steering wheel, and dash upgrades
Factory gauges in the first-gen Camaro are notoriously inaccurate. The fuel gauge is optimistic, the temperature gauge pegs and stays, and there is no oil pressure gauge in most non-SS configurations. A restomod build needs accurate instrumentation. Dakota Digital and Auto Meter are the two primary gauge choices. Dakota Digital's RTX series replaces the factory gauge faces with LED units that use factory-look sweeping needles but read from modern sensors via CAN bus. A complete RTX dash kit for the first-gen runs around a thousand dollars.
A modern steering wheel on an adapter hub changes the feel of the car dramatically. Grant, Momo, and Nardi all produce steering wheels in the 13 to 15-inch diameter range that fit a Flaming River or ididit column adapter. Budget a few hundred dollars for a quality wheel and hub adapter. Do not undersize the wheel for street use below 13 inches, as smaller wheels require significant steering effort at low speed without power assist.
Carpet, headliner, and panel finishing
Loop carpet versus cut-pile carpet is a matter of preference, but cut-pile is more period-correct for the 1967-1969 Camaro and is the standard in most show-quality builds. ACC and Auto Custom Carpets both produce molded carpet kits specific to the first-gen Camaro that require minimal trimming. A complete carpet kit runs a few hundred dollars. Install it over 3/8-inch closed-cell foam padding, not the factory jute padding, for better sound isolation.
Headliners in the first-gen are a perforated vinyl insert over a wire frame. Reproduction units from Auto Custom or OER run a couple hundred dollars. For a color-matched upholstered headliner that looks cleaner in a custom build, a local upholstery shop typically charges several hundred dollars to trim a headliner board in matching material. See our overview of pro-touring Camaro builds to understand how the interior phase fits into the overall project timeline.
| Interior Element | Budget | Mid-Level | Premium |
|---|---|---|---|
| Seats | TMI recovered factory | Corbeau Forza | Recaro Profi SPG |
| Gauges | Auto Meter Sport-Comp | Dakota Digital RTX | Dakota Digital VHX custom |
| Sound deadening | Hushmat basic kit | Second Skin Damplifier | Dynamat Extreme full coverage |
| Steering wheel | Grant GT 15-inch | Momo Prototipo | Nardi Classic leather |
Sources and notes
Production figures, engine specifications, codes, and dates in this article are cross-referenced from established Camaro references, period documentation, and owner registries. Where sources differ, the most commonly cited value is used. Cost figures are indicative and vary by supplier, region, and condition.