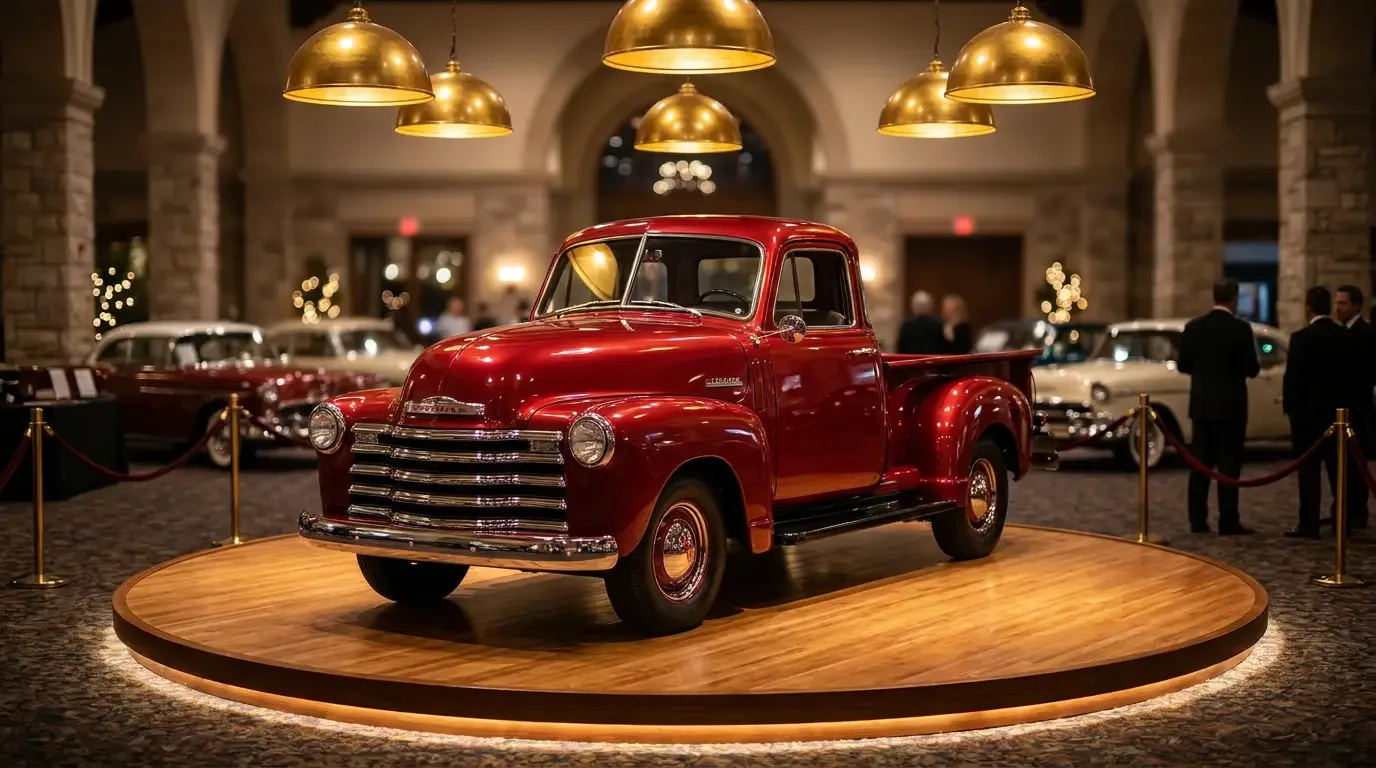

A classic truck restoration goes one of two ways. Either you plan it out, keep a budget, and end up with a truck you can drive and be proud of, or you tear it apart in a weekend of enthusiasm and it sits on jack stands for six years while the parts pile grows and the money leaks out. The difference is almost never talent. It's sequence and honesty about cost. This is the beginner's roadmap, model-agnostic, meant to keep you out of the second camp.
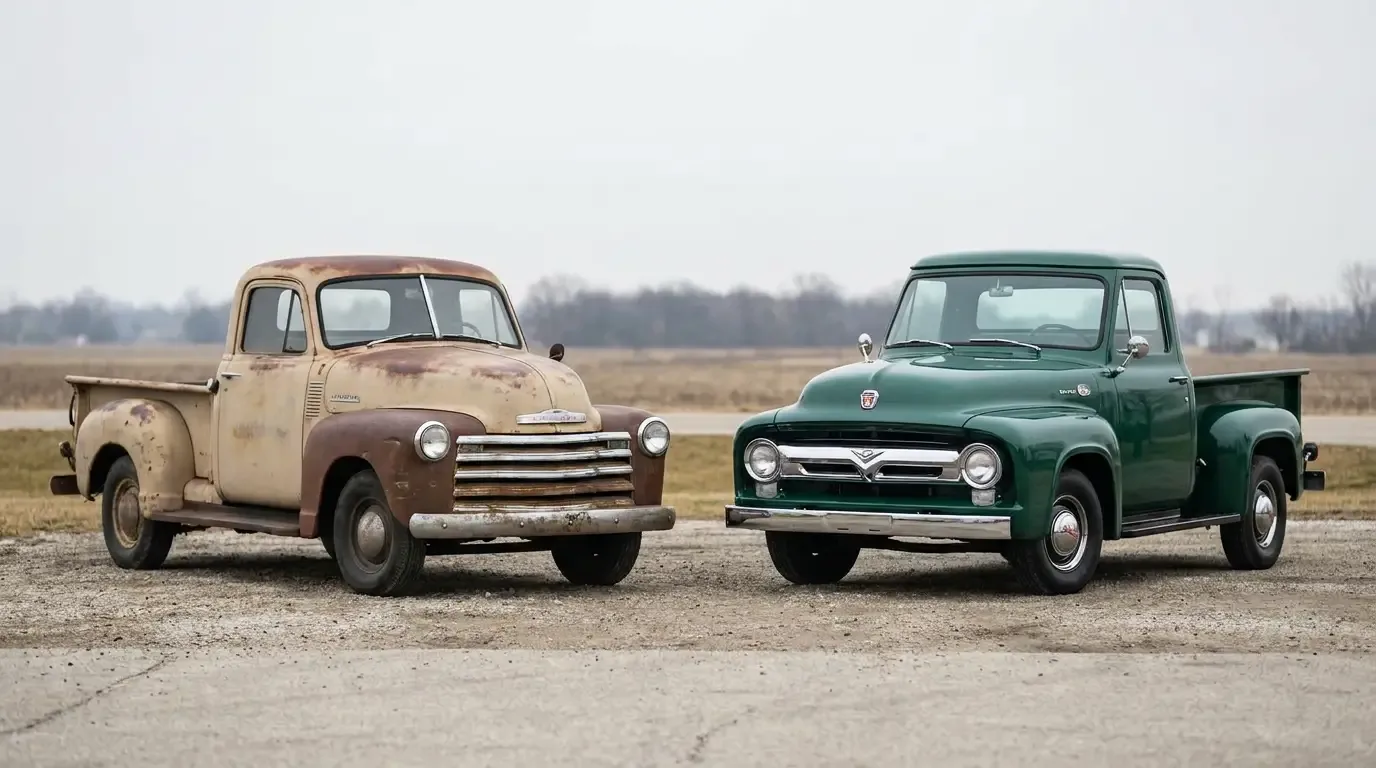
Trucks were built to work, which is both good and bad news for a first restoration. Good because the frames are simple, the drivetrains are stout, and parts support for the popular American haulers is deep. Bad because most survivors spent decades hauling, plowing, and sitting in a field, so the rust and wear are real. If you want the longer view on why these vehicles are worth saving in the first place, read the classic American truck story. This piece is about getting your hands dirty.
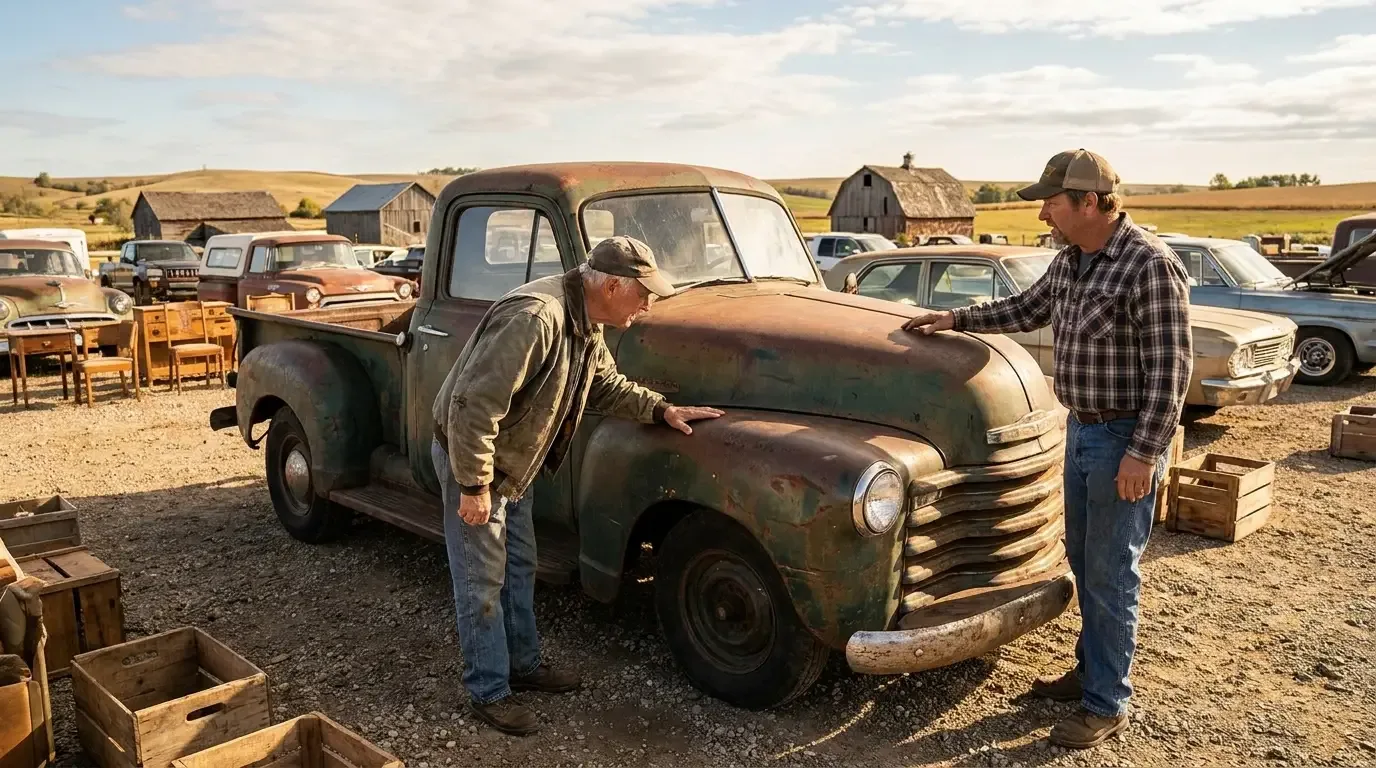
Start with a plan and an honest budget
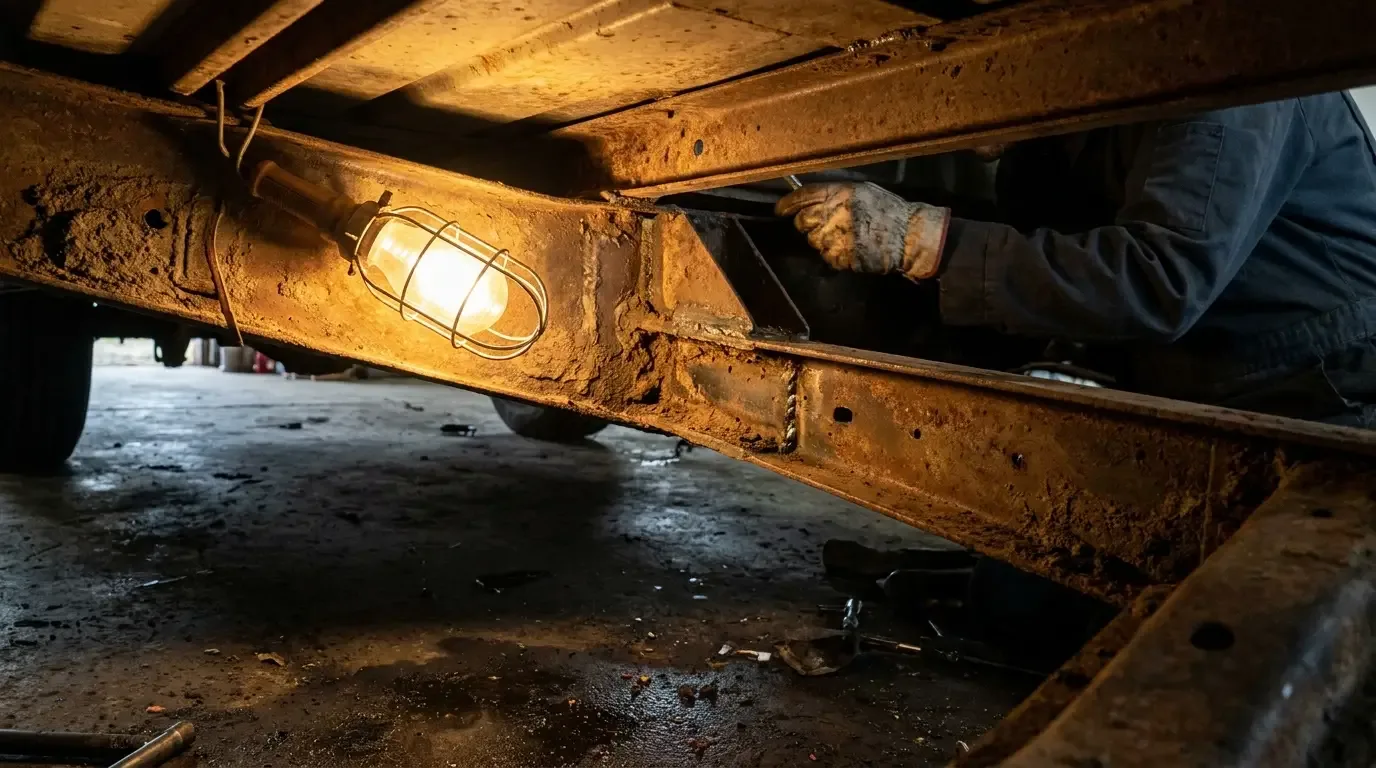
Before you buy a single tool, decide what you're building. A driver you'll take to cars and coffee is a different project than a show truck, and it's a wildly different budget. Write down the target. Then get under the truck with a light. Not a flashlight held at arm's length, a real drop light, up on the frame rails, in the cab corners, under the bed. Rust is where budgets die, and you want to find it before you own it.
The order most beginners get wrong is money. They budget for paint and forget the fifty small line items that add up to more than the paint job. Here's a rough allocation for a driver-quality restoration on a common American truck. Treat every figure as an approximate range, not a quote.
| Phase | What it covers | Approx. share of budget |
|---|---|---|
| Purchase | The truck itself, roughly complete | Varies widely by model/condition |
| Rust & bodywork | Panels, patches, cab corners, floors, labor | Around 30–40% |
| Paint | Prep, materials, booth time or DIY | Around 15–25% |
| Drivetrain | Engine, trans, brakes, cooling, fuel | Around 20–30% |
| Interior | Seat, headliner, glass, gauges, trim | Around 10–15% |
| Contingency | The problems you can't see yet | Around 15% on top |
That contingency line is not optional. On a first project you will find at least one thing you didn't budget for, usually hidden rust or a seized fastener that turns a two-hour job into two days. Plan for it and it stops being a crisis.
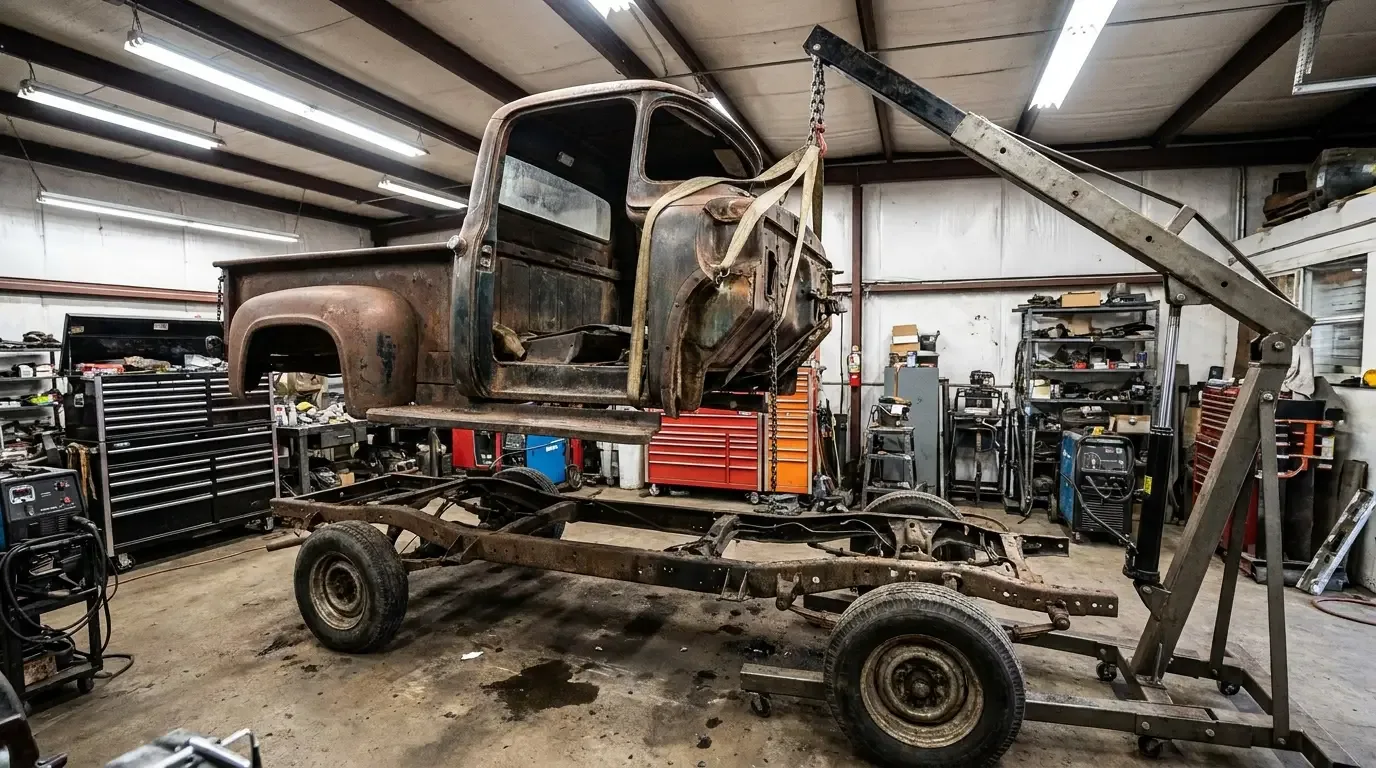
Frame-off or frame-on: pick the right level
Every beginner hears "frame-off" and assumes that's the serious way to do it. Sometimes it is. Often it's overkill that turns a manageable project into one you never finish. The choice comes down to how bad the frame and body mounts are and what you want at the end.
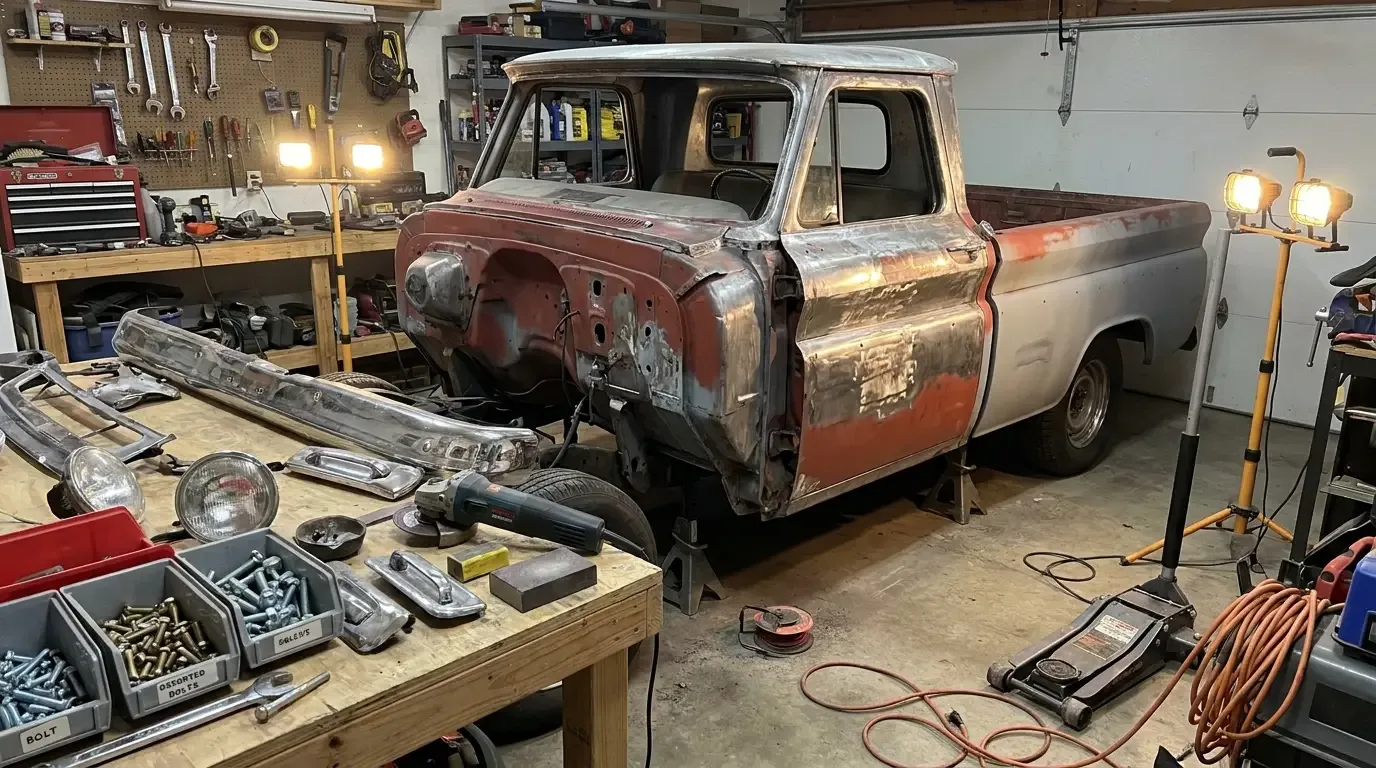
A frame-on restoration leaves the body on the chassis. You fix what you can reach, do the mechanicals, sort the body panels in place, and paint. It's faster, cheaper, and far more forgiving for a first-timer. A frame-off means the body comes completely off the chassis so you can restore, media-blast, and paint the frame, suspension, and underside to the same standard as the top. It looks incredible and it's the honest choice for a show truck or a badly corroded frame, but it multiplies the labor, the storage space, and the number of things that can stall you out.
My advice for a first truck: do a frame-on unless the frame itself is compromised. You'll learn the craft, you'll actually finish, and you'll know for the next one whether the deeper teardown is worth it. If you want the full breakdown of the tradeoffs, cost, and when each makes sense, we cover frame-off vs frame-on restoration in detail.
The order of operations
Sequence is the whole game. Do things in the wrong order and you'll redo work, scratch fresh paint, or find yourself unable to reach a bolt you buried three steps ago. The broad order for most restorations looks like this:
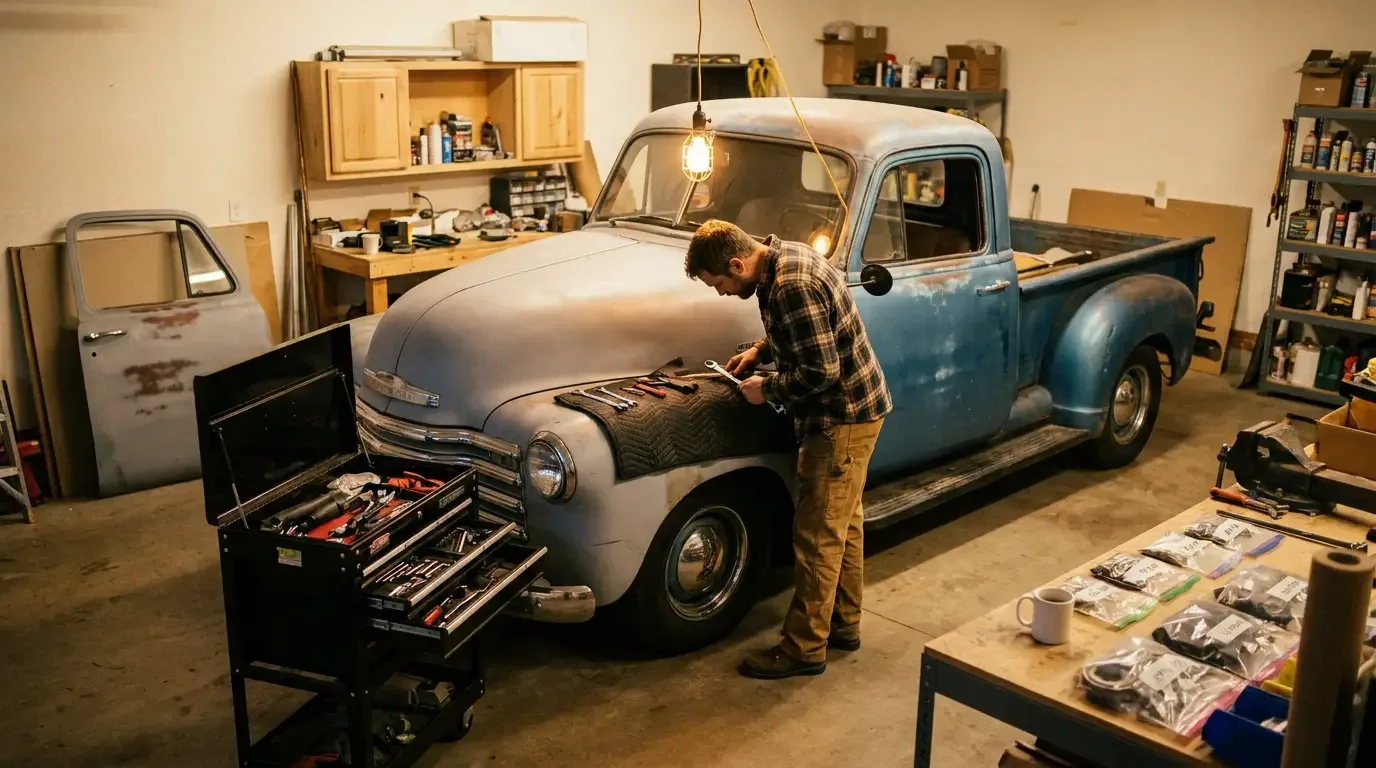
- Assess and document. Photograph everything before you touch it. Bag and label fasteners by area. You will not remember where they went in three months.
- Disassemble deliberately. Strip only as far as your chosen level requires. On a frame-on, that's trim, glass, interior, and bolt-on panels.
- Address the frame and mechanicals if going frame-off. Get the foundation right before anything pretty goes back on.
- Rust repair and bodywork. Metal first, always, before any filler or paint.
- Paint and body. Once the metal is right and the panels are aligned.
- Drivetrain and systems. Engine, transmission, brakes, fuel, cooling, wiring.
- Interior and reassembly. Glass, seat, headliner, trim, and final fit.
The cardinal rule inside that list: paint goes on late, and everything that could scratch it goes on after. Nothing feels worse than dropping a wrench on a fresh fender because you rushed the sequence.
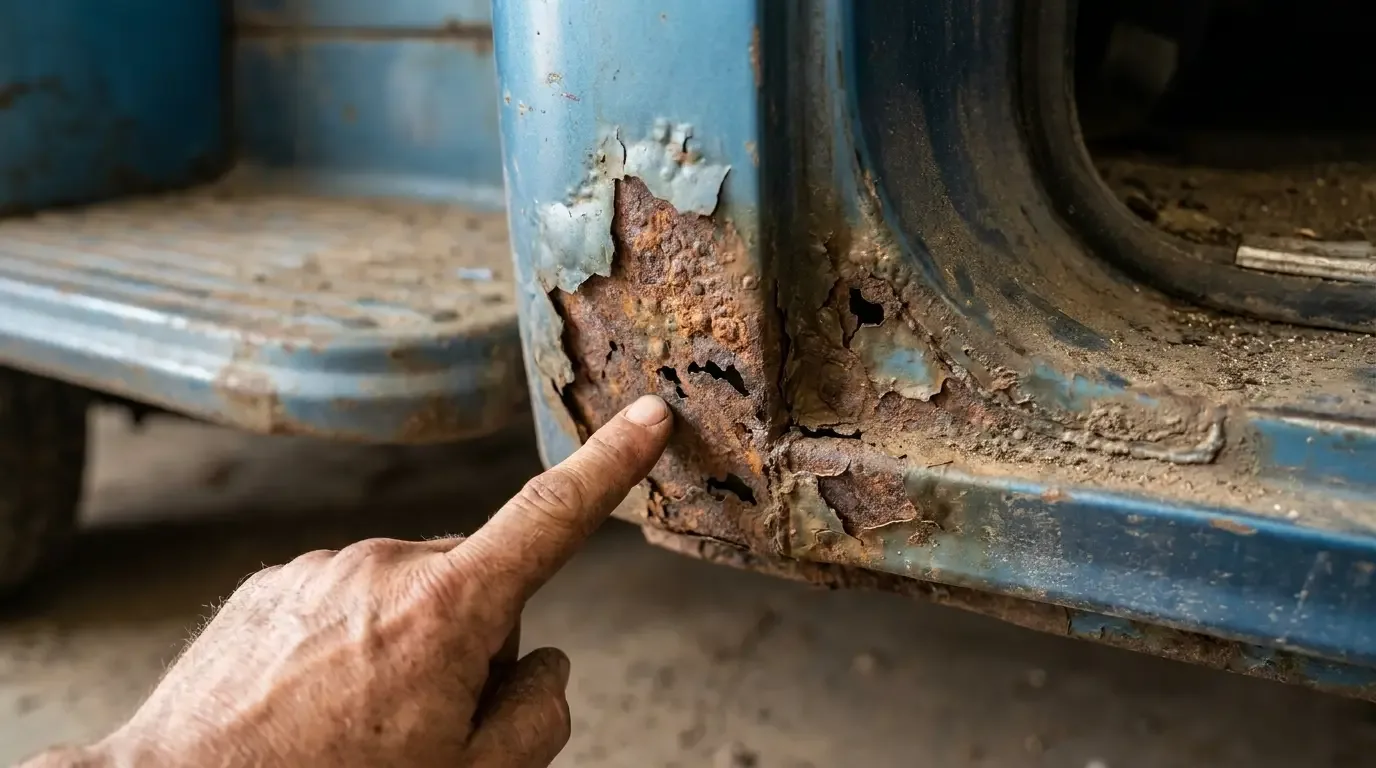
Rust, bodywork, and paint
This is where the truck is won or lost, and where beginners either save a fortune or spend one. Rust is not cosmetic. Surface rust is manageable. Rot, where the metal is gone or paper-thin, has to be cut out and replaced with new steel, not filled. The classic beginner mistake is skimming filler over rot to make it look good for a season. It comes back, it comes back worse, and it comes back after you've already paid for paint.
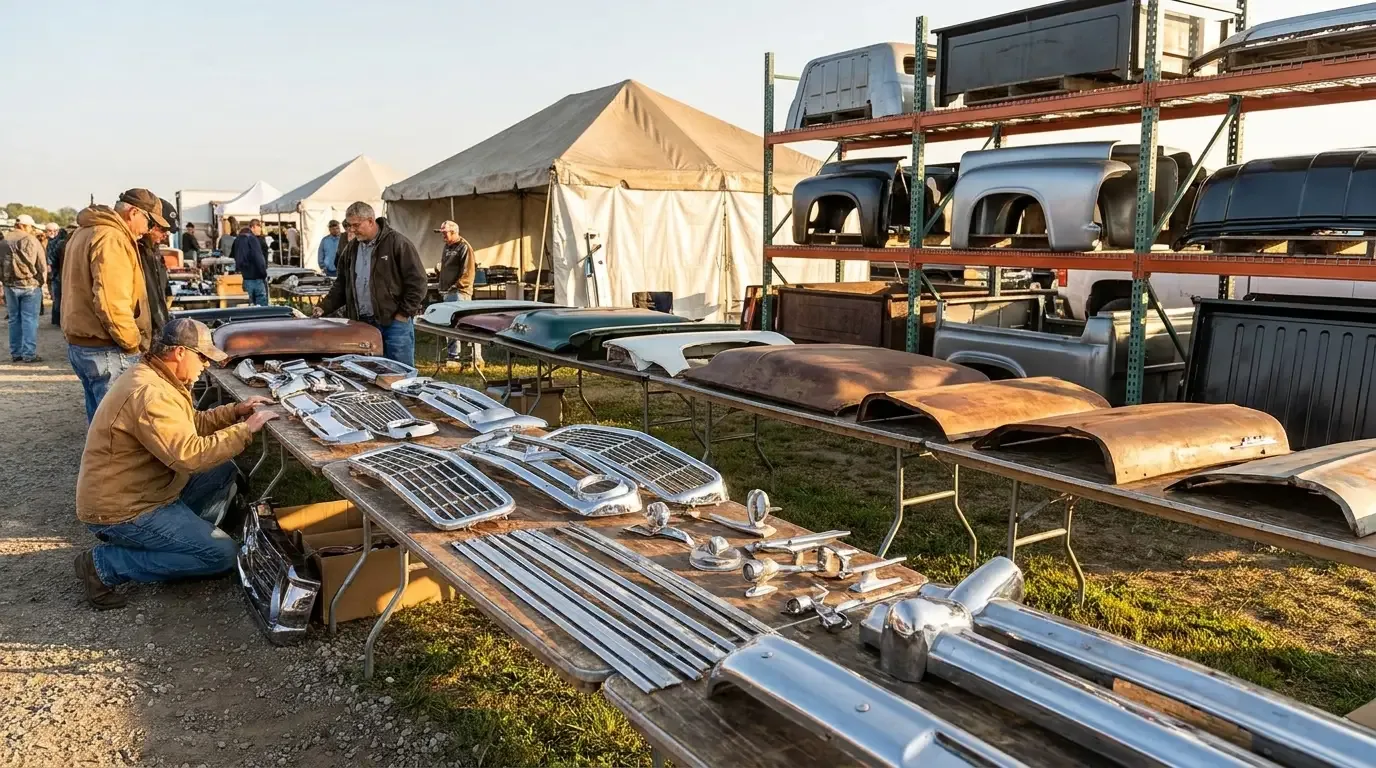
Common rust zones on classic trucks are predictable, which is good news. Check these first and price them honestly:
🔧 Inspection Priorities
- Cab corners and rockers. The most common rot spot. Replacement panels are widely available and cheap; the labor to weld them in cleanly is the real cost.
- Floor pans. Poke them. If a screwdriver goes through, budget for pans. Reproduction floors exist for most popular models.
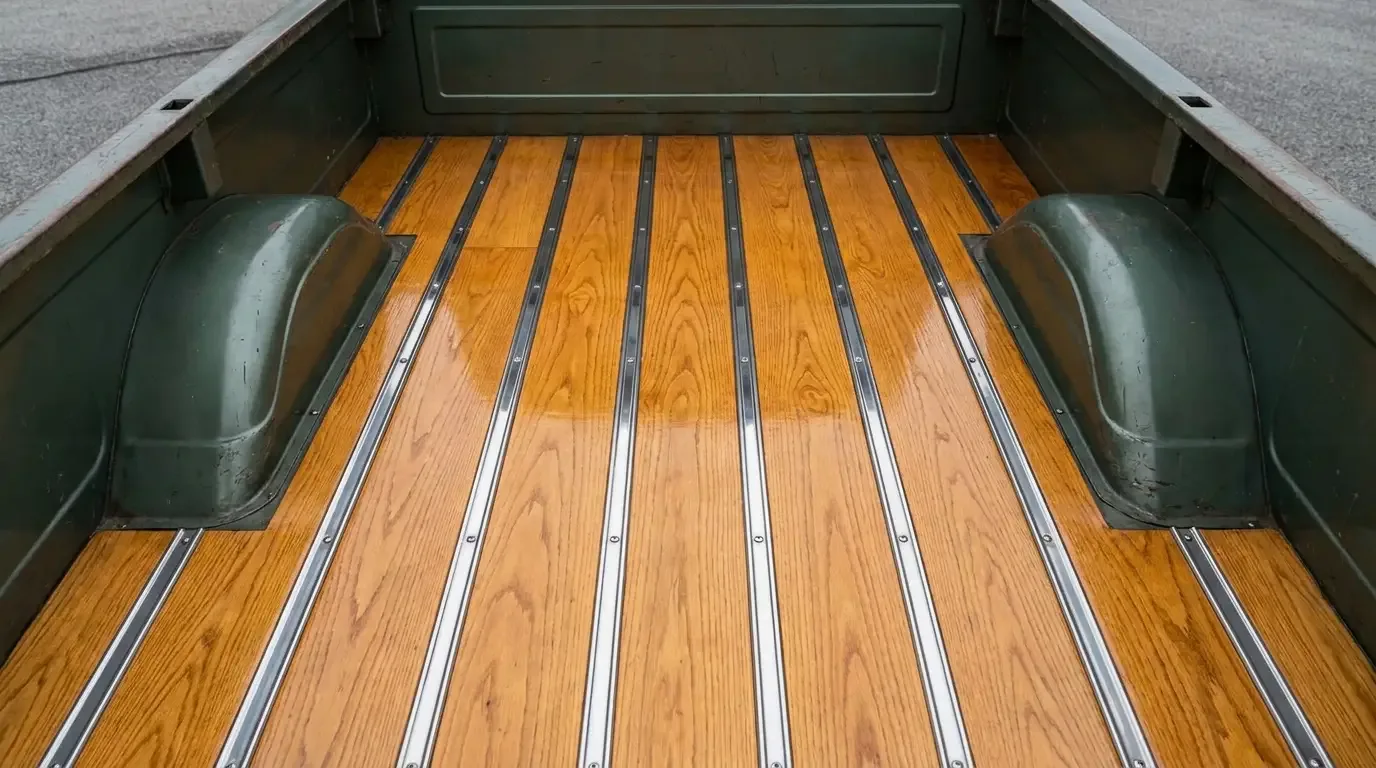
- Bed and bed wood. Beds take abuse. New bed wood and strips are a satisfying, affordable win.
- Frame rails and crossmembers. Surface scale is fine. Flaking, pitted, or perforated frame steel is a serious call and may push you toward frame-off or a different truck.
- Cowl and lower doors. Water traps. Check for bubbling paint, which means rust working from the inside out.
On paint: a first-timer can absolutely learn to lay a respectable single-stage finish in a home setup, and the money saved is enormous. But paint is 90% prep. The color goes on in an afternoon; the block-sanding and panel alignment that make it look right take weeks. Do not shortcut prep to get to color faster. Also decide early whether you even want a full restoration finish. A weathered truck with honest wear has real value and a growing following, and stripping it can be the wrong move. We lay out both sides in the patina vs restoration debate.
"Fix the metal first. Every time. I've watched people spray beautiful paint over rot and act surprised when it bubbles through by the next summer. Rust doesn't negotiate. Cut it out, weld in good steel, then you've earned the right to make it pretty."
— Robert Halloran
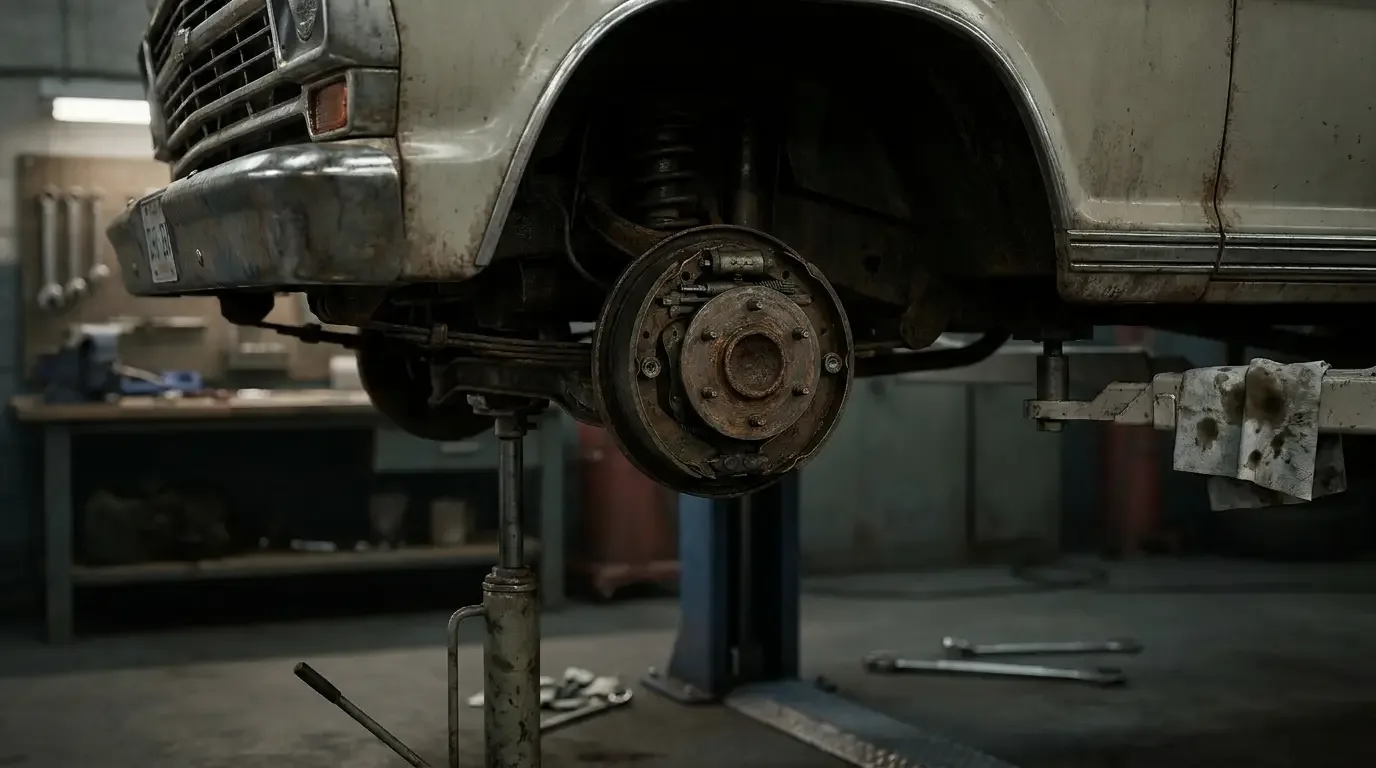
Drivetrain, brakes, and the stuff that stops you
Here's the reassuring part of a truck restoration: the mechanicals are usually the easy money. These engines were built simple and tough, and a worn small-block or straight-six is a known quantity with cheap, available parts. You do not always need a full rebuild. A tired but healthy engine that runs and holds oil pressure can serve for years while you finish the rest, and you rebuild it later if it needs it.
What you should not defer is anything that stops the truck. Brakes come first, no exceptions. Old rubber lines, a corroded master cylinder, and glazed shoes are how a finished truck ends up in a ditch. Flush the fuel system, replace decades-old rubber lines, and go through the cooling system before you trust the truck on a real drive. A common and worthwhile upgrade for a driver is a front disc brake conversion, which many popular models support with bolt-in kits.
Prioritize the drivetrain work like this: safety systems first, then reliability, then performance. A beginner who chases horsepower before sorting the brakes and cooling has the priorities backwards.
Interior, reassembly, and the finish line
The interior is where the truck starts feeling like yours. It's also where beginners underestimate the time, because it's a hundred small parts and each one has to fit. Reproduction seat covers, headliners, door panels, rubber weatherstrip, and gauge parts are widely available for the popular trucks, which keeps this phase affordable if you do the labor.
Glass and weatherstrip deserve care. New rubber around old or new glass is what keeps water out of the cab, and water in the cab is how you grow the rust you just spent months removing. Take your time seating the glass and channels. Wiring is the other beginner trap. A crumbling factory harness is worth replacing wholesale with a reproduction or a modern kit rather than chasing gremlins through brittle sixty-year-old insulation.
Final assembly is slow on purpose. Torque things properly, fit panels with the gaps even, and drive the truck in stages before you call it done. Shake it down on short trips, fix what rattles and leaks, then extend the range. When it's sorted and you want to compare it against what finished trucks are bringing, or you decide the smarter move is to buy one already done, browse the classic trucks for sale and see where your project lands.
Where beginners waste money
Most wasted money on a first restoration comes from a short list of avoidable mistakes. Knowing them upfront is worth more than any single tool.
None of this requires being a master fabricator. It requires a plan, an honest budget with a contingency, the discipline to fix metal before paint, and the patience to do things in order. Do that and your first truck restoration ends with a truck in the driveway, not a project you gave up on.
Sources and notes
- Factory service manuals and body repair sections for common American light trucks.
- Reproduction parts catalogs (cab corners, floor pans, interior kits, weatherstrip) used to gauge typical availability.
- Period road tests and owner literature for original interior and drivetrain configurations.
- General restoration cost breakdowns from hobbyist and trade sources; all figures stated as approximate ranges and flagged for verification.
- Marque and model histories for context on original work-truck specifications.